


68
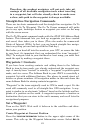
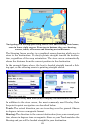
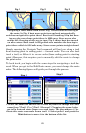
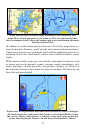
At left, Trails Menu with Trail 1 ready to record. The Active symbol
shows that any travel will be recorded in this, the active trail. At right,
selecting New Trail button automatically stops recording and saves
Trail 1 by creating Trail 2 and making Trail 2 active.
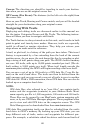
There are two ways to guide yourself with a saved trail: Visual Trailing
and the Navigate Trail command.
Visual Trailing is the simplest. It works when you follow a trail for-
ward (from beginning to end) or backward (from end to beginning).
Zoom in closely on the map so the trail is clearly visible. Begin moving
and glance at the map screen. Steer so that your current position arrow
traces along the trail you have saved.
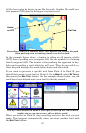
The Navigate Trail command converts a trail into a route and then
shows navigation information along the route. Since the unit is actually
performing point-to-point navigation, the Steer Arrow and other Over-
lay Data are working and can give you guidance.
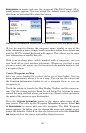
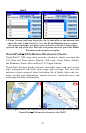
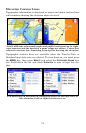
Go to
MENU 2 and press the MY TRAILS button. On the Trails Menu, select
the trail you want to navigate, which calls up the Edit Trail Menu.
Press the
NAVIGATE button. The trail is converted to a route and the Edit
Route menu appears. With the first point in the route selected, press
the
DIRECT TO button and the unit begins navigating.
From left to right, menu sequence for navigating a trail.
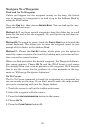
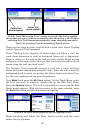
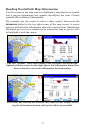
Begin traveling and follow the Steer Arrow overlay and the route
course line for guidance.
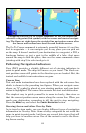
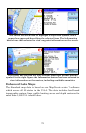
Visible Trail
(check symbol)
Active Trail
(arrow symbol)