


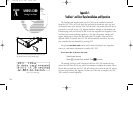
Appendix B
Installation, Removal and Maintenance of the GNC 300
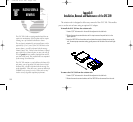
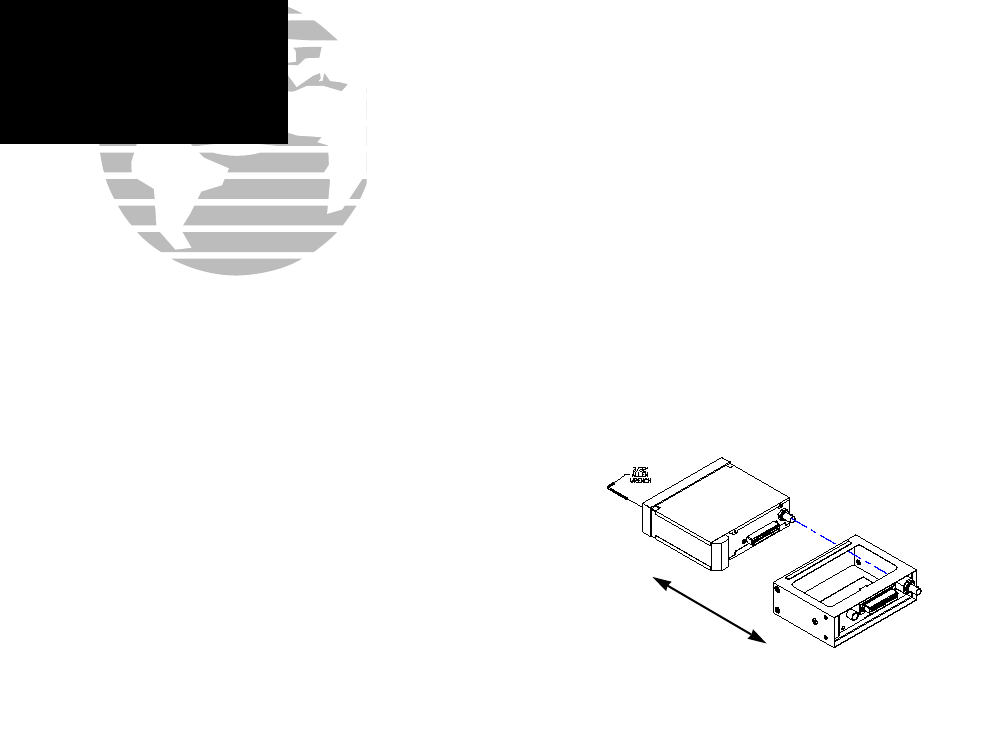
The aviation rack is designed to allow easy removal of the GNC 300. This enables
you to use the unit at home using an optional AC adapter.
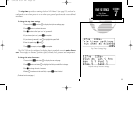
To install the GNC 300 into the aviation rack:
1. Insert a 3/32” allen wrench in the small hole adjacent to the dual knob.
2. Rotate the wrench counterclockwise until it stops to ensure the pawl latch is in the
proper position.
3. Insert the GNC 300 into the aviation rack and rotate the wrench clockwise to secure the
unit. To ensure proper connector seating, gently press on the left side of the unit until tight-
ened.
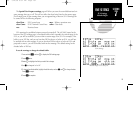
To remove the GNC 300 from the aviation rack:
1. Insert a 3/32” allen wrench in the small hole adjacent to the dual knob.
2. Rotate the wrench counterclockwise until the GNC 300 can be removed from the rack.
106
Getting Started
Status & Position
The GNC 300 is built to exacting standards and does not
require user maintenance. If the faceplate and lens require
cleaning, use a soft cloth and non-abrasive cleaner.
The user data is maintained by an internal battery with a
projected life of 3 to 5 years. If the GNC 300 detects a low
memory battery, you will be informed with the message
‘Memory battery low’. Failure to have the battery replaced
may result in loss of data each time you turn your unit off.
This will greatly increase satellite acquisition time and no
user data will be saved. This condition will be accompanied
by the message ‘Stored data lost’.
The GNC 300 contains a crystal oscillator which may drift
after many years of operation. If the unit detects excessive
oscillator drift, you will be informed with the message ‘Osc
needs adjustment’. When this occurs, contact an authorized
GARMIN service center for service. Failure to do so may
result in severely degraded acquisition performance.
SECTION
B
INSTALLATION &
REMOVAL
300 7/14/98 8:51 AM Page 106