


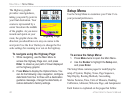
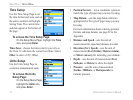

Heading Setup
Use the Heading Setup Page
to specify the type of heading
display and the type of North
reference used to calculate your
heading.
NOTE: Unless you have a working knowledge
of headings and North referencing, it is
recommended that you use the default values.
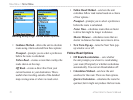
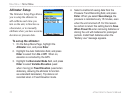
To access the Heading Setup Page:
On the Setup Menu Page, highlight the
Heading icon, and press Enter.
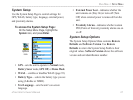
• Display—sets the value (Cardinal Letters,
Degrees, or Mils) to indicate your heading.
• North Reference
—provides headings based on
True, Magnetic, Grid, or User north reference.
• Switch to compass heading when below (for
more than)
—sets the speed and time delay for
electronic compass switching. (See page 49.)
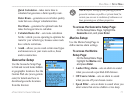
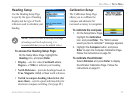
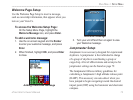
Calibration Setup
The Calibration Setup Page
allows you to calibrate the
compass and altimeter for
increased accuracy in navigation.
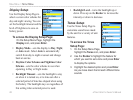
To calibrate the compass:
1. On the Setup Menu Page,
highlight the Calibration
icon, and press Enter. The “Which sensor
would you like to calibrate?” message appears.
2. Highlight the Compass button, and press
Enter to open the Compass Calibration Page.
Follow the instructions on page 50.
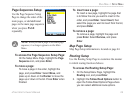
To calibrate the Altimeter:
Select Altimeter and press Enter to display
the Altimeter Calibration Page. Follow the
instructions on page 61.
eTrex Vista Cx Owner’s Manual 73
MAIN MENU > SETUP MENU