


2. Select the Tracks icon, and press Enter to
open the Tracks Page
3. Highlight the Clear button, and press Enter. A
confirmation message appears.
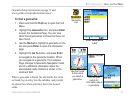
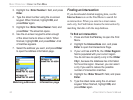
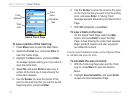
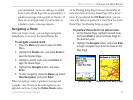
To set up a track log:
1. Press Menu twice to open the Main Menu.
2. Select the Tracks icon, and press Enter to
open the Tracks Page.
3. Highlight the Setup button, and press Enter to
open the Track Log Setup Page.
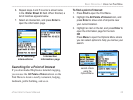
• Wrap When Full—the track log records over
the oldest data with new data.
• Record Method
—Distance records track
points after a specified distance is traveled.
Time creates track points after a specified time
has elapsed. Auto allows you choose from five
intervals.
• Interval
—records a track according to the
Record Method and Interval. Enter a specific
distance, time, or frequency.
• Color—select the color of the active track on the
map.
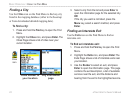
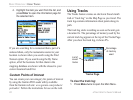
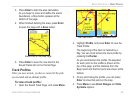
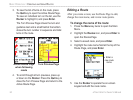
To save the entire track log:
1. Press Menu twice to open the Main Menu.
2. Select the Tracks icon, and press Enter to
open the Tracks Page.
3 Highlight the Save button and press Enter. A
message appears asking you if you want to
save the entire track.
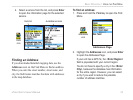
4. Select Yes, and press Enter to save the track.
A “Saving Track” message appears followed
by the Saved Track Page.
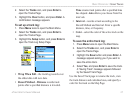
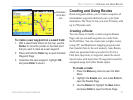
Use the Saved Track page to rename the track, view
the track distance and calculated area, and specify a
color for the track on the Map Page.
eTrex Vista Cx Owner’s Manual 27
BASIC OPERATION > USING TRACKS