


N
A
V
I
128
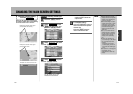
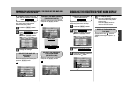
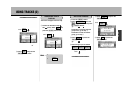
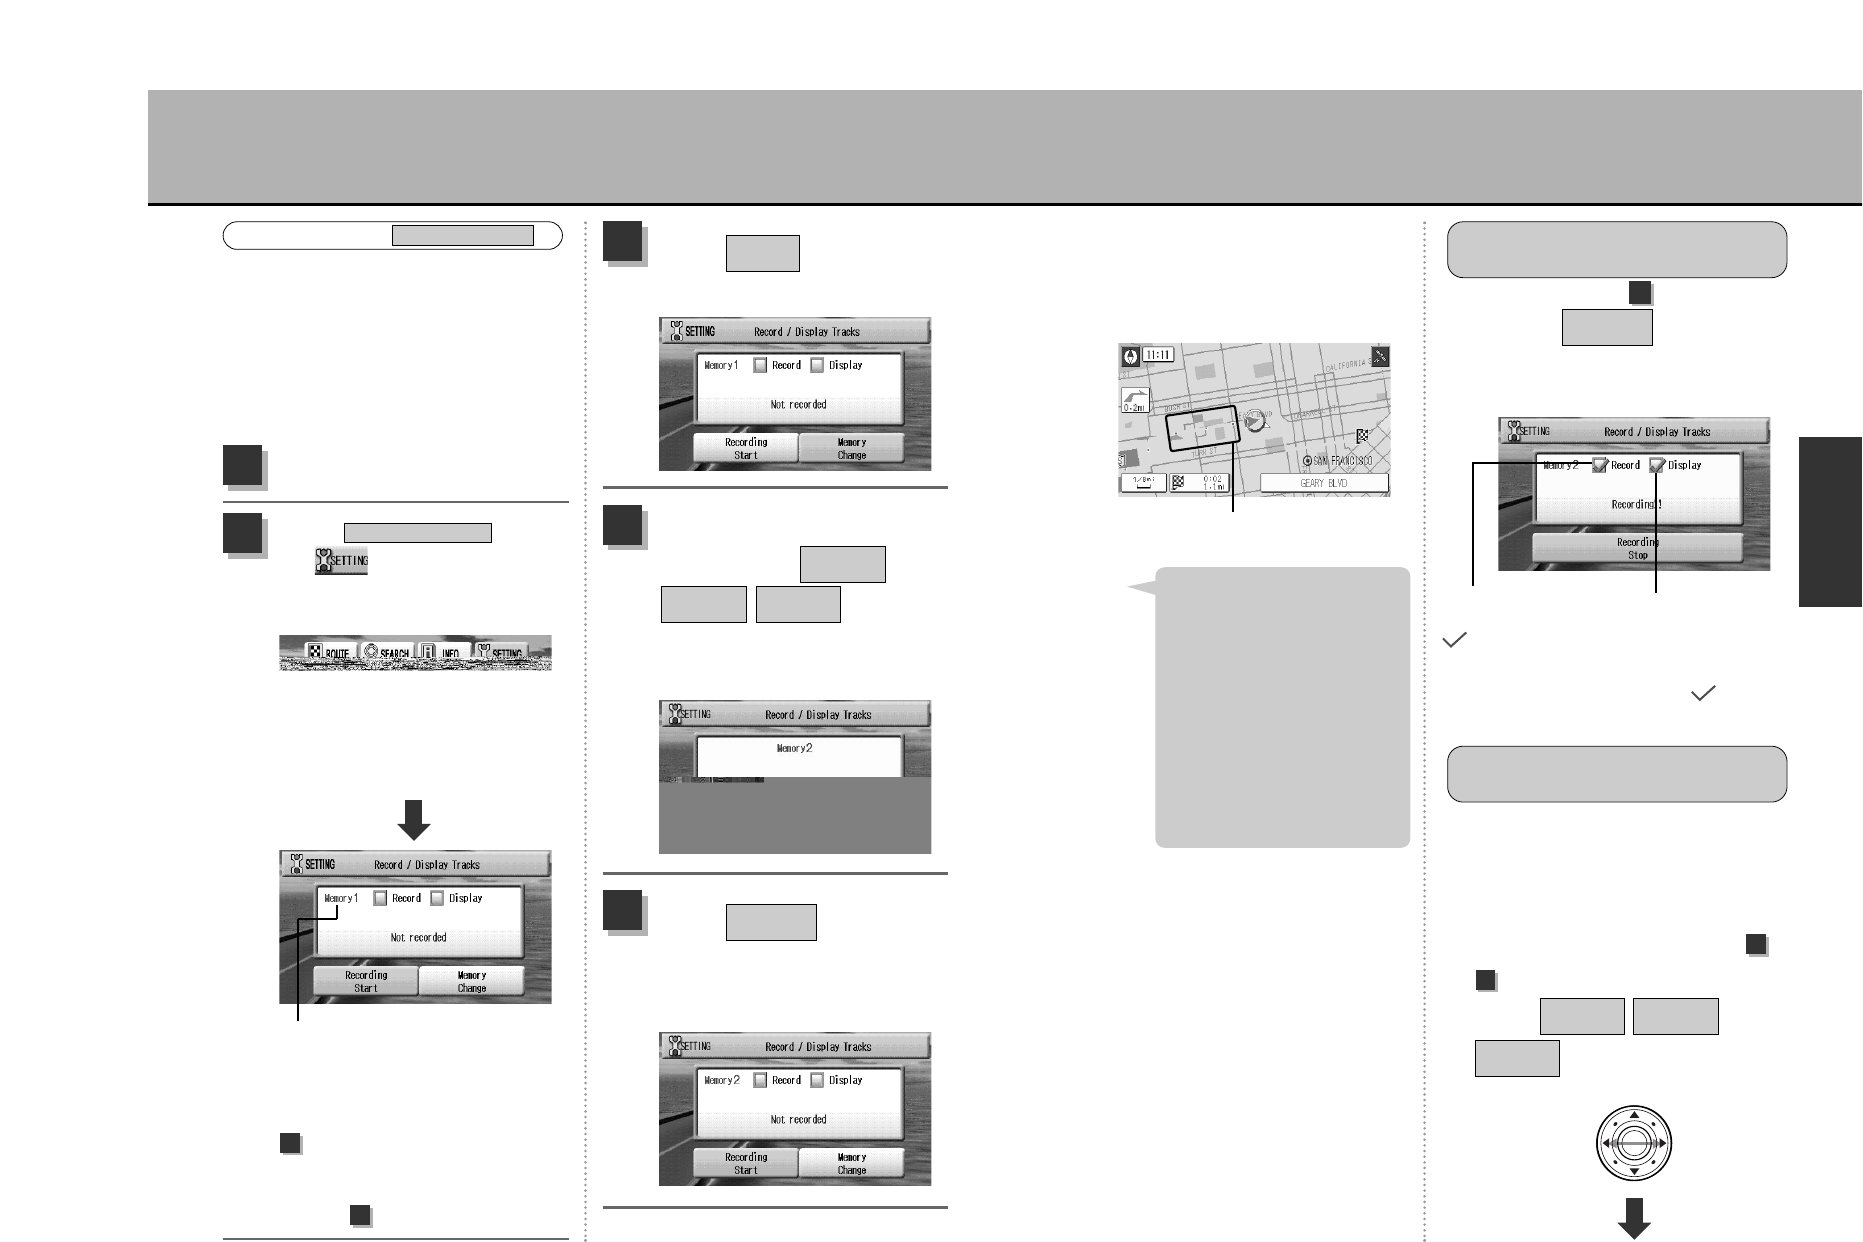
Start recording tracks
When the present location mark moves, the
tracks appear.
This also starts the track registration
function.
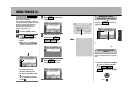
Track display
As described in step (p.127), check if
the cursor is and press the
Ä button twice.
The present map is displayed.
Recording
Stop
2
A track is presently
recorded in memory 2.
(mark appears)
The track presently
recorded in
memory 2 is being
displayed on the
map. ( mark
appears)
Select
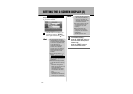
¡About 1000 tracks can be
recorded for each group. If the
number of tracks exceeds that
capacity, the oldest tracks in
the group will be deleted
automatically and the new
tracks will be recorded.
¡Tracks can only be displayed
one group at a time (present
track memory). Also, track
colors vary by group (memory
1: black, memory 2: green,
memory 3: blue).
Hint
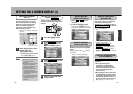
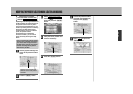
DISABLING TRACK
RECORDING FUNCTION
Display the tracks of the selected group
(memory 1/memory 2/memory 3) on the
map.
* Only one group can be displayed at a time.
Also, only displaying a track doesn’t record it.
q Proceed as described in step to
(p.127) to select the desired
group ( / /
) and press the Ä
button.
Track
Memory 3
Track
Memory 2
Track
Memory 1
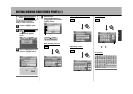
DISPLAY THE DESIRED
TRACK
1
3
127
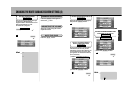
USING TRACKS (1)
Place markers along the road already
followed and record them.
This function is helpful when wanting to
verify a road already traveled on or when
wanting to use the same road again.
This unit’s recording function is
separated into 3 groups (memory 1,
memory 2 and memory 3).
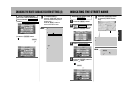
Group presently selected
To record tracks in the
presently selected group,
proceed as described in step
.
To record tracks in another
group, proceed as described
in step .
Select and press the
Ä button.
Memory
Change
3
Select the group in which to
record tracks ( /
/) and
press the Ä button.
Track
Memory 3
Track
Memory 2
Track
Memory 1
4
Example of selecting “memory 2”.
Select and press
the Ä button twice.
The present location map is shown
and path recording starts.
Recording
Start
5
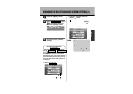
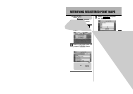
Press the É button.
1
Select from
the drop-down menu
and press the Ä
button.
Save Route Track
2
USING TRACKS
Save Route Track
5
3