


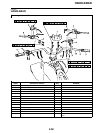
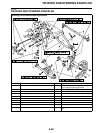
HANDLEBAR
4-41
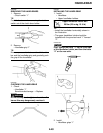
TIP
• Before applying the adhesive, wipe off
grease or oil on the handlebar surface “a”
with a lacquer thinner.
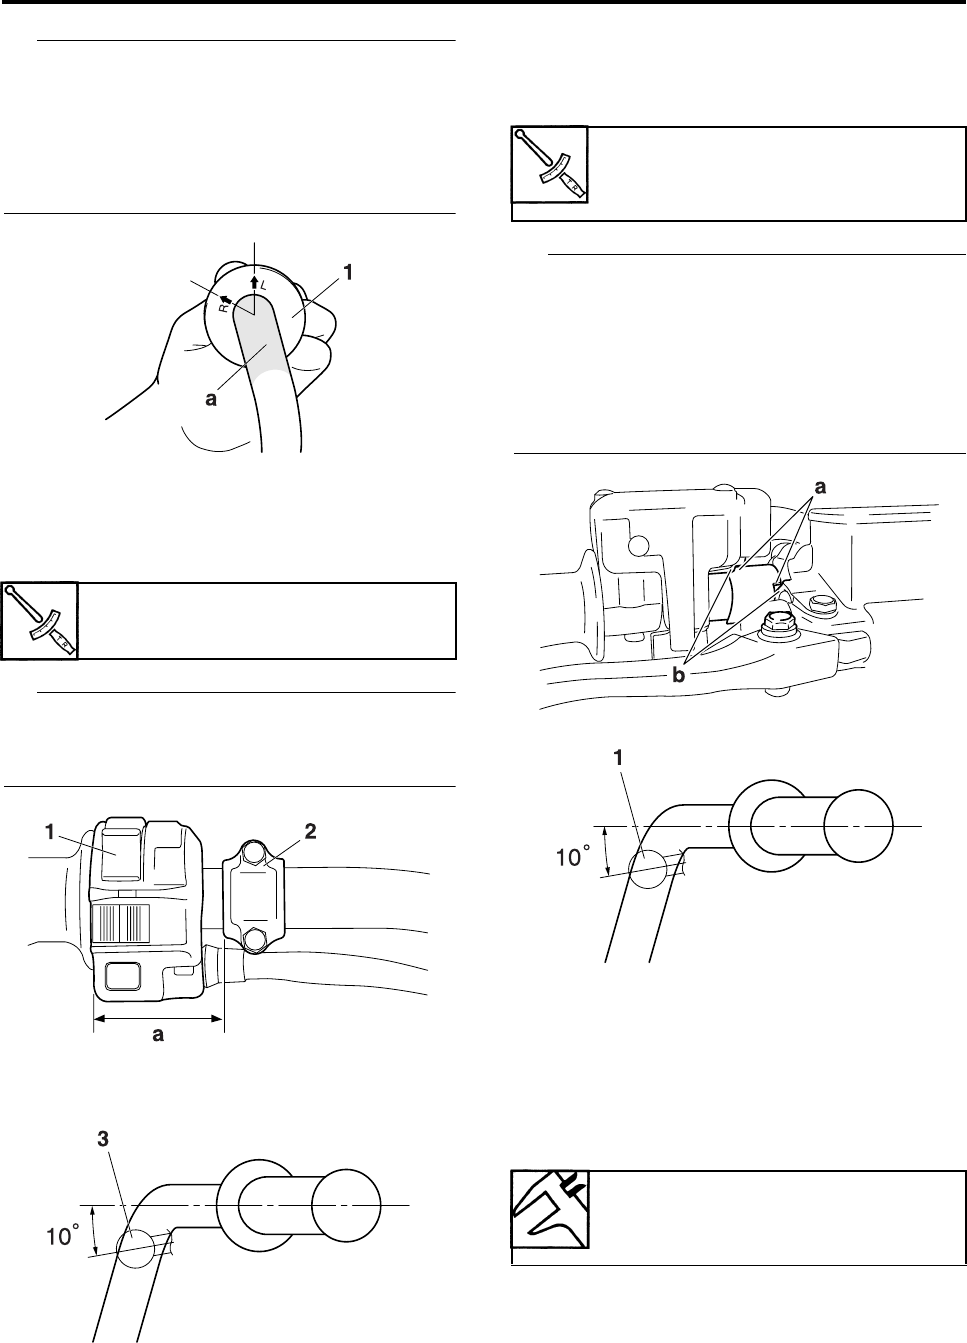
• Install the handlebar grips so that the “L”
arrow on the left grip and “R” arrow on the
right grip are placed vertically.
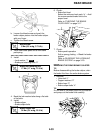
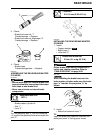
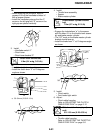
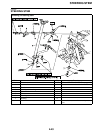
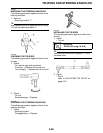
3. Install:
• Handlebar switch “1”
• Clutch lever
• Clutch lever bracket “2”
TIP
• Install the clutch lever bracket as shown.
• Install the clutch lever “3” at 10 degrees
angle as shown.
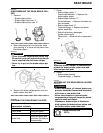
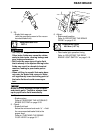
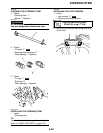
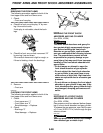
4. Install:
• Throttle lever assembly
•Spacer
• Brake master cylinder
TIP
• Engage the indentations “a” in the spacer
with the lobes “b” on the throttle lever assem-
bly and brake master cylinder.
• The “UP” mark on the brake master cylinder
bracket should face up.
• Install the brake lever “1” at 10 degrees angle
as shown.
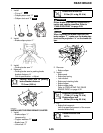
5. Install:
• Clutch switch
• Front brake light switch
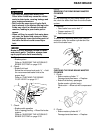
6. Adjust:
• Clutch cable free play
Refer to “ADJUSTING THE CLUTCH
CABLE FREE PLAY” on page 3-12.
7. Adjust:
• Throttle cable free play
Refer to “ADJUSTING THE THROTTLE
CABLE FREE PLAY” on page 3-6.
Clutch lever bracket bolt
4 Nm (0.4 m·kg, 3.0 ft·lb)
a. 53–54 mm (2.09–2.13 in)
Brake master cylinder bracket
bolt
7 Nm (0.7 m·kg, 5.2 ft·lb)
Clutch cable free play (lever
end)
5.0–10.0 mm (0.20–0.39 in)