60 CLCH-IM-16A
*NOTE: Soft metric conversions not acceptable for screw and hex
sizes
q Check damper linkages, set screws and blade
adjustment. Clean, but do not lubricate, the nylon
damper rod bushings.
q Clean damper operators.
q Inspect the control and power box wiring for
secure connections and insulation.
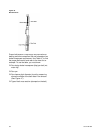
q Rotate the fan wheel and check for obstructions in
the fan housing. The wheel should not rub on the
fan housing. Adjust the center if necessary and
tighten wheel set screws to the proper torque.
q Check condition of gasketing and insulation
around unit, door and dampers.
q Examine flex connections for cracks or leaks.
Repair or replace damaged material.
Drain Pans
Inspecting and Cleaning Drain Pans
For units with sloped drain pans
, if evidence of
standing water or condensate overflow exists,
identify and remedy the cause immediately. (Refer to
the troubleshooting section for possible causes and
solutions.) If microbial growth (mold) in the drain pan
is observed, clean the pan immediately using the
following procedure:
7 Disconnect all electrical power to the unit.
8 Don the appropriate personal protective
equipment (PPE).
9 Remove all standing water.
10 Use a scraper or other tools to remove any solid
matter. Remove solid matter with a vacuum
device that uses high efficiency particulate
arrestance (HEPA) filters with a minimum
efficiency of 99.97% at 0.3 micron particle size.
11 Thoroughly clean the contaminated area with a
mild bleach and water solution or an EPA-
approved sanitizer specifically designed for HVAC
use. Carefully follow the sanitizer manufacturer’s
instructions regarding the use of the product.
12 Immediately rinse the drain pan thoroughly with
fresh water to prevent potential corrosion from the
cleaning solution of the drain pan and drain line
components.
13 Allow the unit to dry thoroughly before putting the
system back into service.
14 Determine and correct the cause of the microbial
contamination.
15 Be careful that the contaminated material does
not contact other areas of the unit or building.
Properly dispose of all contaminated materials
and cleaning solution.
IMPORTANT: STANDING WATER IN DRAIN PANS CAN
PROMOTE MICROBIAL GROWTH (MOLD) THAT MAY
CAUSE UNPLEASANT ODORS AND SERIOUS
HEALTH-RELATED INDOOR AIR QUALITY
PROBLEMS. IF MOLD IS FOUND, IT MUST BE
REMOVED IMMEDIATELY AND THAT PORTION OF
THE UNIT PROPERLY CLEANED AND SANITIZED.
Air Filters
Catalog data tables provide filter size, type and
quantity.
Throwaway Filters
To replace throwaway filters, install new filters with
the directional arrows pointing in direction of airflow.
NOTE: FILTERS MUST HAVE AN AIRTIGHT SEAL TO
PREVENT AIR BYPASS. IF USING OTHER THAN
TRANE-SUPPLIED FILTERS, APPLY FOAM
GASKETING TO THE VERTICAL EDGES OF THE
FILTER.
Permanent Filters
To clean permanent filters, wash under a stream of
water to remove dirt and lint. Remove oil filter with a
wash of mild alkali solution. Rinse in clean, hot water
and allow to dry. Coat both sides of the filter by
immersing or spraying it with Air Maze Filter Lote W
or an equivalent. Allow to drain and dry for about 12
hours.
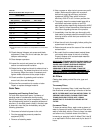
9/16, 18
UNF 118
5/8, 11
UNC 150
5/8, 18
UNF 176
3/4, 10
UNC 254
3/4, 16
UNF 301
7/8, 9
UNC 358
7/8, 14
UNF 422
1, 8
UNC 500
1, 14
UNF 602
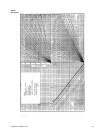
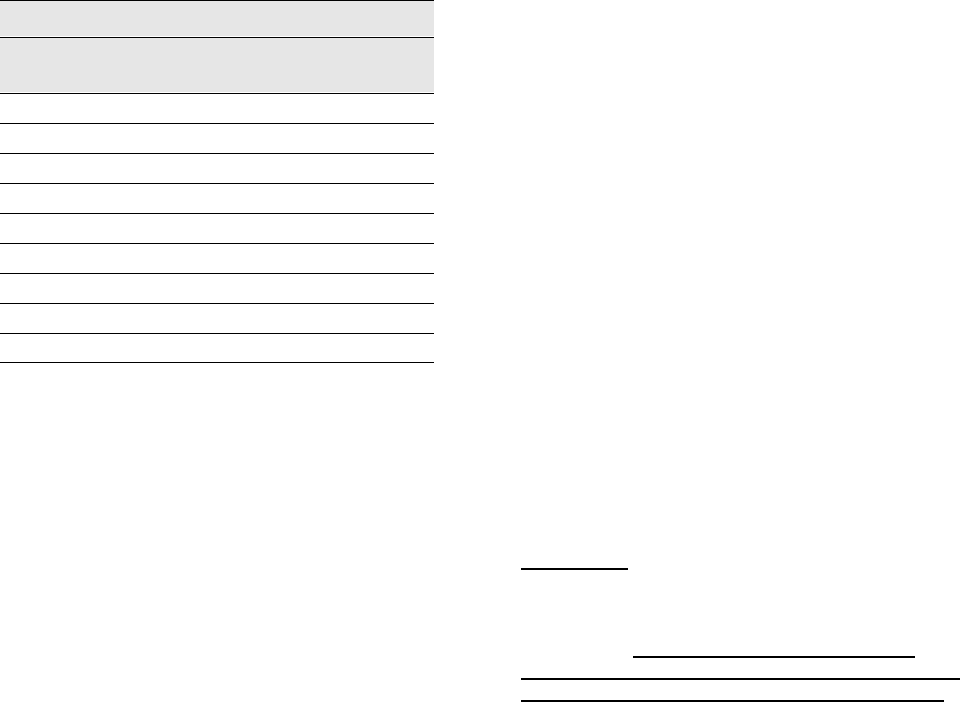
Table 48
Minimum Hex Head Bolt Torque in lb-ft
Grade 5 Bolts
Size (inches*)
Thread
Designation
Min. Torque


