


2-5
Installing Hardware
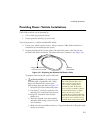
Providing Power: Vehicle Installations
VRC 6940 terminals can be powered by:
!
12V or 24V gas-powered vehicles
!
battery-powered vehicles, up to 60 volts
To provide power to a vehicle-installed VRC 6940:
1. Locate your vehicle’s power source. Always connect a VRC 6940 terminal to a
continuous or unswitched power source.
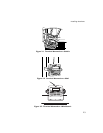
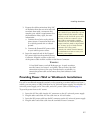
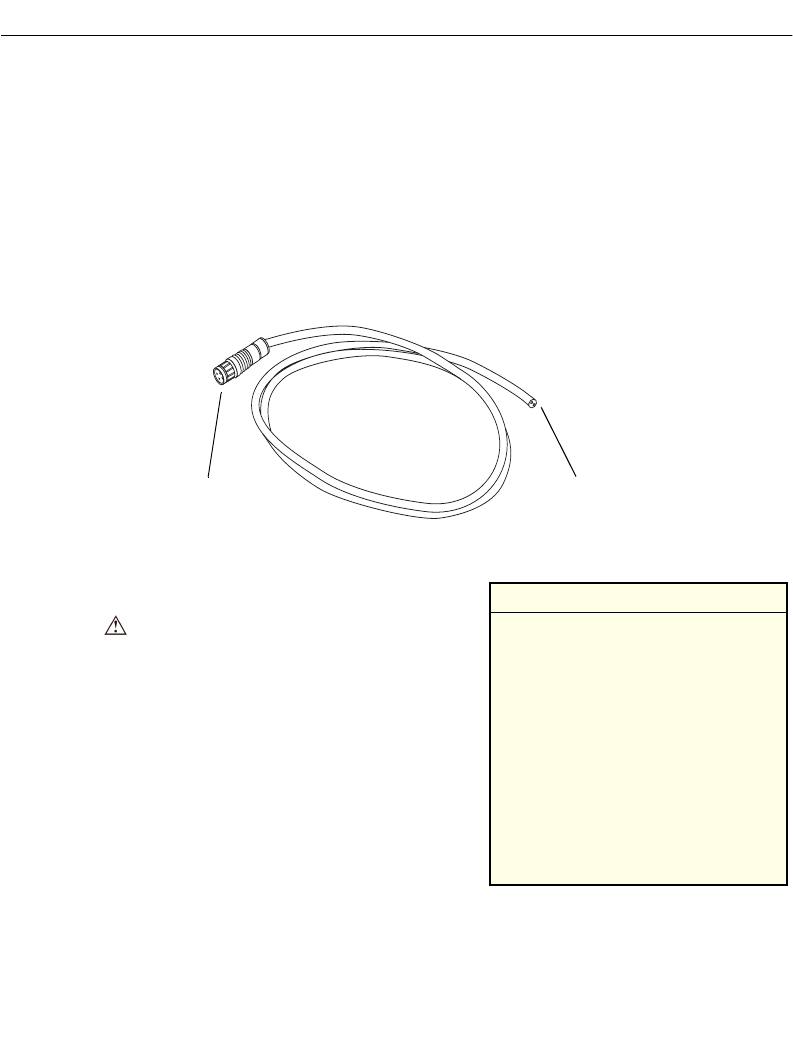
2. Prepare the External DC power cable. One end of the power cable fits into the
terminal’s DC Power connector. The other end has no connector (see Figure 2-6).
Figure 2-6. Preparing the External DC Power Cable
To prepare the External DC power cable end:
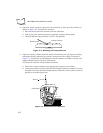
a. In-line fuse holder: if no fused output is
available, add a fuse-holder and 5 Amp
fuse to the External DC power cable.
Follow these steps and refer to Figure 2-7:
i. Strip back six inches of the cable jacket.
ii. Cut about 5” from the red power wire
and strip 3/8” insulation from the wire.
iii. Strip 3/8” insulation from the fuse-
holder wire.
iv. Twist the stripped wire ends together
and splice them using a twist-on nylon
wire connector.
v. Make sure the fuse holder contains a 5 Amp slow-blow fuse. Wrap the wires
neatly, as necessary.
Plug in to the DC Power
Cable End
connector on the terminal
to be prepared
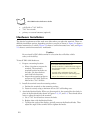
Installation Note: Power Sources
The ideal location for connecting a
VRC 6940 External DC power
cable would be a fused power
source on the vehicle’s power
distribution panel. If no fused
power source is available, connect
the terminal directly to a vehicle
battery. In this case, Symbol
recommends you use an in-line fuse
holder and 5A slow-blow fuse. The
fuse protects your vehicle from an
electrical short on the power cable.