


10.4
Section 10
Inspection and Reconditioning
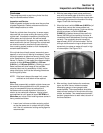
2. Use an inside micrometer, telescoping gauge,
or bore gauge and measure the cylinder bore.
Take the measurement approximately 63.5 mm
(2.5 in.) below the top of the bore and
perpendicular to the piston pin.
3. Piston-to-bore clearance is the difference
between the bore diameter and the piston
diameter (step 2 minus step 1).
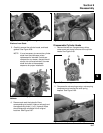
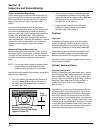
Flywheel
Inspection
Inspect the flywheel for cracks, and the flywheel
keyway for damage. Replace flywheel if cracked.
Replace the flywheel, the crankshaft, and the key if
flywheel key is sheared or the keyway is damaged.
Inspect the ring gear for cracks or damage. Kohler
does not provide ring gears as a serviceable part.
Replace the flywheel if the ring gear is damaged.
Check the charging system magnets to be sure they
are not loose or cracked.
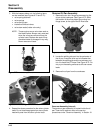
Cylinder Head and Valves
Inspection and Service
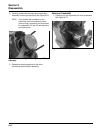
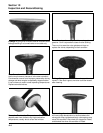
Carefully inspect the valve mechanism parts. Inspect
the valve springs and related hardware for excessive
wear or distortion. Check the valves and valve seat
area or inserts for evidence of deep pitting, cracks, or
distortion. Check clearance of the valve stems in
guides. See Figure 10-5 for valve details and
specifications.
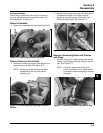
Hard starting, or loss of power accompanied by high
fuel consumption may be symptoms of faulty valves.
Although these symptoms could also be attributed to
worn rings, remove and check the valves first. After
removal, clean the valve heads, faces, and stems with
a power wire brush. Then, carefully inspect each valve
for defects such as warped head, excessive corrosion,
or worn stem end. Replace valves found to be in bad
condition. A normal valve and valves in bad condition
are shown in the accompanying illustrations.
Clean Cylinder Bore After Honing
Proper cleaning of the cylinder walls following boring
and/or honing is very critical to a successful overhaul.
Machining grit left in the cylinder bore can destroy an
engine in less than one hour of operation after a
rebuild.
The final cleaning operation should always be a
thorough scrubbing with a brush and hot, soapy water.
Use a strong detergent that is capable of breaking
down the machining oil while maintaining a good level
of suds. If the suds break down during cleaning,
discard the dirty water and start again with more hot
water and detergent. Following the scrubbing, rinse the
cylinder with very hot, clear water, dry it completely,
and apply a light coating of engine oil to prevent
rusting.
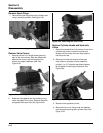
Measuring Piston-to-Bore Clearance
Before installing the piston into the cylinder bore, it is
necessary that the clearance be accurately checked.
This step is often overlooked, and if the clearances are
not within specifications, engine failure will usually
result.
NOTE: Do not use a feeler gauge to measure piston-
to-bore clearance–it will yield inaccurate
measurements. Always use a micrometer.
Use the following procedure to accurately measure the
piston-to-bore clearance:
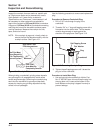
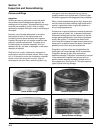
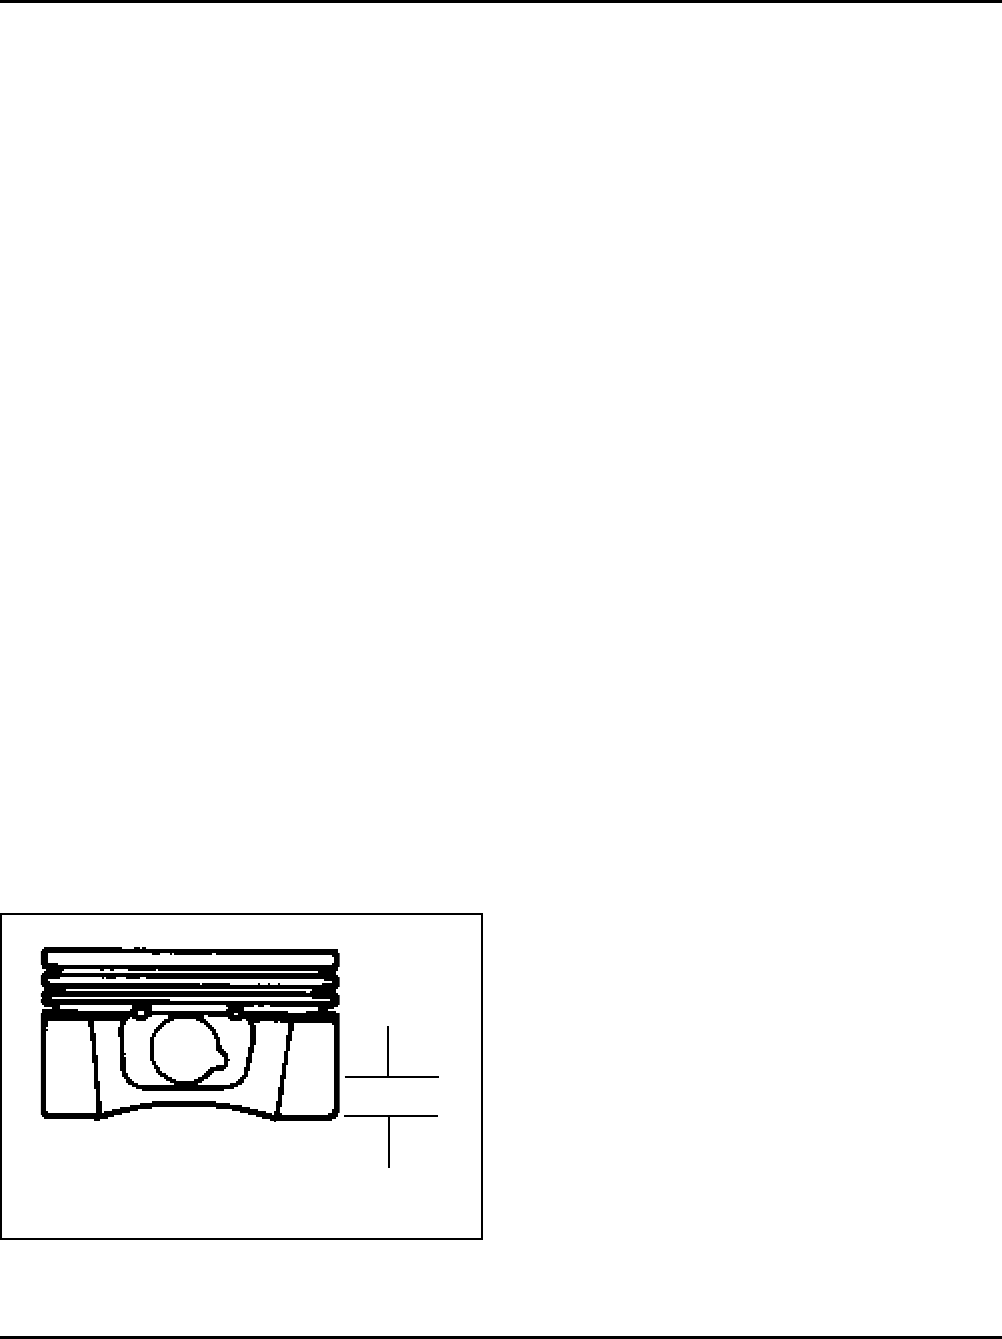
1. Use a micrometer and measure the diameter of
the piston 6 mm (0.24 in.) above the bottom of
the piston skirt and perpendicular to the piston
pin. See Figure 10-4.
Measure 6 mm Above the
Bottom of Piston Skirt at Right
Angels to Piston Pin.
6 mm
(0.24 in.)
Figure 10-4. Measuring Piston Diameter.