


7.5
Section 7
Cooling System
7
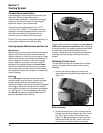
Hoses and Tubes
Hoses and tubes are used to connect the components
within the cooling system. To guard against coolant
loss and hose failure, the hoses, tubes and their
connections should be checked regularly for leaks or
damage. Loss of coolant can result in serious engine
damage. Over time, engine vibration can affect hose/
joint connections, and the hoses themselves can be
affected by heat and the coolant. Swelling, hardening,
and/or deterioration can occur depending on the
operating environment involved. Deterioration usually
takes place more rapidly from the inside, making
outside inspections incomplete and not always
dependable. Regular outside inspection and careful
inside inspection whenever connections are opened,
can minimize a possible ‘‘in-service’’ problem.
Use new clamps whenever replacing a hose or a joint
connection is opened, to assure proper retention and
avoid leakage as a result of insufficient tension.
When making hose connections, a light coating of
rubber lubricant will make assembly easier.
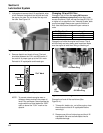
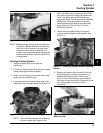
Thermostat Testing and Servicing
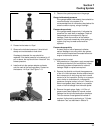
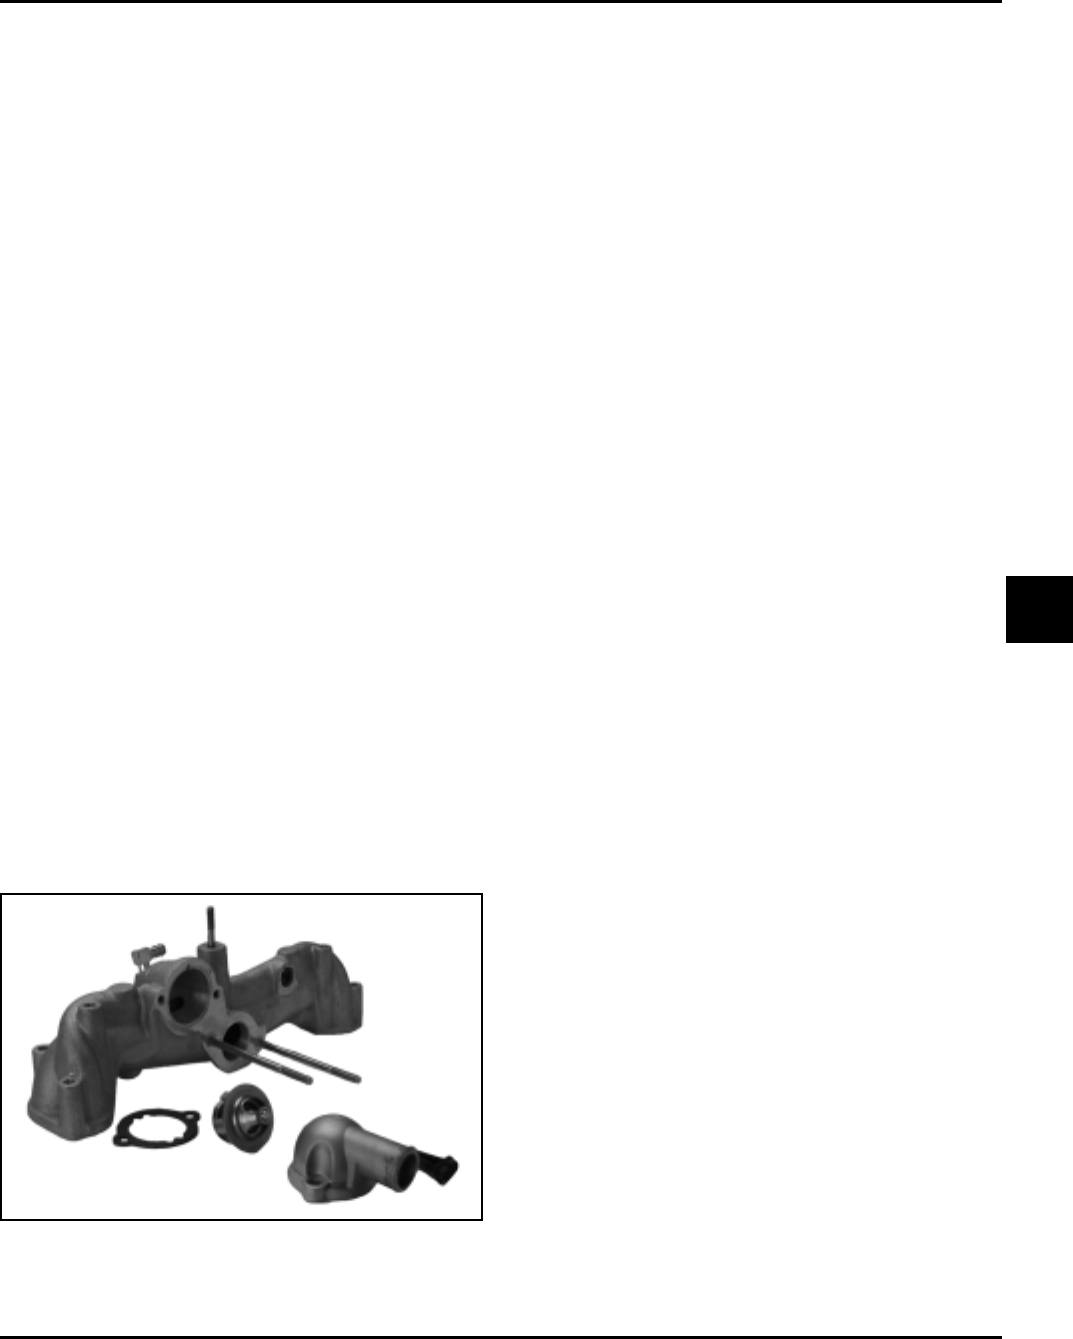
The thermostat is mounted in the intake manifold,
beneath the thermostat housing. See Figure 7-9. It
controls the rapid warm-up and operating temperature
of the engine. If a problem is encountered which is
thought to be the fault of the thermostat, it can be
checked to determine its operating condition. Before
removing and testing the thermostat, make sure all
other possible causes such as debris accumulation,
obstruction, leaks, coolant level, and damaged
components are eliminated as possible causes.
To Test
Remove the thermostat from the system. Hang or
suspend the thermostat by its frame in a container of
water, so the thermostat does not touch the bottom of
the container. Heat the water and measure the
temperature (an oven thermometer can be used). The
spring-loaded valve of the thermostat should begin to
open at 79.4º C (175º F), and can be completely open
at 90º C (195º F). If the valve opens at a temperature
more than 10 degrees below the specified opening or
fails to open at a temperature 10 to 15 degrees above
the specified opening, the thermostat should be
replaced. If the valve in the thermostat can be moved
or pushed off its seat with a slight effort when the
thermostat is cold, the unit may be considered
defective and should be replaced. The thermostat
should be replaced if operation is found to be
questionable or faulty.
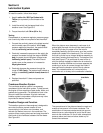
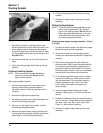
Installation
1. Thoroughly clean the sealing surfaces of the
intake manifold and thermostat housing with an
aerosol gasket remover. Make sure the sealing
surfaces are clean and free of nicks or damage.
Make sure the notch in the intake manifold is
clean.
2. Install a new thermostat into the intake manifold,
so the larger spring end is down into the well of
the intake manifold. Position a new thermostat
gasket on the intake manifold.
3. Install the thermostat housing so the outlet faces
away from the mounting surfaces of the intake
manifold.
4. Install and torque the two hex. flange screws to
9.9 N·m (88 in. lb.).
5. Reconnect the radiator hose and secure with the
hose clamp, if separated previously.
Figure 7-9. Intake/Thermostat.