


5 - 78
ENG
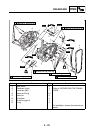
CRANKSHAFT
▼▼▼▼ ▼ ▼▼▼▼ ▼ ▼▼▼▼ ▼ ▼▼▼▼ ▼ ▼▼▼▼ ▼ ▼▼▼▼ ▼▼▼
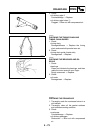
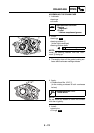
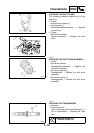
a. The crankshaft 1 and the crankshaft pin 2
oil passages must be properly intercon-
nected with a tolerance of less than 1 mm
(0.04 in).
▲▲▲▲ ▲ ▲▲▲▲ ▲ ▲▲▲▲ ▲ ▲▲▲▲ ▲ ▲▲▲▲ ▲ ▲▲▲▲ ▲▲▲
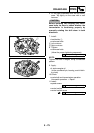
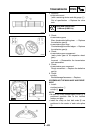
4. Check:
• crankshaft sprocket
Damage/wear → Replace the crankshaft.
• bearing
Cracks/damage/wear → Replace the crank-
shaft.
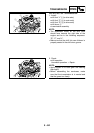
5. Check:
• crankshaft journal
Scratches/wear → Replace the crankshaft.
• crankshaft journal oil passage
Obstruction → Blow out with compressed
air.
EAS00408
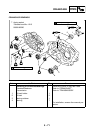
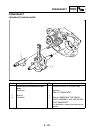
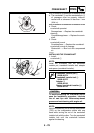
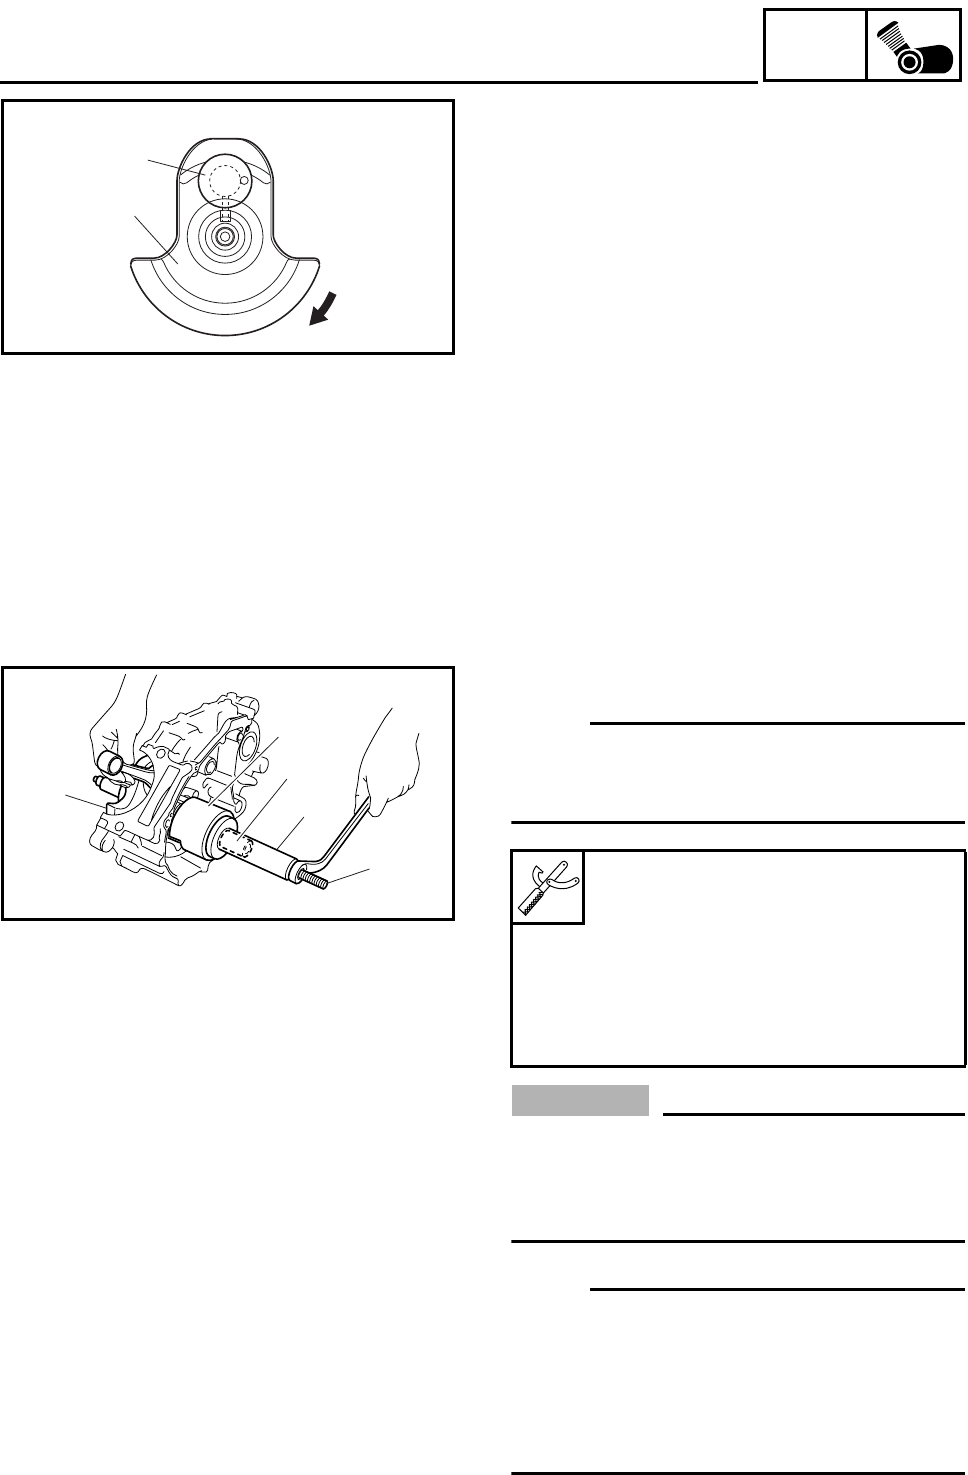
INSTALLING THE CRANKSHAFT
1. Install:
• crankshaft 1
NOTE:
_
Install the crankshaft with the crankshaft
installer pot, crankshaft installer bolt, adapter
and spacer (crankshaft installer).
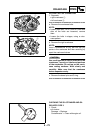
CAUTION:
_
To avoid scratching the crankshaft and to
ease the installation procedure, lubricate
the oil seal lips with lithium-soap-based
grease and each bearing with engine oil.
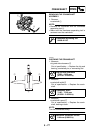
NOTE:
_
Hold the connecting rod at the top dead center
(TDC) on the compression stroke with one
hand while turning the nut of the crankshaft
installer bolt with the other. Turn the crankshaft
installer bolt until the crankshaft bottoms
against the bearing.
Crankshaft installer pot
2
90890-01274
Crankshaft installer bolt
3
90890-01275
Adapter
4
90890-04130
Spacer (crankshaft installer)
5
90890-04144
1
2
5
4
2
3
1