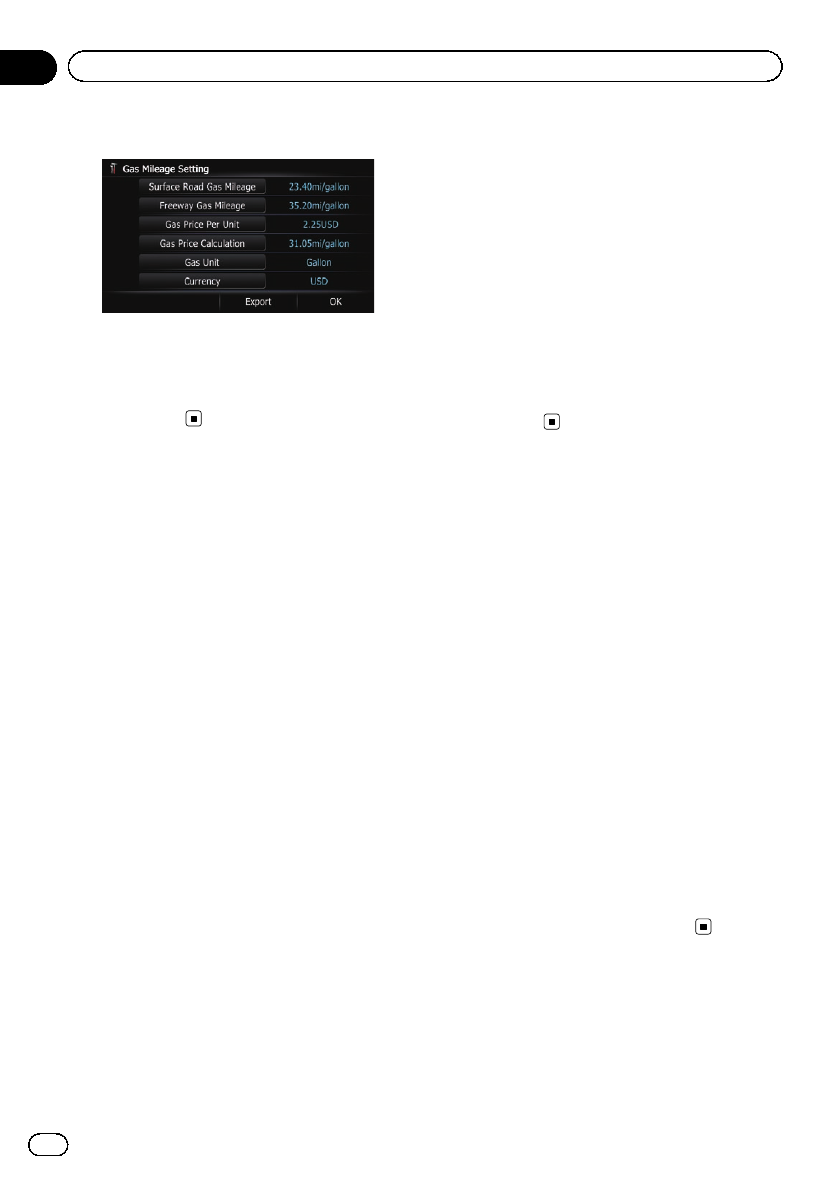
4 Touch [Export].
After a message confirming whether to export
the data appeared, exporting the data to the
SD memory card starts.
The “Gas Mileage Setting” screen appears
when it is done.
Recording your travel history
Activating the track logger enables you to re-
cord your driving history (called “track log”
below). You can review the travel history later.
p If an SD memory card is inserted into the
SD card slot, the track logs will be stored in
the SD memory card.
1 Insert an SD memory card into the SD
card slot.
= For detailsof theoperation, refer to Insert-
ing and ejecting an SD memory card on
page 18.
2 Display the “Navi Settings” screen.
= For details,refer to Displaying the screen for
navigation settings on page 158.
3 Touch [Drive Log Settings].
The “Drive Log Settings” screen appears.
4 Touch [Drive Log Settings].
Each time you touch the key changes the set-
ting.
! Off (default):
You cannot export your track log tothe SD
memory card.
! On:
You can store your tracklog to the SD mem-
ory card.
p While the setting is “On”, the navigation
system continues to store the track logs in
the inserted SD memory card.
5 Touch [Type].
Each time you touch the key changes the set-
ting.
! Private (default):
Changes the track log attribute to “Private”.
! Business:
Changes the track log attribute to “Busi-
ness”.
! Other:
Changes the track log attribute to
“Other”.
Using the demonstration
guidance
This is a demonstration function for retail
stores. After a route is set, touching this key
starts the simulation of route guidance.
1 Display the “Navi Settings” screen.
= For details,refer to Displaying the screen for
navigation settings on page 158.
2 Touch [Demo Mode].
Each time you touch the key changes the set-
ting.
! Off (default):
The demonstration guidance is set off.
! On:
Repeats the demonstration guidance.
3 Display the map screen.
The demonstration guidance will begin.
= For detailsof theoperations, refer to Screen
switching overview on page 26.
En
162
Chapter
31
Customizing preferences
