79
Chapter 5
Utilising Various Information
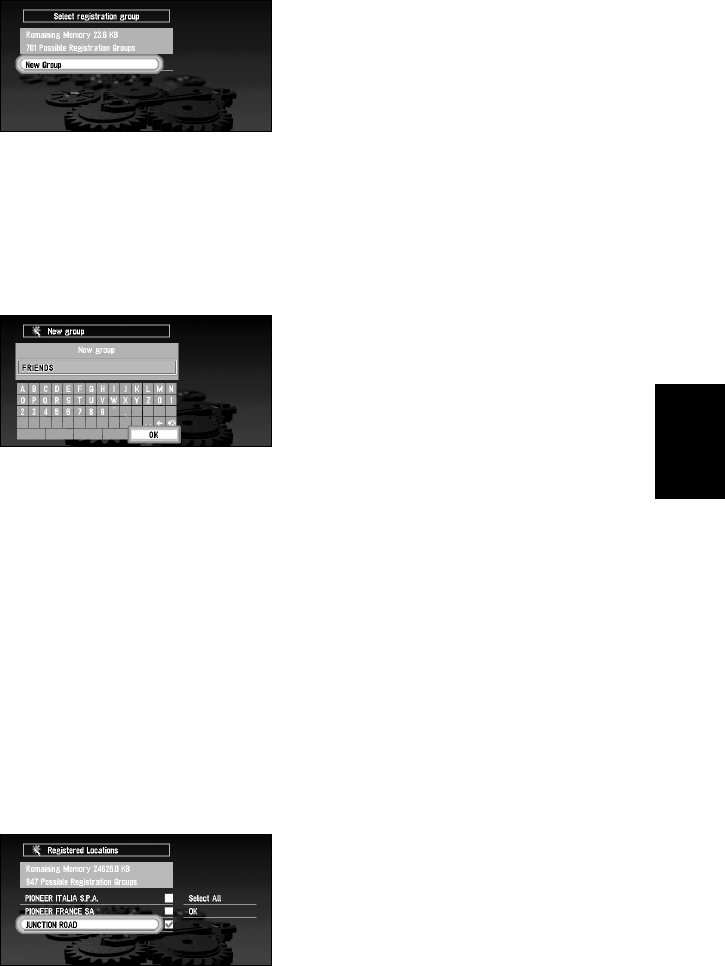
3 After finishing the selection of locations, select “OK” and click the OK button.
The list of the stored group appears.
4 Select “New group” and click the OK button.
The display to enter a new group name appears.
➲ If the data is to be stored in a group already registered in the PC card, select the group
name in the list and click the OK button. (Up to 100 items per group can be registered.)
A message confirming that you want to store the data in the specified group appears.
Click the OK button, and the data is stored in the PC card, and a map of your surround-
ings then appears.
5 After entering a group name, select “OK” and click the OK button.
The data of the registered location is stored in the entered group, and a map of your sur-
roundings appears.
➲ If there is little or no space in the PC card or you have already stored 100 locations in a
group, a message, “Memory is full”, or “You cannot store more than 100 items in the
same group” appears. To remedy, delete unnecessary data, or create a new group.
■Loading data from a PC card
Address Book data stored in a PC card is loaded to the Navigation System. (However, if there
is no data of Registered Locations in the PC card, you cannot use this function.)
1 Select “Settings” in the Main menu, then select “PC Card” and “Read from PC card”.
Click the OK button.
The list of groups to be stored appears.
2 Select the desired group and click the OK button.
The list of locations stored in the group appears.
3 Select the desired locations and click the OK button.
