


Garmin G1000 Cockpit Reference Guide for the DA40/40F
8-4
SECTION 8 – FLIGHT PLANNING
2) Press the
NEW
Softkey to display a blank
flight plan window for the first empty storage
location.
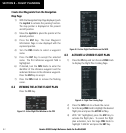
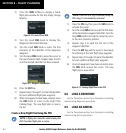
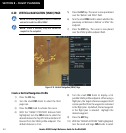
Figure 8-10 Create FPL on MFD
3) Turn the small
FMS
Knob to display the
Waypoint Information Window.
4) Turn the small
FMS
Knob to enter the first
character of the identifier of the departure
waypoint.
5) Turn the large
FMS
Knob to move the cursor to
the next character field. Repeat steps 4 and 5
until the desired identifier has been entered.
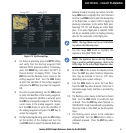
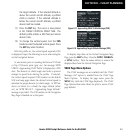
Figure 8-11 Waypoint Info Window
6) Press the
ENT
Key.
7) Repeat steps 3 through 5 to enter the identifier
for each additional flight plan waypoint.
8) When all waypoints have been entered, press
the
FMS
Knob to return to the Flight Plan
Catalog Page. The new flight plan is now in
the list.
Create a New Flight Plan Using the PFD
NOTE: A flight plan cannot be entered using the
PFD if another flight plan is active.
NOTE: After the first leg is entered (using the
PFD only), it is immediately activated.
1) Press the
FPL
Key, then press the
FMS
Knob to
activate the cursor.
2) Turn the small
FMS
Knob to enter the first letter
of the destination waypoint identifier. Turn the
large
FMS
Knob to the right to move the cursor
to the next character position.
3) Repeat step 2 to spell out the rest of the
waypoint identifier.
4) Press the
ENT
Key and the cursor is now ready
for entering of the next flight plan waypoint.
5) Repeat steps 2 through 4 to enter the identifier
for each additional flight plan waypoint.
6) Once all waypoints have been entered, press
the
FMS
Knob remove the cursor. The new
flight plan is now active.
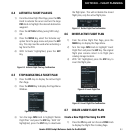
Figure 8-12 Creating Flight Plan on the PFD
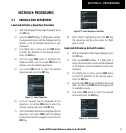
8.8 LOAD A DEPARTURE
See the Procedures section for a discussion on loading
and activating departure procedures.
8.9 LOAD AN ARRIVAL
See the Procedures section for a discussion on loading
and activating arrival procedures.