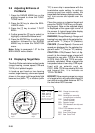
2-13
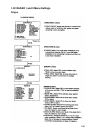
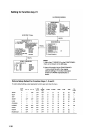
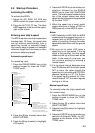
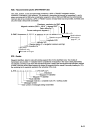
To set the CPA/TCPA alarm ranges:
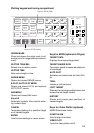
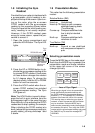
1. Press the E, AUTO PLOT MENU key
on the plotting keypad to show the
ARPA 1 menu.
2. Press the [6] key to select menu item
6CP A, TCPA SET. At this point, a high-
light cursor appears at the "CPA x.xNM"
field.
3. Enter the CPA alarm range in nautical
miles (max 9.9 min) without omitting
leading zeroes, if any, and press the
ENTER key. The highlight cursor now
moves to the "TCPA xx.xMIN" field.
4. Enter the TCPA alarm limit in minutes
(max. 99.0 min) without omitting lead-
ing zeroes, if any, and press the EN-
TER key.
5. Press the E, AUTO PLOT MENU key
to close the menu.
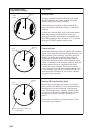
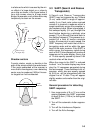
Silencing CPA/TCPA aural alarm
Press the AUDIO OFF key to acknowl-
edge and silence the CPA/TCPA aural
alarm.
The warning label COLLISION and the
flashing of the triangle plot symbol and
vector remain on the screen until the dan-
gerous situation is gone or you intention-
ally terminate tracking of the target by
using the CANCEL key.
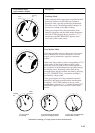
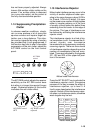
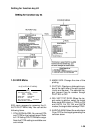
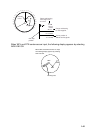
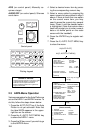
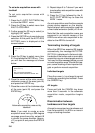
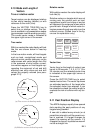
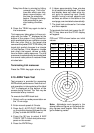
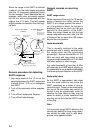
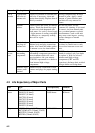
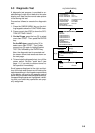
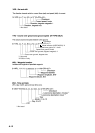
2.13 Setting a Guard Zone
When a target transits the operator-set
guard zone, the buzzer sounds and the
indication GUARD RING appears at the
screen bottom. The target causing the
warning is clearly indicated with an in-
verted flashing triangle.
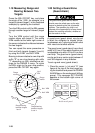
CAUTION
Guard Zone
The Guard Zone (Guard Ring) should never
be relied upon as a sole means for detecting
the risk ofcollision. The navigator is not
relieved of the responsibility to keep a visual
lookout foravoiding collisions, whether or
not the radar or other plotting aid is in use.
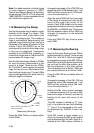
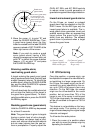
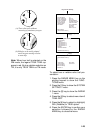
Activating the guard zone
No.1 Guard Zone is available between 3
and 6 nm with a fixed range depth of 0.5
nm. No.2 GZ may be set anywhere when
No.1 GZ is valid.
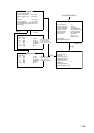
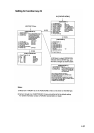
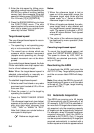
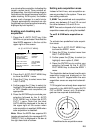
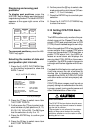
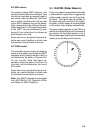
To set and activate the guard zone:
1. Press the E, AUTO PLOT MENU key
on the plotting keyboard to show the
ARPA 1 menu.
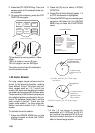
2. Press the [3] key to select menu item
3GUARD RING.
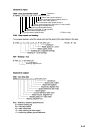
3. Further press the [3] key to select (or
highlight) ON to activate the guard
zone.
4. Press the ENTER key to conclude your
selection.
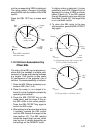
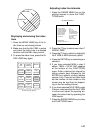
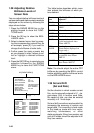
5. Press the [4] key to select menu item
4GUARD RING SET . At this point the
GUARD SETTING menu is displayed
at the screen bottom.
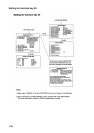
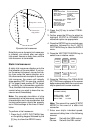
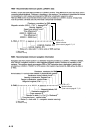
[GUARD SETTING]
1 [AUTO PLOT 1]
2 1/2
SET LEFT/RIGHT BOUNDARY
CANCEL PREVIOUS AREA: CANCEL KEY
6. Press the [2] key and ENTER key. ([2]
[2] [ENTER] when setting the no.2 ring.)