1-27
No.2 EBL
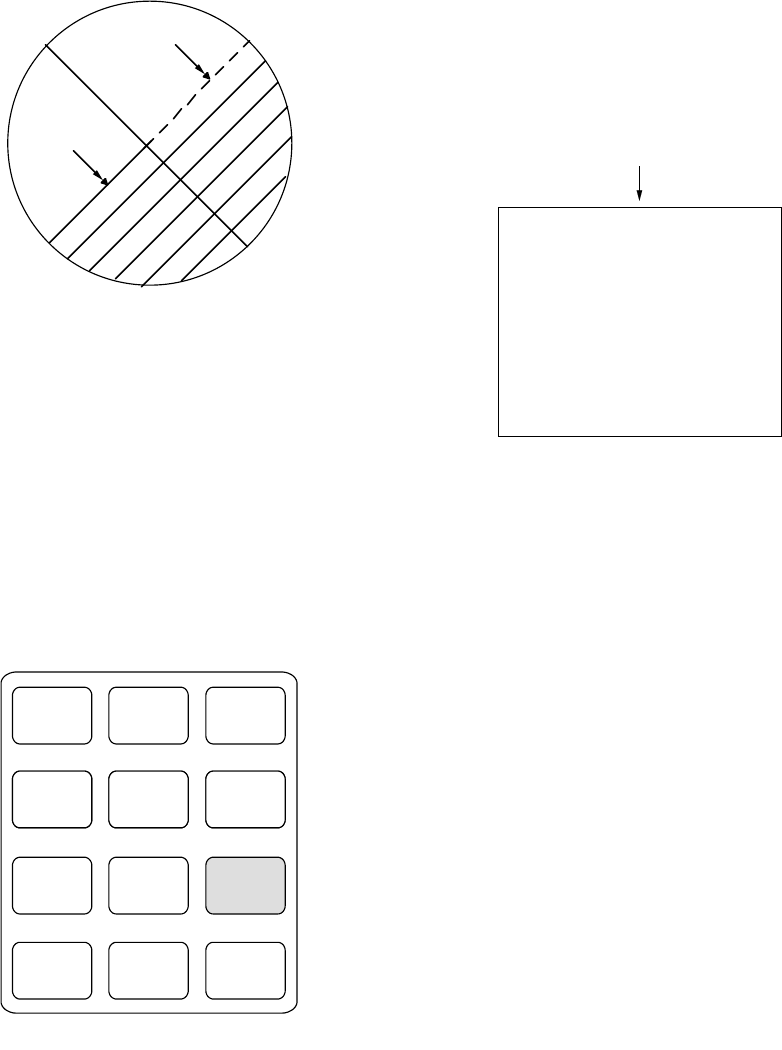
Index lines
Displaying and erasing the index
lines
1. Press the INDEX LINES key if the in-
dex lines are not already shown.
2. Make sure that the No.2 EBL is active
and orient the index lines in a desired
direction with the EBL rotary control.
3. To erase the index lines, press the IN-
DEX LINES key again.
HM
OFF
ECHO
TRAILS
MODE
ORIGIN
MARK
VECTOR
TRUE/
REL
VECTOR
TIME
GUARD
ALARM
EBL
OFFSET
OFF
CENTER
X2
ZOOM
BKGR
COLOR
INDEX
LINES
CU, TM
RESET
INT
REJECT
RINGS
Inside mode panel
Adjusting index line intervals
1. Press the RADAR MENU key on the
plotting keypad to show the FUNC-
TIONS menu.
Hit [RADAR MENU].
* R-type only
1 PULSE WIDTH
2 ECHO STRETCH
3 ECHO AVERAGE
4 PANEL DIMMER
5 ECHO COLOR
6 SHIP'S SPEED
7 INDEX LINES
8 SET/DRIFT
9 BRILLIANCE
0 [SYSTEM SETTING 1]
1/2
OFF/1/2
OFF/1/2/3
OFF/DIM/M/BRT
YEL/GRN/COLOR*
LOG/NAV*/MAN
NO.2 VRM/MAN
OFF/MAN
SET 000.0
DRIFT 00.0 KT
[FUNCTIONS 1]
2. Press the [7] key to select menu item 7
INDEX LINES.
3. Press the [7] key to select (or highlight)
No.2 VRM or MAN (manual) option.
4. Press the ENTER key to conclude your
selection.
5. If you have selected MAN in step 3
above, "MAN = XX.XX NM" appears
at the bottom of the FUNCTIONS
menu. Enter a desired line interval by
hitting numeric keys followed by the
ENTER key without omitting leading
zeroes, if any. There are six index lines
but the number of lines visible on the
screen may be less than six depend-
ing on the line setting interval.
6. If you have selected NO.2 VRM in step
3 above, make sure that the No.2 VRM
is active and adjust the spacing be-
tween the index lines by operating the
VRM control.
7. Press the RADAR MENU key to close
the FUNCTIONS menu.


