Chapter 2: Getting Started 2-7
Changing the chart scale
The RANGE key allows you to change the chart scale so that you can see a
smaller or larger area on the screen.
Plotter mode is available to allow you to zoom into a smaller area, even when no
chart data is available for that scale. To enable plotter mode, see Chapter 4,
Setting Up the Chartplotter.
You can change the chart scale for two purposes:
• To see either more detail (of a smaller area) or a larger area (in less detail) .
• To move the display to another area of the chart, by zooming out to a small
scale chart, then zooming in on another position.
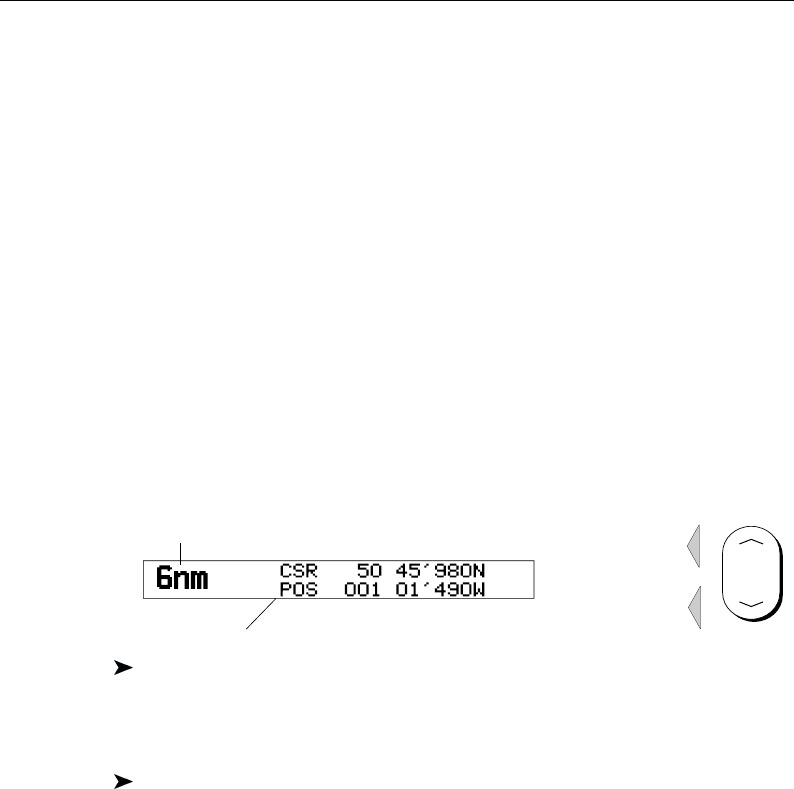
Each time you press the RANGE key, the chart scale changes to the next
available setting. The Status Bar at the top of the screen indicates the distance,
from top to bottom of the display, in nautical miles.
RANGE
D4723_1
Increases the
chart range
Decreases the
chart range
Vertical distance
displayed on chart
Status Bar
For rapid scale change, press and hold the required arrow on the RANGE key.
The distance indicator at the left-hand end of the status bar is updated whenever
you change the chart scale.
To zoom in to a larger-scale (more detailed) chart:
1. Use the trackpad to position the cursor in the area you wish to see in more
detail and press the bottom of the RANGE key to zoom into the area.
The section of the chart around the cursor is enlarged to fill the screen with
a larger-scale chart showing more detail. The cursor is now positioned in
the centre of the screen.
The distance indicated at the top left of the screen is updated.
3. If further chart enlargement is available using the current chart card you can
press the bottom of the RANGE key to zoom in again, repositioning the
cursor first if required.
An area of further chart detail is indicated by a box around the area as
shown in the following illustration.


