


11.19
Section 11
Reassembly
11
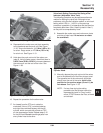
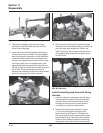
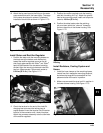
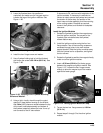
Figure 11-62. Installing Ferrule and Hex. Cap onto
Fitting.
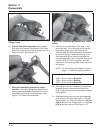
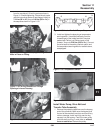
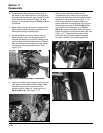
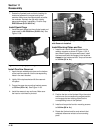
2) Insert the plain end of the transfer tube
through the hex. cap and compression
ring. See Figure 11-63.
Figure 11-63. Inserting Tube into Ferrule and Hex.
Cap.
b. For reinstallation of an existing tube or if
ferrule is locked onto tube:
1) Insert the end of transfer tube with the
compression ring/ferrule into the 90º fitting
of crankcase.
2) Start and finger tighten the hex. cap onto
the threaded section of the fitting.
NOTE: The 90° fitting in the crankcase to which
the transfer tube is connected, is
installed and sealed at the factory in a
specific position. Special tools and
procedures are involved. DO NOT
loosen, remove, or alter the mounting
position of this fitting at any time.
Contact the Factory Service Department
for specific instructions if the fitting is
damaged, or its original mounting
position is altered in any way.
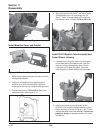
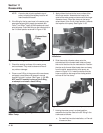
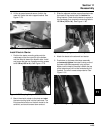
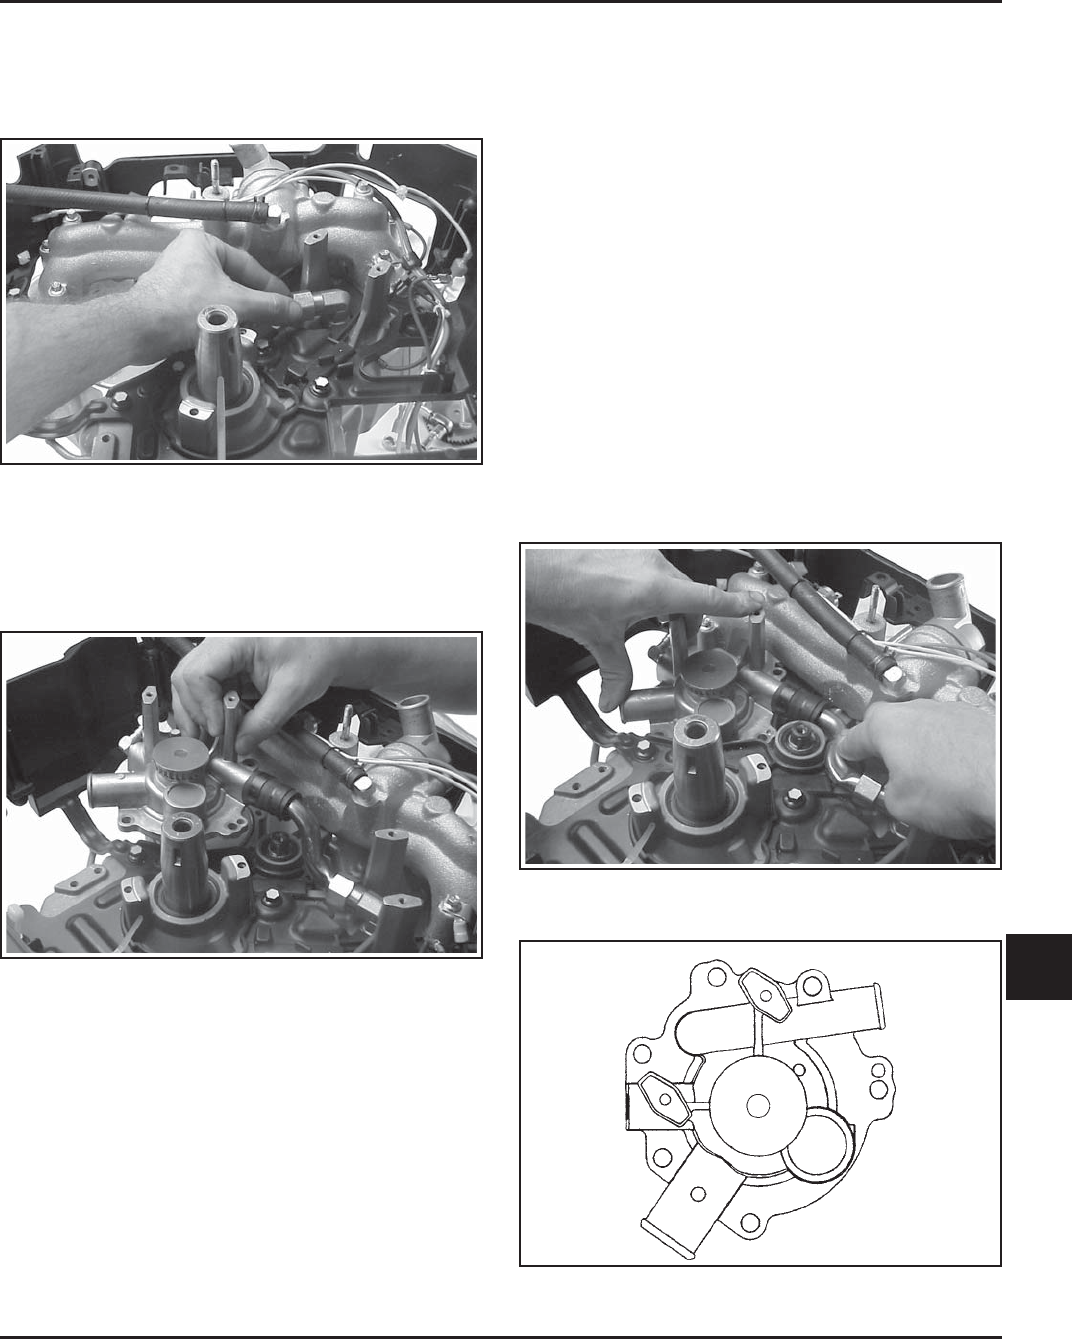
8. Carefully push the water pump down from the
raised position, rotating the tube 90° within the end
connections. Guide the pump into position over the
O-Ring; aligning the two mounting pins and five
screw hole locations. See Figure 11-64. Start all of
the screws, with the longer screw nearest the
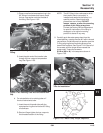
pump outlet. Torque the screws to
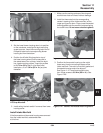
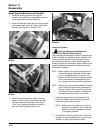
9.9 N·m (88 in. lb.) in the sequence shown in
Figure 11-65.
Figure 11-64. Pushing Down on Pump and the
Tube for Installation.
Figure 11-65. Water Pump Torque Sequence.
3
5
2
4
6
1
1) Place a new ferrule/compression ring in the
90° fitting of crankcase and loosely install
the hex. cap section onto the threads of
the fitting. See Figure 11-62.
5/04