


2
Getting Started
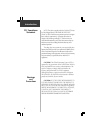
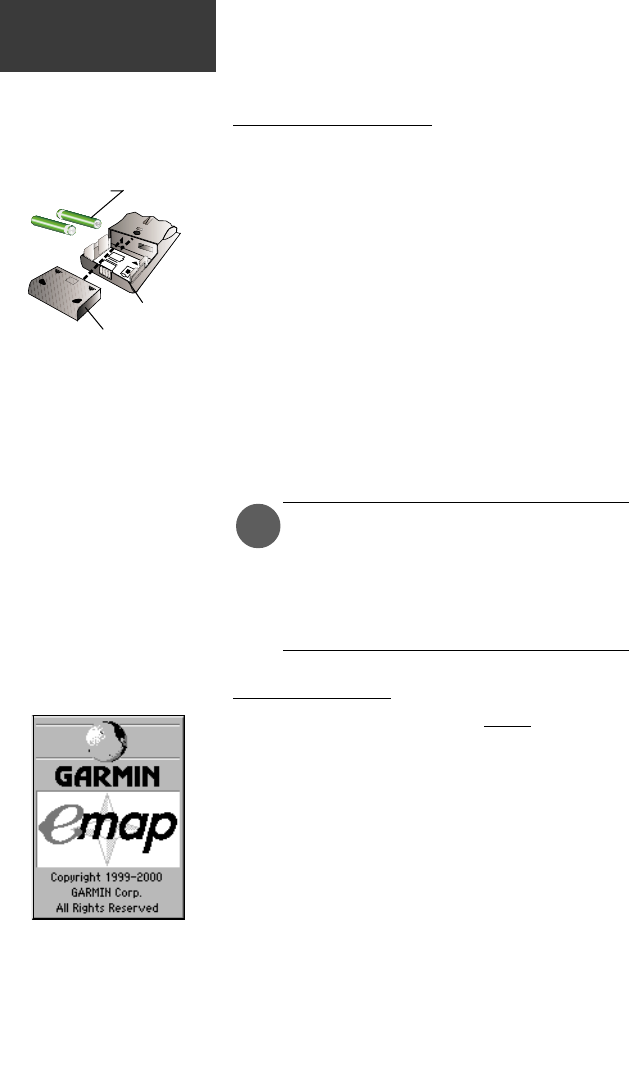
Installing the Batteries
The eMap operates on two AA batteries, which are
installed by removing the cover on the back of the unit. These
batteries will provide up to 12 hours of continuous use.
Rechargeable NiCad, NiMH, or Lithium batteries may be also
used. Stored data will not be lost when the batteries are
removed. Refer to battery care information on page 38.
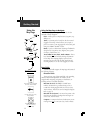
To install the batteries:
1. Open the battery compartment on the back of the
unit by pressing the two arrows on the cover. Slide
it back and then lift up to remove.
2. Install the batteries according to the polarity markings
in the battery compartment. Use only new batteries.
Do not mix battery types, (i.e. alkaline, NiCad, Lithium)
3. Press the cover onto the compartment then slide
forward until it clicks back in place.
NOTE: If you have purchased a MapSource
CD-ROM and a Data Card for use with the
eMap, refer to page 10 for Data Card
installation and map data transfer instruc-
tions. For more information about
MapSource, refer to Appendix G.
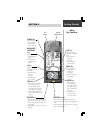
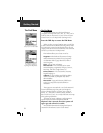
Battery
Installation
Remove battery compartment
cover, observe polarity markings,
install batteries and reinstall
cover.
NOTE: When using fully charged
rechargeable batteries, the
Battery Capacity Indicator may
typically indicate less than full.
This is a characteristic of
rechargeables and does not
necessarily indicate that they
will not last as long as
disposable Alkaline batteries.
6&78+9:
$;&2
<"0#
.9=$%
>?@+,,++,'8&'0"$
++++++6&##$%0$1
.
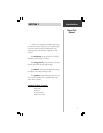
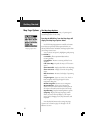
Start Up The eMap
To Start Up the eMap, take the unit outside and find an
open area where the built-in antenna has a clear view of the
sky. Hold the receiver at a comfortable height with the front of
the eMap pointing up.
Press and release the POWER key to turn the
eMap On.
The Title Page and Information Pages will be displayed,
and then followed by the Map Page.
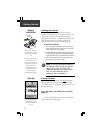
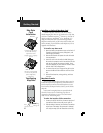
Start Up
The Title Page followed by
information pages will be
displayed when the eMap is
turned on.