Chapter 1 ATCA-C110/1G Baseboard Preparation and Installation
ATCA-C110/1G Installation and Use Manual
9
REVIEW COPY
SO-DIMM Installation in a Non-Powered System
Note
■ The SO-DIMM onboard the ATCA-C110/1G can be installed only when the module is
removed from the carrier board.
■ It is recommended to use the SODIMM that is factory-shipped along with the
ATCA-C110/1G, since it has already been verified and validated.
If using SO-DIMM other than the standard supplied SO-DIMM, ensure that the following
requirements are met when power is turned off.
■ Is unbuffered
■ Is 2.5V, PC166 SDRAM module compliant to the JEDEC Specification
■ Has size of either 128 MB, 256 MB or 512 MB or 1 GB. (The MPC8540 will configure
memory maps automatically on boot)
■ Supports ECC
Installing SO-DIMM
To install the SO-DIMM into the SO-DIMM socket on the ATCA-C110/1G follow these steps:
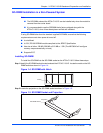
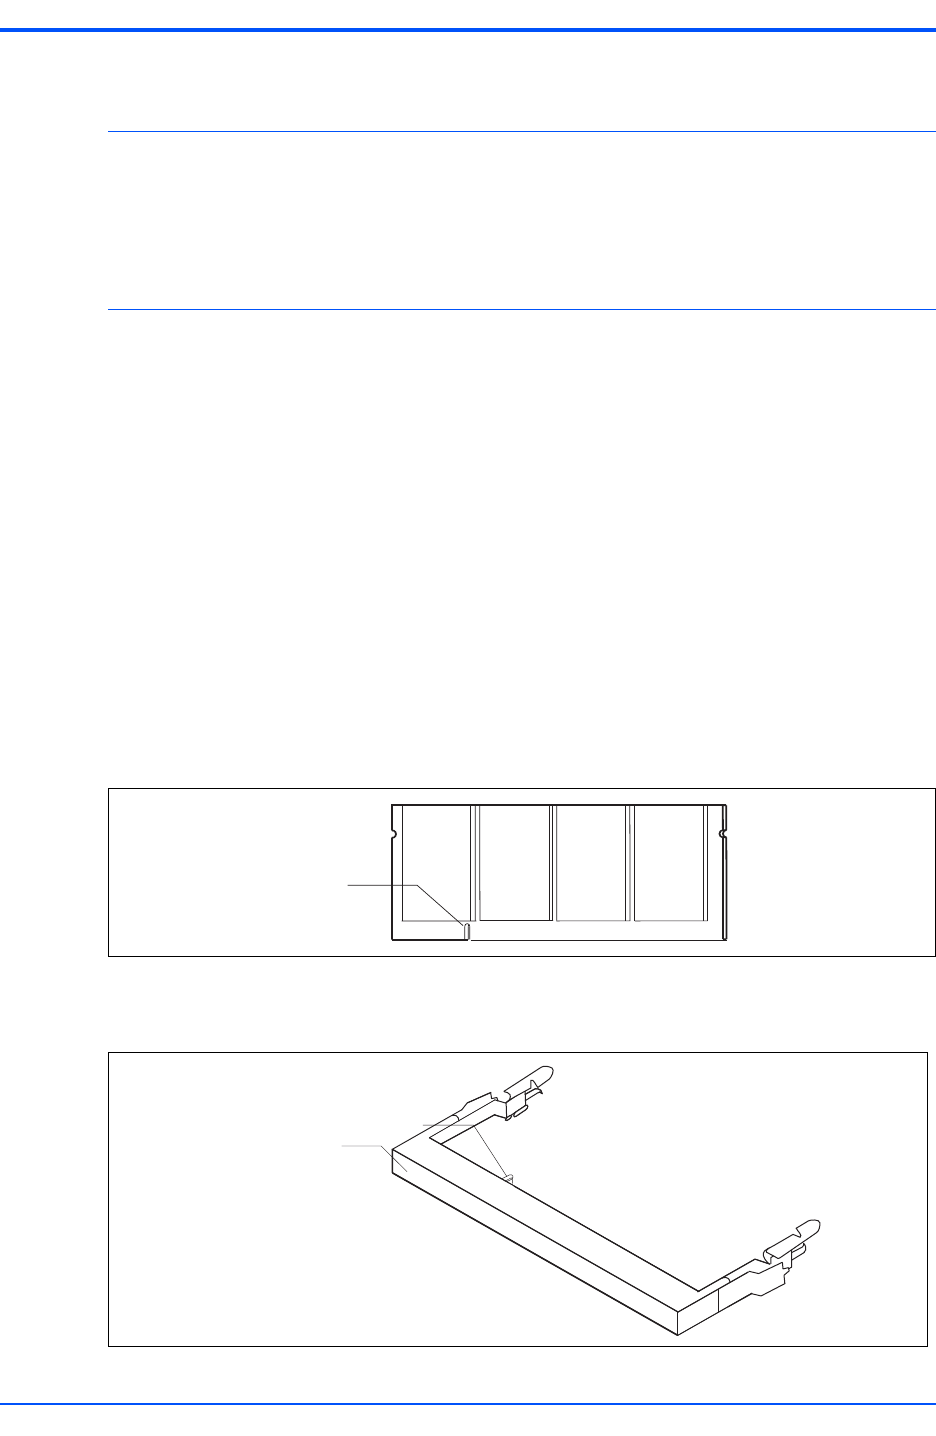
Step 1:Identify the SO-DIMM socket located onboard the ATCA-C110/1G. Locate the notch on the SO-
DIMM socket as shown in Figure 1-4.
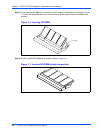
Step 2:Locate the projection on the SO-DIMM socket as shown in Figure 1-5.
Figure 1-4. SO-DIMM with Notch
Notch
Figure 1-5. SO-DIMM Socket and Projection
Projection
SO-DIMM Socket


