


Appendix
68
Appendix D: Adding Maps to
your StreetPilot
Adding Mapping Software to your StreetPilot
You can purchase additional MapSource mapping software from Garmin such as City Navigator Europe
or MetroGuide Canada. Information from these maps will appear on the StreetPilot’s Map page just like the
current detail maps that are pre-installed in your unit. Follow the instructions that came with your new
mapping software to ensure proper installation of the maps to your computer and StreetPilot. In order to
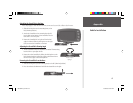
transfer maps to the pre-programmed hard drive in your unit, use the Garmin USB cable that came with
your StreetPilot. Open the USB kit and use the enclosed CD-ROM to install the USB drivers onto your
computer. These drivers must be installed before you connect the USB cable to your computer.
Controlling Map Views on the Map Page
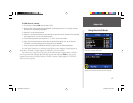
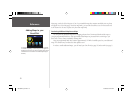
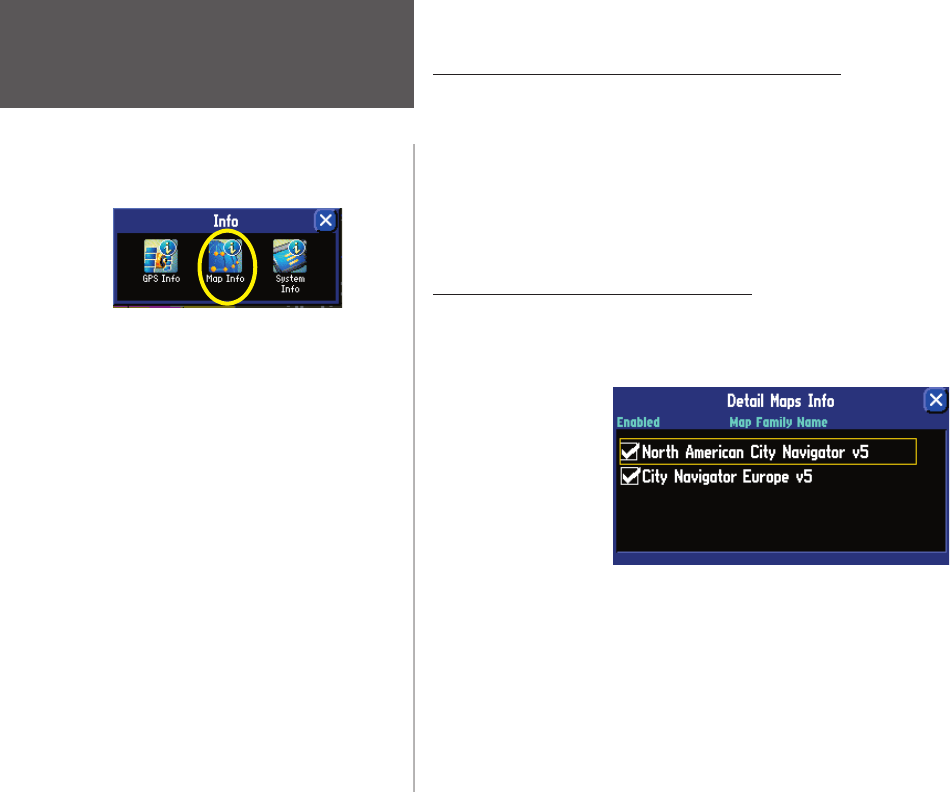
You can view a list of your maps, which includes the pre-installed map as well as ones you have added,
on the Detail Maps Info page. To access this page, press the StreetPilot MENU key two times; an Info page
will appear. Touch the Map Info icon and the Detail Maps Info page will appear:
In the example above, North American City Navigator v5 is the mapping software that came pre-
installed in the StreetPilot while City Navigator Europe v5 is the newly-added mapping software. A
box appears to the immediate left of each map name (directly under Enabled). When the Enabled box is
checked, your StreetPilot will draw the map data from these maps to your StreetPilot. To disable a map,
uncheck the box by touching the map name. If the maps loaded in your StreetPilot do not overlap, you
should not need to disable maps. If you load two maps that cover the same area, however, you may want
to disable one of the maps so that you can view detail from the other one.
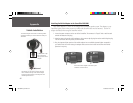
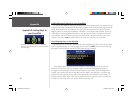
Access the Info page pressing the unit’s MENU key
two times. Select the Map Info icon to access the Detail
Maps Info page.
190-00342-00_0A.indd 68 4/13/2004, 9:57:44 AM