


1. OPERATIONAL OVERVIEW
1-19
Radar
NavNet display unit-generated echoes
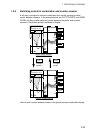
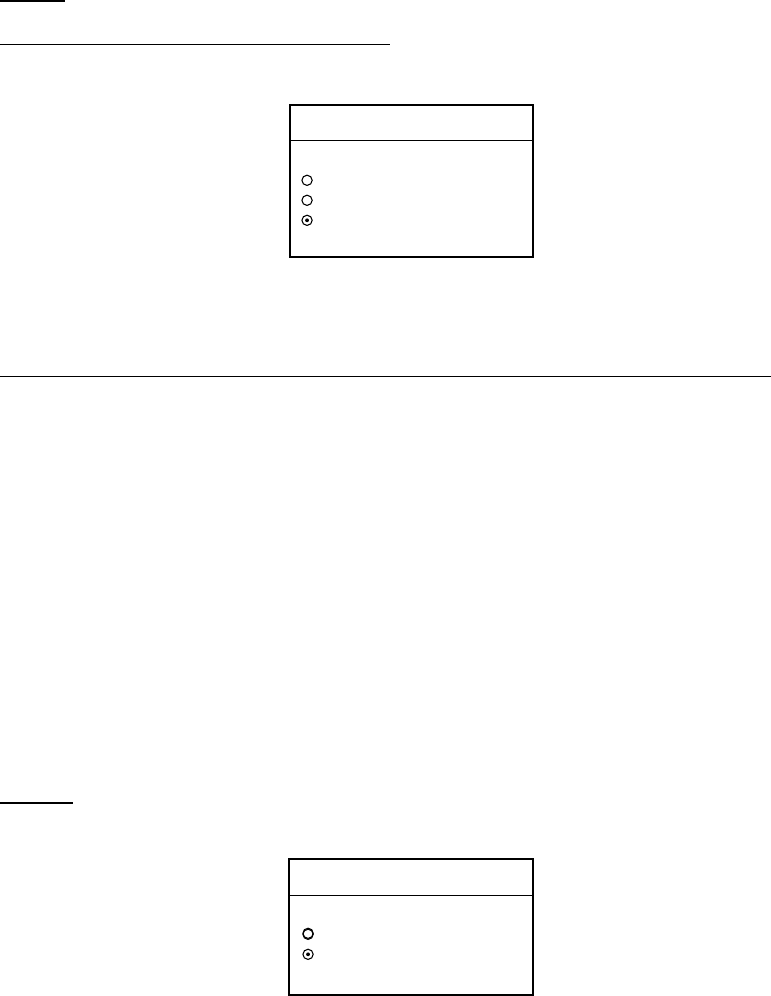
1. Select RADAR, then press the EDIT soft key.
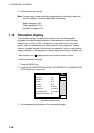
RADAR
▲
SIMULATION 1
SIMULATION 2
LIVE
▼
2. Select SIMULATION 1, then push the [ENTER] knob.
3. Press the [MENU] key to close the menu.
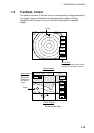
NavNet radar antenna-generated echoes (not available with the GD-1900C)
1. Select RADAR SIMULATION DATA, then press the EDIT soft key.
2. Select YES, then push the [ENTER] knob to erase simulation data and get
new data. The message “Now getting demo data. Do not turn off display
unit.” appears while the unit is receiving radar data.
Note: If the network radar could not be found “Radar source is not found.
Cannot get demo data.” appears. And if the radar is not active, the
message “Radar is not active. Cannot get demo data.” is displayed.
Check that the radar is plugged in and its signal cable is firmly
fastened.
3. Select RADAR, then press the EDIT soft key.
4. Select SIMULATION 2, then push the [ENTER] knob.
5. Press the [MENU] key to close the menu.
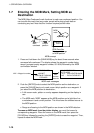
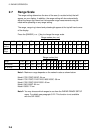
Plotter
1. Select PLOTTER, then press the EDIT soft key.
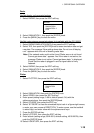
PLOTTER
▲
SIMULATION
LIVE
▼
2. Select SIMULATION, then push the [ENTER] knob.
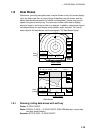
3. Select SPEED, then press the EDIT soft key.
4. Enter speed (setting range, 0-99 kt, default speed, 0 kt) with the
alphanumeric keys, then push the [ENTER] knob.
5. Select COURSE, then press the EDIT key.
6. Select “8 FIGURE” to trace the simulated ship’s track in a figure-eight course,
or enter your own course at DIRECTION. To enter course, use the trackball
to select digit, and enter value with the alphanumeric keys.
7. Press the ENTER soft key.
8. Select LATITUDE, then press the EDIT soft key.
9. Enter latitude (setting range, 85
°N-85°S, default setting, 45°35.000’N), then
push the [ENTER] knob.
10. Select LONGITUDE, then press the EDIT soft key.