


32
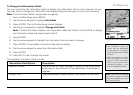
3. Press ENTER. The Map Setup screen displays.
4. Use the arrow keypad to highlight the Data Layering button.
5. Press ENTER. The Data Layering screen displays a list of all of the data types loaded on the
Earthmate GPS PN-20. The data type at the top of the list has the highest priority. The data
type at the bottom of the list has the lowest priority.
6. Use the arrow keypad to highlight the data type that you want to move up or down in the list.
7. Once the data type you want to move is highlighted, press the arrow keypad and highlight the
up or down arrow key to the right of the data types.
8. Press ENTER to move the data type. If you want to move the data type more than one level
away from its current state, press ENTER as many times as it takes to move the data type so
it is in the order you want it.
9. Press the arrow keypad to the left to return to the layering list.
10. Repeat steps 6-9 for each data type you want to reorder in the list.
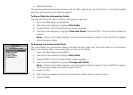
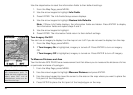
Showing/Hiding Maps That Were Exported From a Compatible DeLorme Mapping Program
After you import a map from a compatible DeLorme mapping program, you can view or hide it on the
Earthmate GPS PN-20 using the Data Management option. You may want to hide a map to see what
is underneath it; for example, raster maps are displayed above vector maps. To change the priority of
how maps are displayed, see LayeringYourData on page 31.
1. From the Map Page, press MENU.
2. Use the arrow keypad to highlight Map Setup and press ENTER.
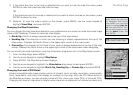
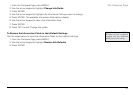
3. Highlight Data Management and press ENTER. The Data Management screen displays the
maps that have been downloaded to the Earthmate GPS PN-20. A map is shown if its check box
is selected and is hidden if its check box is cleared.
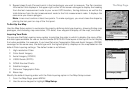
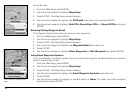
4. Use the arrow keypad to highlight the map you want to hide or show. Information about the
map, including the types of data, displays in the bottom section of the screen. If you want to
view more information about the map, press MENU, use the arrow keypad to highlight Data
Detail, and press ENTER. The name, zoom level, scale information, save date, data types, and
version information display. Press QUIT to return to the Data Management screen.
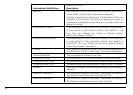
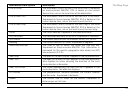
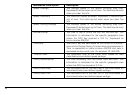
DataManagementmenu
options