


GNS 530(A) Pilot’s Guide and Reference
190-00181-00 Rev. H
10-28
SECTION 10
AUX PAGES
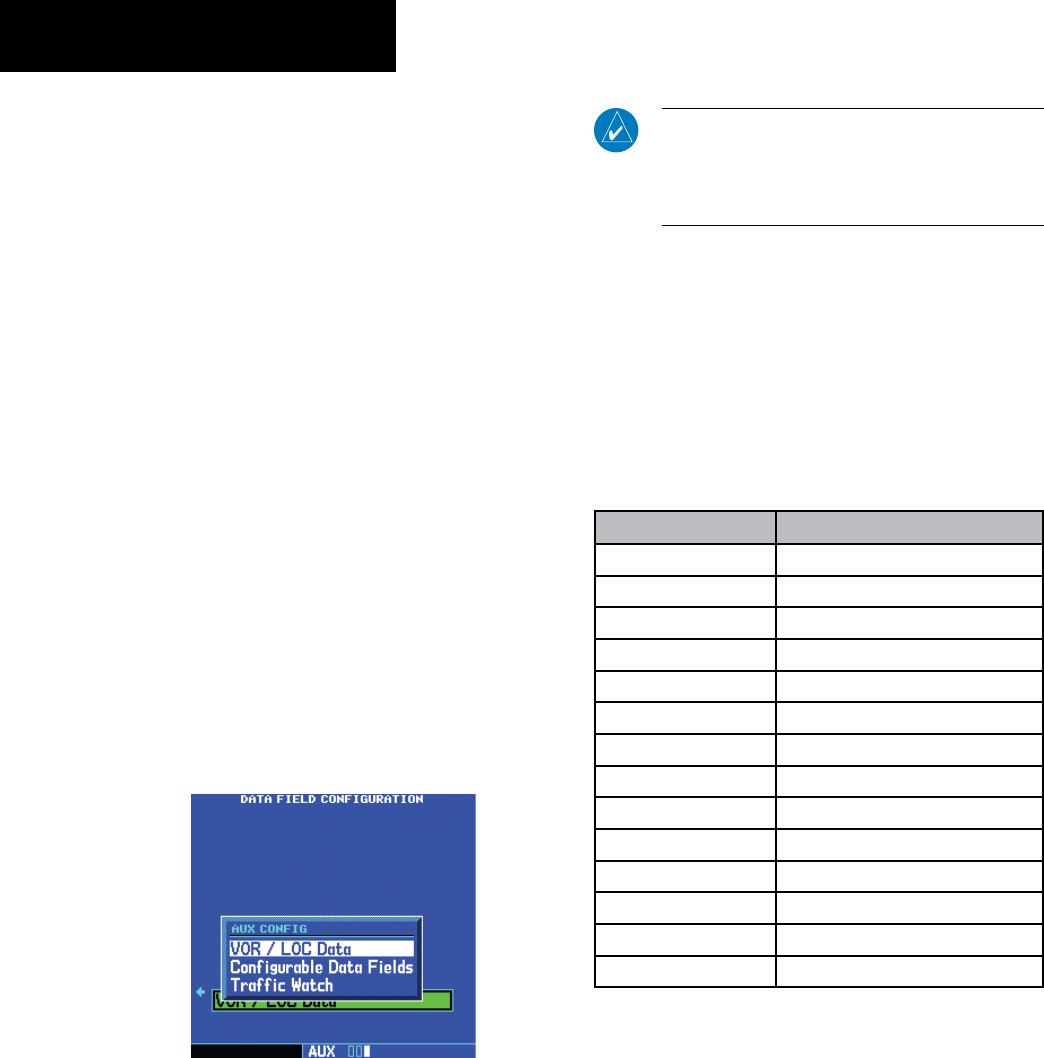
Setup Page: Data Field Configuration
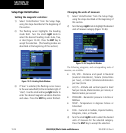
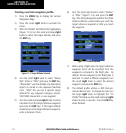
Configuring the Auxiliary Data Field:
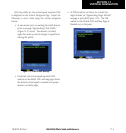
1) Select ‘Data Field Configuration’ from the
Setup Page, using the steps described at the
beginning of this section..
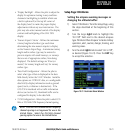
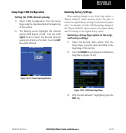
2) Turn the small right knob to select an option
from the Auxiliary Configuration Window
(Figure 10-43). The following options are
available:
• VOR/LOC Data - Displays the identier, distance,
and radial from the tuned VOR station active
in the VLOC window. When tuned to a nearby
localizer; the localizer identier, associated air-
port, and runway are displayed instead.
• Congurable Data Fields - Displays a user-select-
able data eld of navigation data (see Table 10-3
for available options).
• Trafc Watch - If the GNS 530 is connected to
other equipment providing traffic alert informa-
tion, a window is provided to display traffic
information. This allows traffic monitoring from
any page to quickly identify trafc hazards.
Figure 10-43 AUX Configuration Window
NOTE: The ‘Traffic’ selection in the Auxiliary
Configuration Field is only available if the GNS
530 is configured for interface with a traffic
information device (see Section 14).
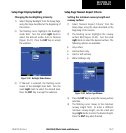
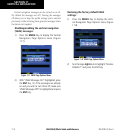
3) Press the ENT Key to accept the data type.
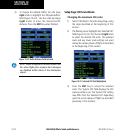
4) If ‘Configurable Data Fields’ is selected, a
second selection field appears. Turn the large
right knob to highlight this second field, then
turn the small right knob to display a list of
available navigation data types (Table 10-3).
Continue turning the small right knob to
select the desired data type and press the ENT
Key to confirm the selection.
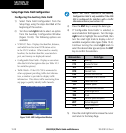
Abbreviation Data Type
BRG Bearing
CTS Course To Steer
DIS Distance
DTK Desired Track
ESA Enroute Safe Altitude
ETA Estimated Time of Arrival
FLOW Total Fuel Flow
GS Ground Speed
MSA Minimum Safe Altitude
TKE Track Angle Error
TRK Track
VSR Vertical Speed Required
WPT Active Waypoint
XTK Cross Track Error
Table 10-3
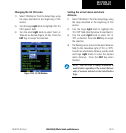
5) Press the small right knob to remove the cursor
and return to the Setup Page.