


9
••••••••••••••••••••••••••••••••••••••••••••••••••••••••••••••••••••••••••••••••••••••••••••••
We advise you against tightening the screws too much, in
order not to break the screw seats.
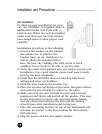
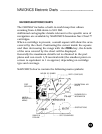
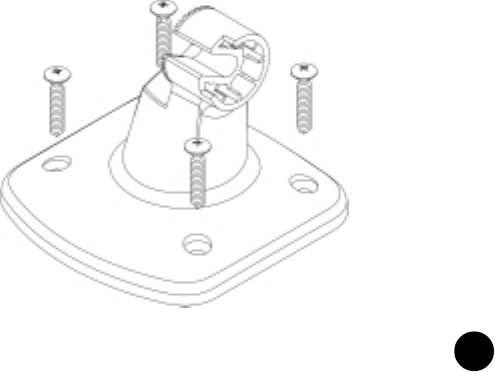
Fixed installation
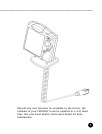
The plotter may be mounted on any surface using the
mounting bracket provided with the unit (see figure below).
Use the 4 flat-head screws (5mm in diameter) to fix the
bracket on to the desired mounting surface. The bracket does
not allow any left or right rotation, therefore make sure that
the unit is properly installed for the best viewing angle.
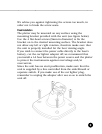
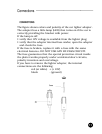
If you wish to connect the power cable directly to the boat’s
battery, cut the car lighter adapter off; we recommend that
you install a 1A fuse between the power source and the plotter
to protect the instruments against overvoltage and/or
overcurrent.
Since the unit has no start pushbutton, make sure that the
unit is supplied by a line controlled from the switchboard or
separate switch. If you make use of the car lighter plug,
remember to unplug the adapter after use so as to switch the
unit off.