6G7 ENGINE (E-W) -
Piston and Connecting Rod
11A-12-4
INSTALLATION SERVICE POINTS
"
A
A
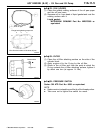
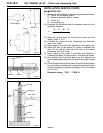
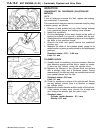
PISTON PIN
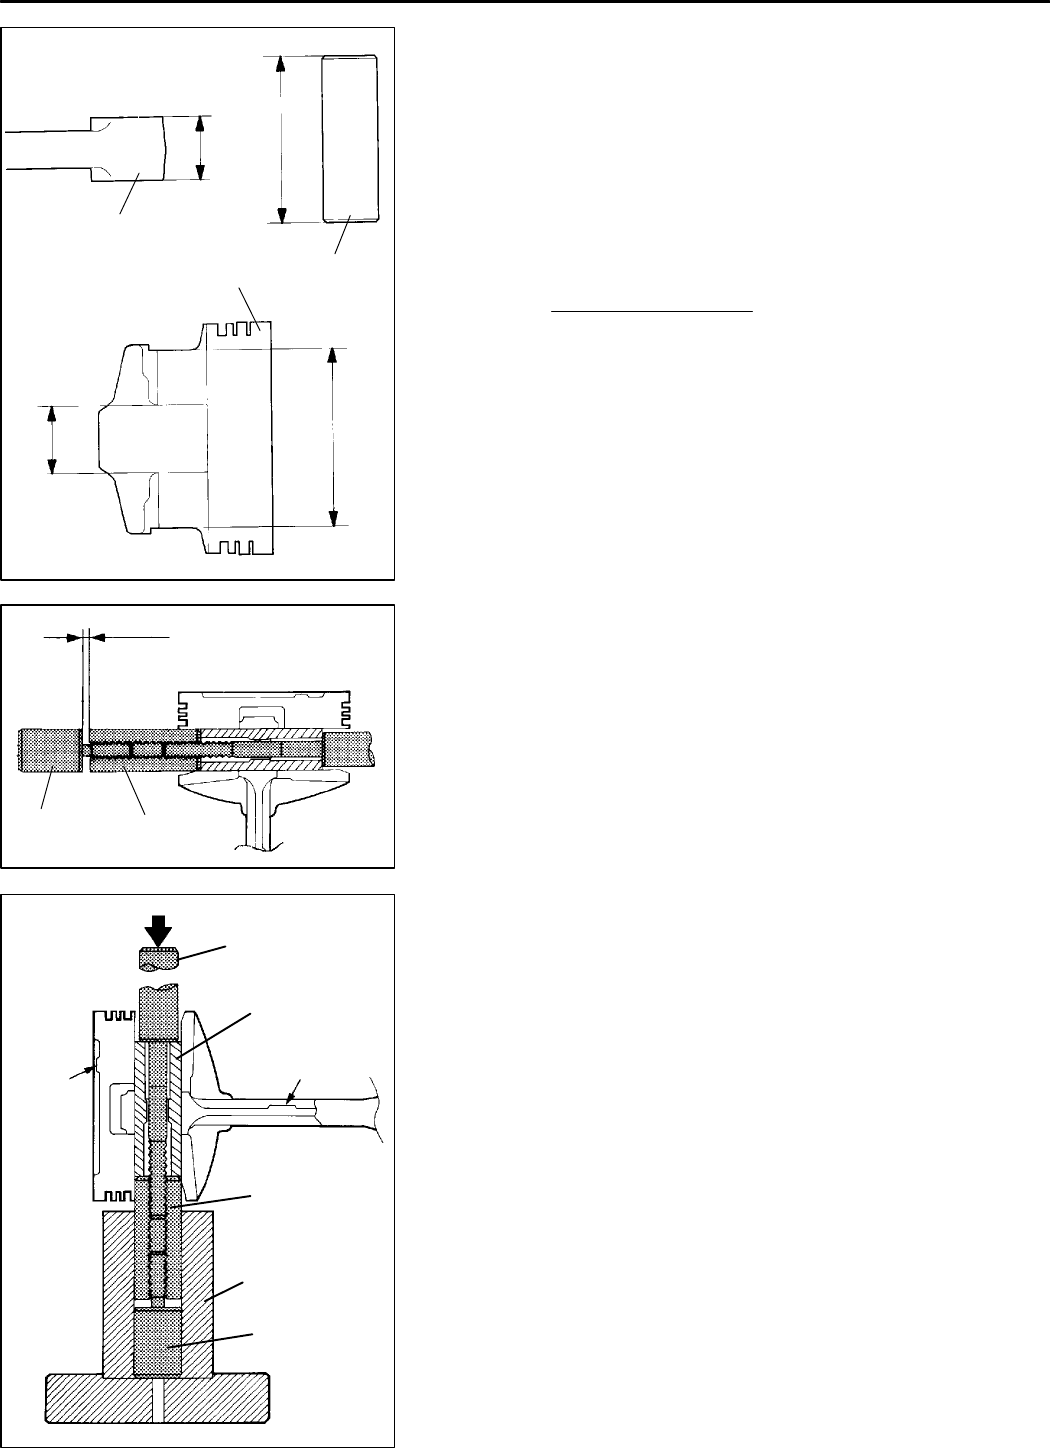
(1) Measurethe dimensionsofthefollowingpartsandportions:
A: Piston pin mounting portion
B: Distance between piston bosses
C: Piston pin
D: Connecting rod
(2) Calculate by substituting each measured value into the
following equation:
(A - C) - (B - D)
2
L=
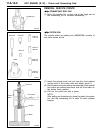
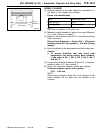
(3) Insert the special push rod tool into the piston pin a nd
attach guide A to it.
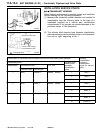
(4) Combine the piston and the connecting rod, matching
their front marks.
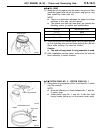
(5) Apply engine oil to the outer periphery of the piston pin.
(6) Insert the side of the piston pin guide A attached per
Step (3) into the pin hole from the side of the piston
containing the front mark.
(7) Screw guide B into guide A until they are distance L
(obtained per Step (2) above) plus 3 mm apart as shown.
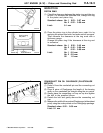
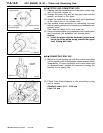
(8) Use special tools to set the piston pin to a special tool
piston setting base with the front mark of the piston facing
up.
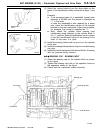
(9) Press fit the piston pin with apress. Whenthe loadrequired
for press fitting the piston pin is below the standard value,
change the piston pin (piston assembly) or the connecting
rod or both.
Standard values: 7,350 - 17,200 N
PWEE9615
E
Dec. 1996Mitsubishi Motors Corporation
Connecting rod
Piston
Piston pin
7EN0432
D
C
B
A
3mm+L
Guide B
Guide A
7EN0433
Push rod
Piston pin
Front mark
Front
mark
Guide A
Base
Guide B
7EN0391


