6G7 ENGINE (E-W) -
Cylinder Head and Valves
11A-10-3
INSPECTION
CYLINDER HEAD
(1) Checkthe cylinderheadforwater leaks,gas leaks,damage
or cracks before washing it.
(2) Completely remove oil, fur, sealer, carbon and the like.
After washing the oil passages, blow air through them
to make sure they are not clogged.
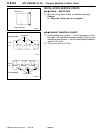
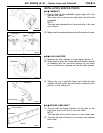
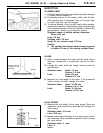
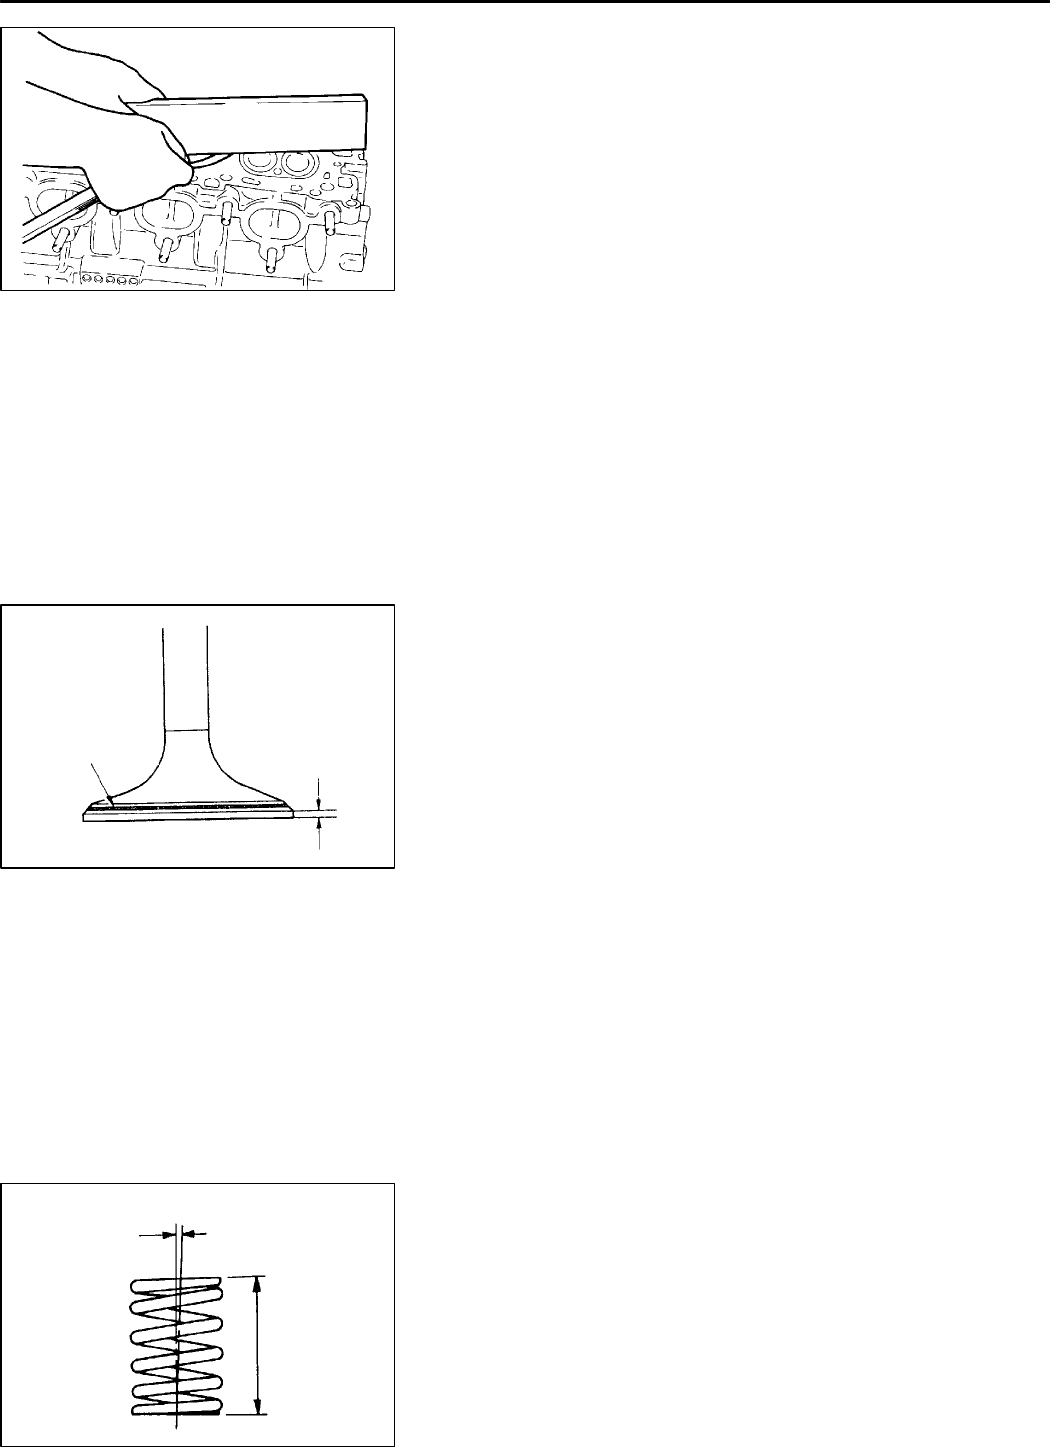
(3) To ensure flatness of the cylinder head bottom surface,
measure the distortion of the surface using a straight edge
and a thickness gauge. When the distortion exceeds the
specifications, correct by grinding the surface.
Standard values of bottom surface distortion:
Within 0.03 mm
Limit: 0.2 mm
Grinding limit: 0.2 mm
Height of the cylinder head: 120 mm
Caution
D
The cylinder head bottom surface may be ground
to within 0.2 mm of the mating cylinder block.
VALVES
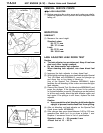
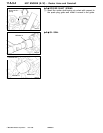
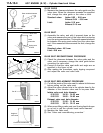
(1) When contact between the valve and the valve seat is
improper, unbalanced or nonexistent, correct the valve
seat.
(2) Change the valve when the margin doesn’t meet the
specifications.
Standard value: Intake 1.0 mm
Exhaust 1.2 mm
Limit: Intake 0.5 mm
Exhaust 0.7 mm
(3) Measure the total length of the valve. If the measured
value is below the limit, change the valve.
Standard value: Intake 112.30 mm
Exhaust 114.11 mm
Limit: Intake 111.80 mm
Exhaust 113.61 mm
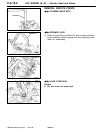
VALVE SPRING
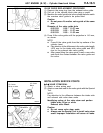
(1) Measure the free height of the valve spring. When the
measured value exceeds the specified limit, change the
valve spring.
Standard value: 51.0 mm
Limit: 50.0 mm
(2) Measure the perpendicularity of the valve spring. When
the measured value exceeds the specified limit, change
the valve spring.
Standard value: 2
_
max.
Limit: 4
_
PWEE9615
E
Dec. 1996Mitsubishi Motors Corporation
7EN0258
6EN0542
Margin
Contact to be at
the centre of the
valve face.
1EN0264
Free height
2
_


