


52
key again. A dashed line ex-
tends from the first waypoint to
the second, showing the first
leg of the route. Continue mov-
ing the cursor and saving way-
points until all of the waypoints
in the route have been selected.
Press the CLR key when you’re
finished. A screen similar to the
one at right appears.
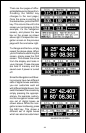
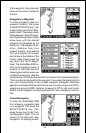
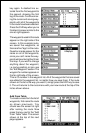
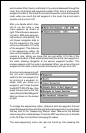
The waypoints used in this route
appear on the right side of the
screen. In this example route,
we saved five waypoints, so
there are five “legs” on the route.
Question marks appear for the
name on all of the waypoints,
since you can’t name the way-
points while entering them from
the map. If you wish to change
anything about the waypoint,
i.e. name, position, or icon, see
the “Edit Waypoint” section. The
waypoint’s number appears on
the far right side of the screen.
This is it’s number in the waypoint list. All of the waypoints that are saved
are added to the waypoint list, no matter how you save them. If the route
shown on the list is the way you want it, simply press the ENT key to save
it. The unit returns to the route menu with your new route at the top of the
list as shown above.
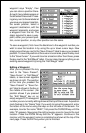
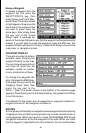
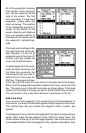
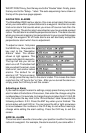
Add From Table
To create a route from the list of
waypoints, first name the route
as shown previously. You
should see the screen at right
after naming the route. Now
press the key next to the “Add
From Table” label. The screen
shown at the top of the next
page appears.