37
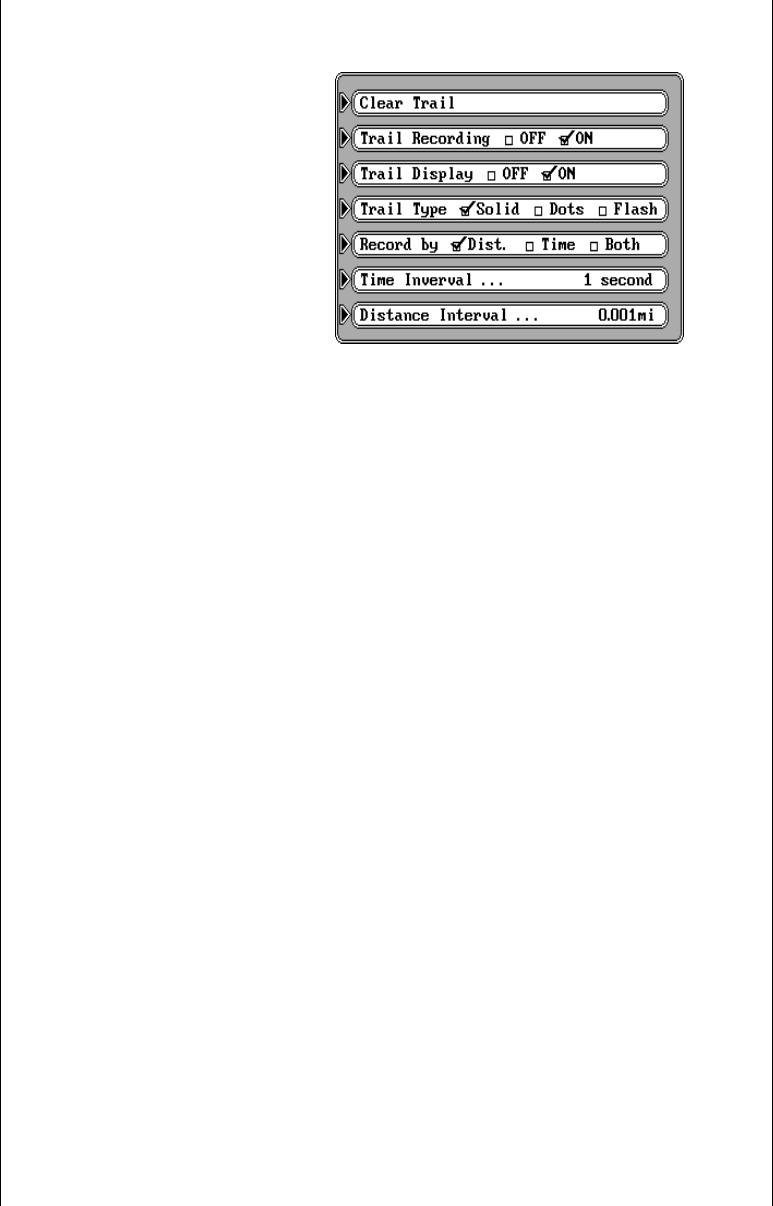
seven menu selections on this
screen, all of which relate to the
trail plotter. After you’ve made
a selection on this screen, press
the CLR key to exit.
Clear Trail
The first item at the top of the
screen is “Clear Trail.” This
erases the plot trail from the
screen. This is only temporary,
the GlobalMap 2000 will con-
tinue to draw your trail from the
location it was in when the key next to the “Clear Trail” label was pressed.
If you wish to change the plot trail from a solid line to a dotted one, then
press the key next to the “Trail Type” label until the check mark is on the
desired box.
Trail Recording and Display
To stop the GlobalMap 2000 from drawing the plot trail, press the key next
to the “Trail Recording” label. The GlobalMap 2000 not only will stop
drawing the plot trail, but also will not keep track of it in memory. However,
it will show your trail on the map up to the point that you turned it off. If you
wish to temporarily stop the plot trail, but wish to resume its display at a later
time, showing the path you’ve taken, then press the key next to the “Trail
Display” label. This turns the plot trail off, but it’s still kept in memory. If you
turn the trail display on again, it will show your entire plot trail (if there’s
enough memory.) There’s a maximum of 2000 dots available to plot a trail.
Plot Trail - Distance Interval
There’s a certain amount of memory reserved for the plot trail. If the unit
runs out of memory, then it will continue to draw the plot trail, but for every
dot it places at the end of the trail, it will erase one at the beginning. When
the unit is turned on for the first time, the unit’s plot trail settings are
optimized for the typical user. The trail is recorded by the distance
travelled, which is preset to draw one dot every 0.001 mile. In other words,
every time you move .001 mile, the unit places a dot on the trail behind your
present position. The distance can be changed from 0.001 to 10 miles by
pressing the key next to the “Distance Interval” menu. The number at the
far right of that label shows the distance interval currently in use. Once you
press the key next to that label, a new menu appears. Press the key next
to the desired distance interval. The unit returns to the Trail Plotter menu.


