


To create a new waypoint and insert it into the displayed route, create the
waypoint first from the Waypoint Editor (see Section 5.1). Insert the new
waypoint into the route using the procedure described above.
To delete a waypoint from the displayed route, highlight the waypoint to be
deleted and press <Delete>. To view a different route from the same route
file, press <Page Up> to display the previous route or <Page Down> to
display the next route. Changes to the current route will be saved in memory.
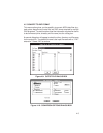
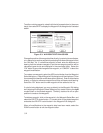
Route comments can be added to the route data file by selecting the route
comment field with the left mouse button. The field can then be edited with
the keyboard. Certain GPS units support the upload & download of route
comments. Other GPS units will ignore the uploaded route comments. See
Appendix B for GPS unit capability.
When all modifications to the route(s) have been made, save the plot to a file
(see Sections 4.3 and 4.4). This saves all routes from the loaded file (not
only the route currently displayed). Remember, after graphically displaying
and editing a route, “View One Route” mode will be the current configuration
selection.
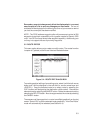
NOTE: The PCX5 route editor will process up to a total of twenty routes and
forty waypoints per route to maintain compatibility with a greater number of
GARMIN GPS units. Your GPS unit may have a lower route and waypoint
capability. See Appendix B for the route and waypoints per route capability
of your unit.
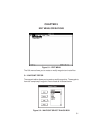
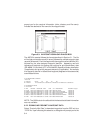
5.3 RANGE AND BEARING BETWEEN TWO POINTS
PCX5 will display Great Circle relationships between two selected points.
The Great Circle range and bearing are based on the shortest distance
between two points over the surface of the earth. All information is
referenced to True North (as opposed to Magnetic North).
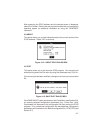
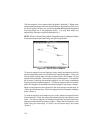
Place the cursor on the first point (the “from” point) and click the right mouse
button. You may select any location on the plot, including waypoints or track
log points. The cursor will “snap to” a waypoint if it is close to the cursor. The
status line at the bottom of the screen will remind you that “Range/Bearing”
mode is active.
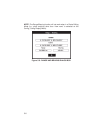
Move the cursor and click the right mouse button on the second point (the “to”
point). A dialog box will display the coordinates of each point and the Great
Circle range and bearing between them.
5-5