


11
Getting Started
Basic Navigation
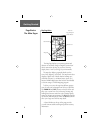
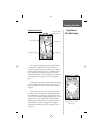
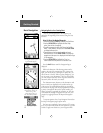
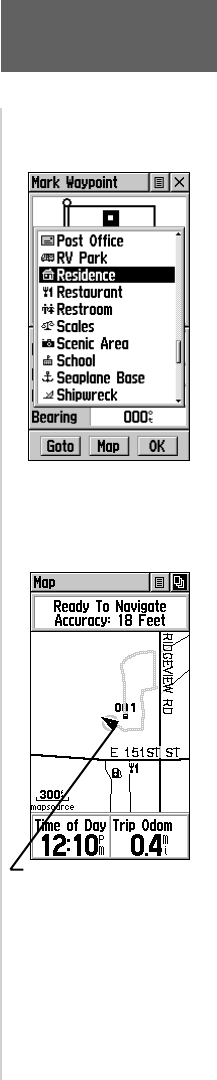
The Map Page displaying your
Marked Waypoint and a Track
defi ning your path of travel.
The Accuracy Circle, surround-
ing the Position Icon indicates
the accuracy of your position to
within the circumference of the
circle.
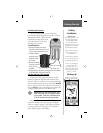
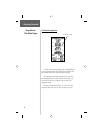
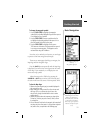
To change the waypoint symbol:
1. Use the CLICK STICK to highlight the waypoint
symbol fi eld on the Mark Waypoint Page and then press it
in to display the list of symbols.
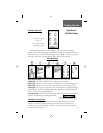
2. Use the CLICK STICK to move up and down the list
to highlight the desired symbol and then press it in to
place the symbol in the fi eld on the page.
3. Use the CLICK STICK to highlight the on-screen
‘OK’ button at the bottom of the page and then press it
in to save your new waypoint. The waypoint can be
retrieved later using the Find Menu.
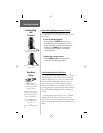
Now that you’ve marked your location, you can begin
to practice some basic navigation techniques.
There are two main pages that help you navigate; the
Map Page and the Navigation Page.
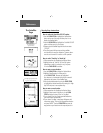
Press the PAGE button repeatedly until the Map Page
is displayed. You will see the new waypoint in the center
of the map. If you renamed it, it will display the new
name and a map symbol.
Adjust the map scale to 300 feet by pressing the
ZOOM IN or OUT button on the side of the unit until
the scale in the lower left corner of the map reads 300 ft.
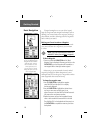
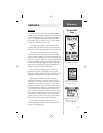
To Use the Map Page:
1. Observe the new waypoint you just marked displayed in
the center of the map.
2. Begin walking or driving around for a few minutes and
then stop.
(If in a car, make certain the unit has a clear
view of the sky through the windshield in order to receive
satellite signals.)
3. Observe that your location and movement are shown by the
‘Pointer Icon’ and that your path of travel (a Track) is shown
by a dotted line.
4. You can follow the Track back to the waypoint, but instead we’ll
save time and take a direct route to it using another navigation
tool, called a Goto, as explained on the following page.
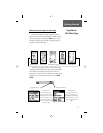
The Mark Waypoint Page with
the list of
Map Symbols displayed