2-1
2. PLOTTER DISPLAY OVERVIEW
2.1 Enlarging/Shrinking the
Display
You may enlarge and shrink the display on
the Plotter and Highway displays. The hori-
zontal range in the Plotter display is avail-
able among 0.2, 0.5, 1, 2, 5, 10, 20, 40, 80,
160 and 320 nautical miles. The horizontal
range in the Highway display is available
among 0.2, 0.4, 0.8, 1, 2, 4, 8, 16 nautical
miles.
1. Press the [MENU] key. ZOOM IN/OUT?
appears in reverse video.
ZOOM IN/OUT?
SHIP TO CENTER?
PRESS [MENU] TO SEE
THE MAIN MENU.
Quit?
Figure 2-1 Zoom, ship centering window
Note: The prompt SHIP TO CENTER?
does not appear in the Highway display
mode.
2. Press the [ENT] key. The window
changes as below.
IN
OUT
▲
▼
20
EXIT:
[ENT]
n
m
ZOOM
Figure 2-2 Zoom window
3. Press ▲ (enlarge) or ▼ (shrink) to select
range desired.
4. Press the [ENT] key to finish.
2.2 Shifting the Cursor
Operate the Cursor Pad to shift the cursor.
The cursor moves in the direction of the ar-
row or diagonal pressed on the Cursor Pad.
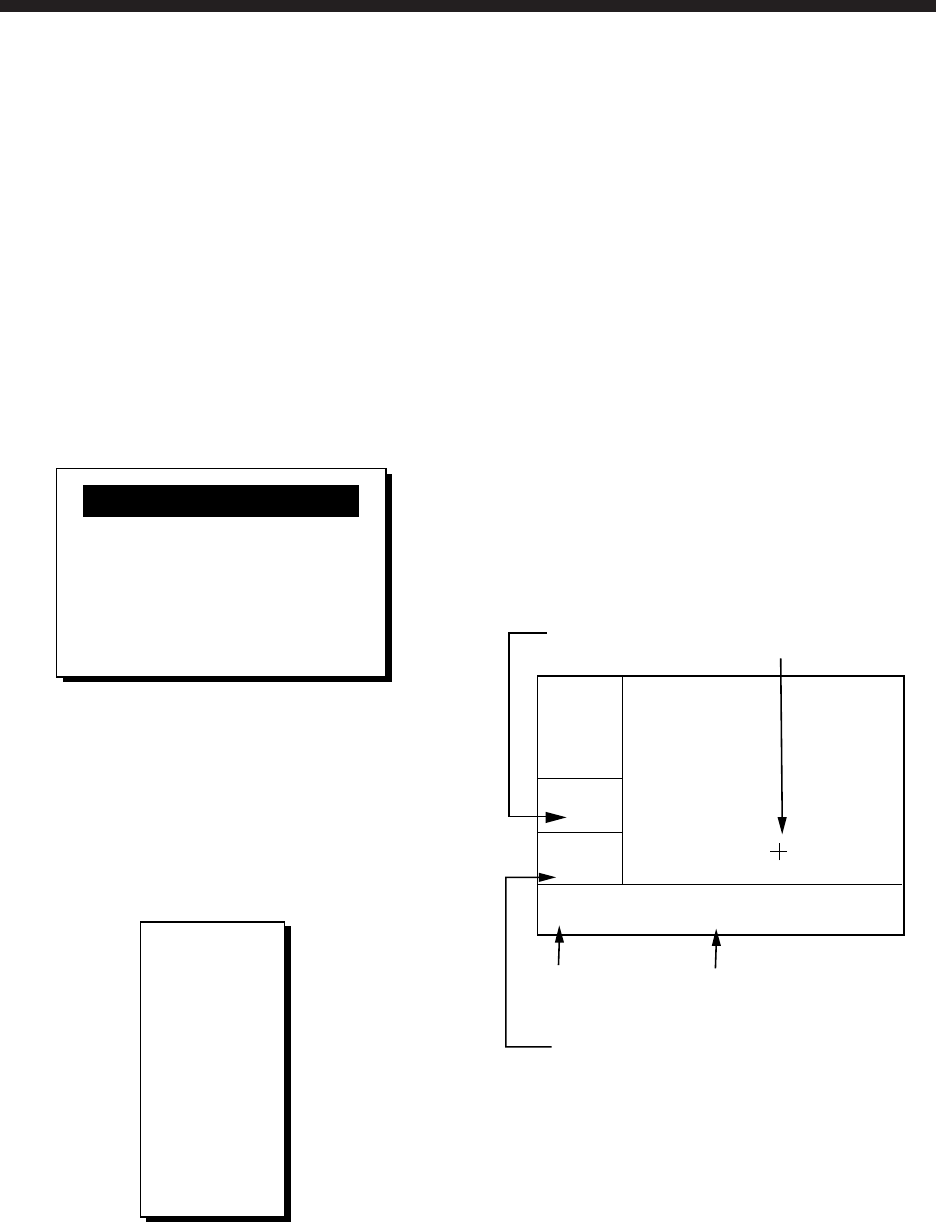
Cursor state and data
Cursor state determines what data is shown
on the display.
Cursor turned on
Cursor position is displayed in latitude and
longitude or LOPs (depending on menu set-
ting) at the bottom of the Plotter display
when the cursor is on. The range and bear-
ing from own ship to the cursor appear at
the left-hand side of the display.
2D
[ 40
]
n
m
BRG: +
82°
RNG: +
9.0
n
m
+ 34°44.000N 135°21.000E
Bearing from own
ship to cursor
Cursor position in
latitude and longitude
Cursor mark
Cursor
Range from own ship to cursor
Figure 2-3 Data displayed on the Plotter
display when the cursor in on
Cursor turned off
The cursor is erased when there is no Cur-
sor Pad operation for about five seconds.
Ship’s position, speed and course appear at
the left side of the Plotter display when the
cursor is off.


