Anti-Spam > Settings
842
SonicOS 5.8.1 Administrator Guide
Anti-Spam > Settings
Once you have registered Anti-Spam for UTM, activate it to start your UTM appliance-level
protection from spam, phishing, and virus messages.
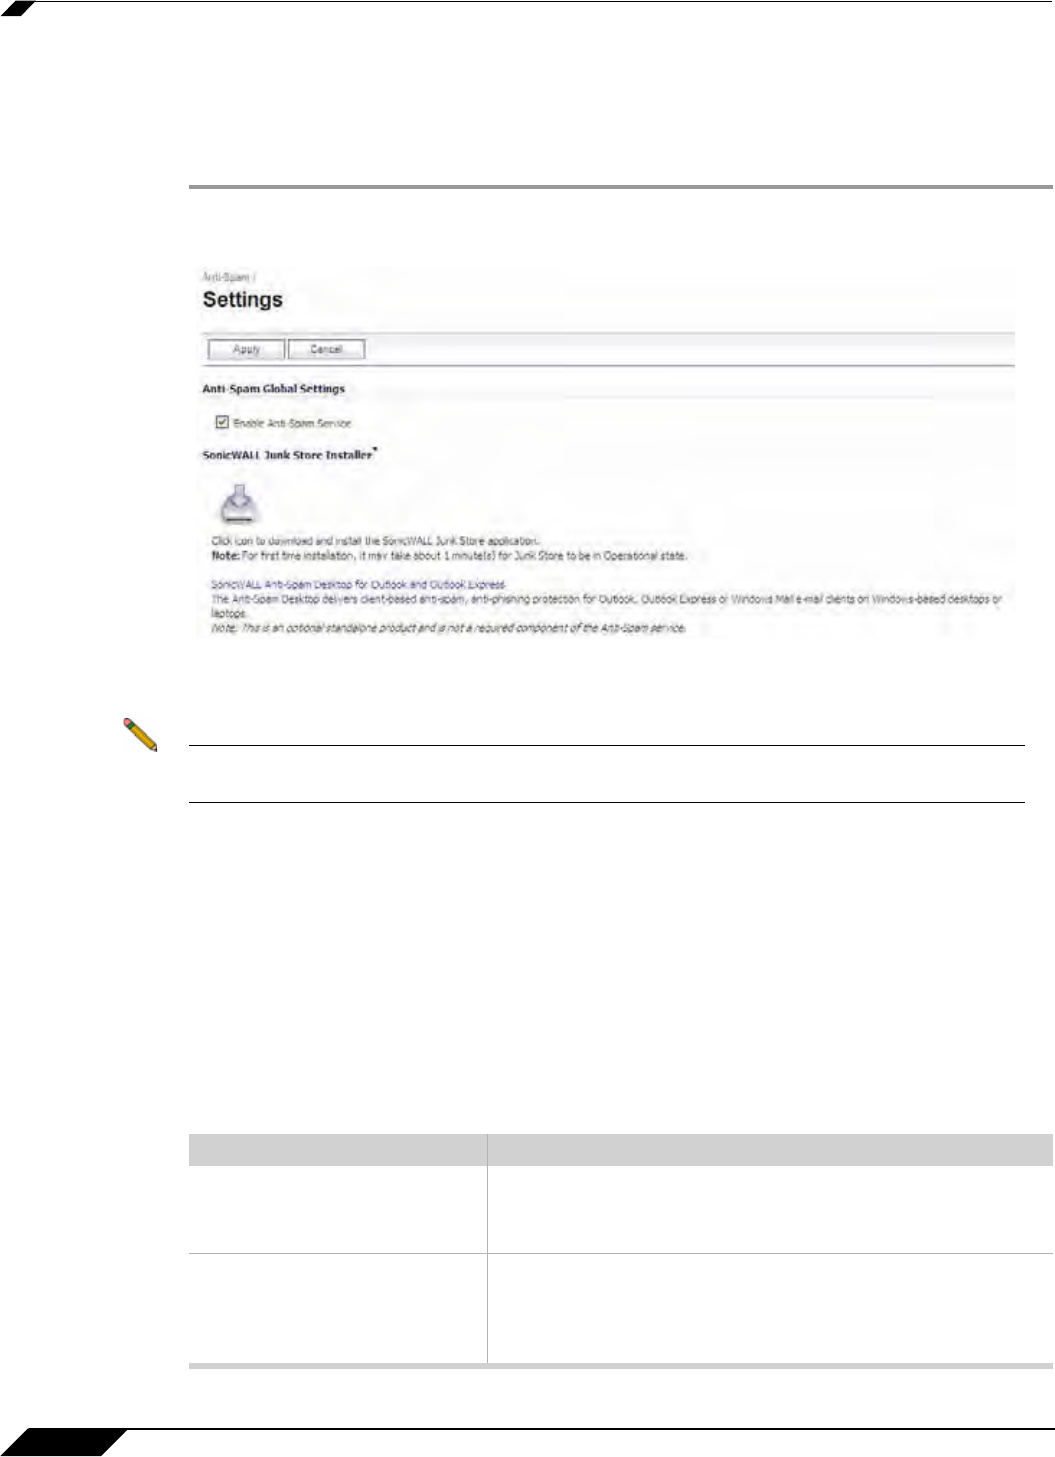
Step 1 Navigate to the Anti-Spam menu item in the navigation bar. You are directed to the Settings
submenu.
Step 2 Click Enable Anti-Spam Service to activate the Anti-Spam for UTM feature.
Step 3 Next, Click the Junk Store Installer icon to install the junk store on your Windows server.
Note SonicWALL recommends installing Junk Store on your server in order to fully utilize the
newest functionality available with CASS 2.0.
Configuring Anti-Spam for UTM
When Anti-Spam for UTM is activated, set your preferences. Once these are configured, your
email will be filtered and sorted according to your configuration.
The Email Threat Category Settings section enables administrator to set default settings for
users’ messages. Choose default settings for messages that contain spam, phishing, and virus
issues.
Use the dropdown options to choose how to handle messages in each threat category. The
options are as follows:
Response Effect
Filtering off Anti-Spam for UTM will not scan and filter any email for this
threat category, so all the email messages are delivered to
the recipients.
Tag With The email is tagged with a term in the subject line, for
example, [JUNK] or [Possible Junk?]. Selecting this option
allows the user to have control of the email and can junk it if
it is unwanted.


