AUTO TRANS DIAGNOSIS - 01M
Article Text (p. 40)
1996 Volkswagen Golf
For Volkswagen Technical Site
Copyright © 1998 Mitchell Repair Information Company, LLC
Thursday, August 19, 1999 11:28PM
TRANSAXLE REASSEMBLY
FINAL DRIVE & TRANSFER GEARS
NOTE: Reassembly procedures include bearing and shim adjustments.
Perform all steps in the order given. If no parts were
replaced, skip adjustment steps and reassemble final drive
and transfer gear assembly using new seals. Ensure turning
torque of complete assembly is within specifications. See
INPUT TRANSFER GEAR ADJUSTMENT & REASSEMBLY procedure. If
turning torque is not within specifications, check all
adjustments.
Drive Pinion Roller Bearing Adjustment
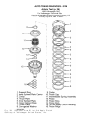
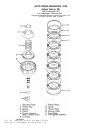
1) Install drive pinion assembly with smaller bearing and
inner bearing support (with pinion seal and "O" ring). Install parking
gear (rounded side facing drive pinion gear), park lock lug and large
pinion bearing race support. Go to next step.
NOTE: Install drive pinion seal with lip opening facing closest
roller bearing.
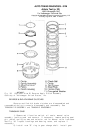
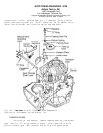
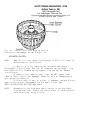
2) If reusing drive pinion and large pinion bearing, DO NOT
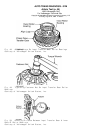
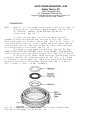
remove existing shims from drive pinion shaft. See Fig. 43. Go to step
4). If replacing drive pinion and/or pinion bearings, install large
pinion roller bearing to drive pinion. Go to next step.
3) Remove large roller bearing race support. Place two .06"
(1.5 mm) thick shims onto drive pinion shaft. See Fig. 43. Install
large roller bearing race support. Go to next step.
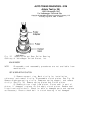
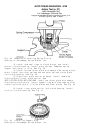
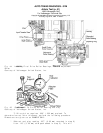
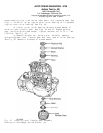
4) Install output drive pinion gear and nut. See Figs. 36 and
44. Engage parking lug to lock drive pinion shaft. Tighten nut to 184
ft. lbs. (250 N.m). Go to next step.
5) If reusing drive pinion and large pinion bearing, go to
step 9). If replacing drive pinion and/or pinion bearings, go to next
step.
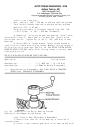
6) DO NOT rotate drive pinion. Mount a dial indicator on
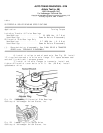
transaxle case. See Fig. 45. Move drive pinion up and down (DO NOT
rotate). Measure and record end play. Go to next step.
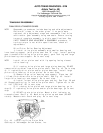
Fig. 43: Installing Drive Pinion Shim
Courtesy of Volkswagen United States, Inc.


