3.49
ENGINE
3
Cam Chain Tensioner Installation
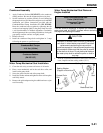
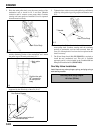
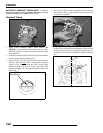
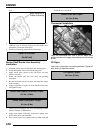
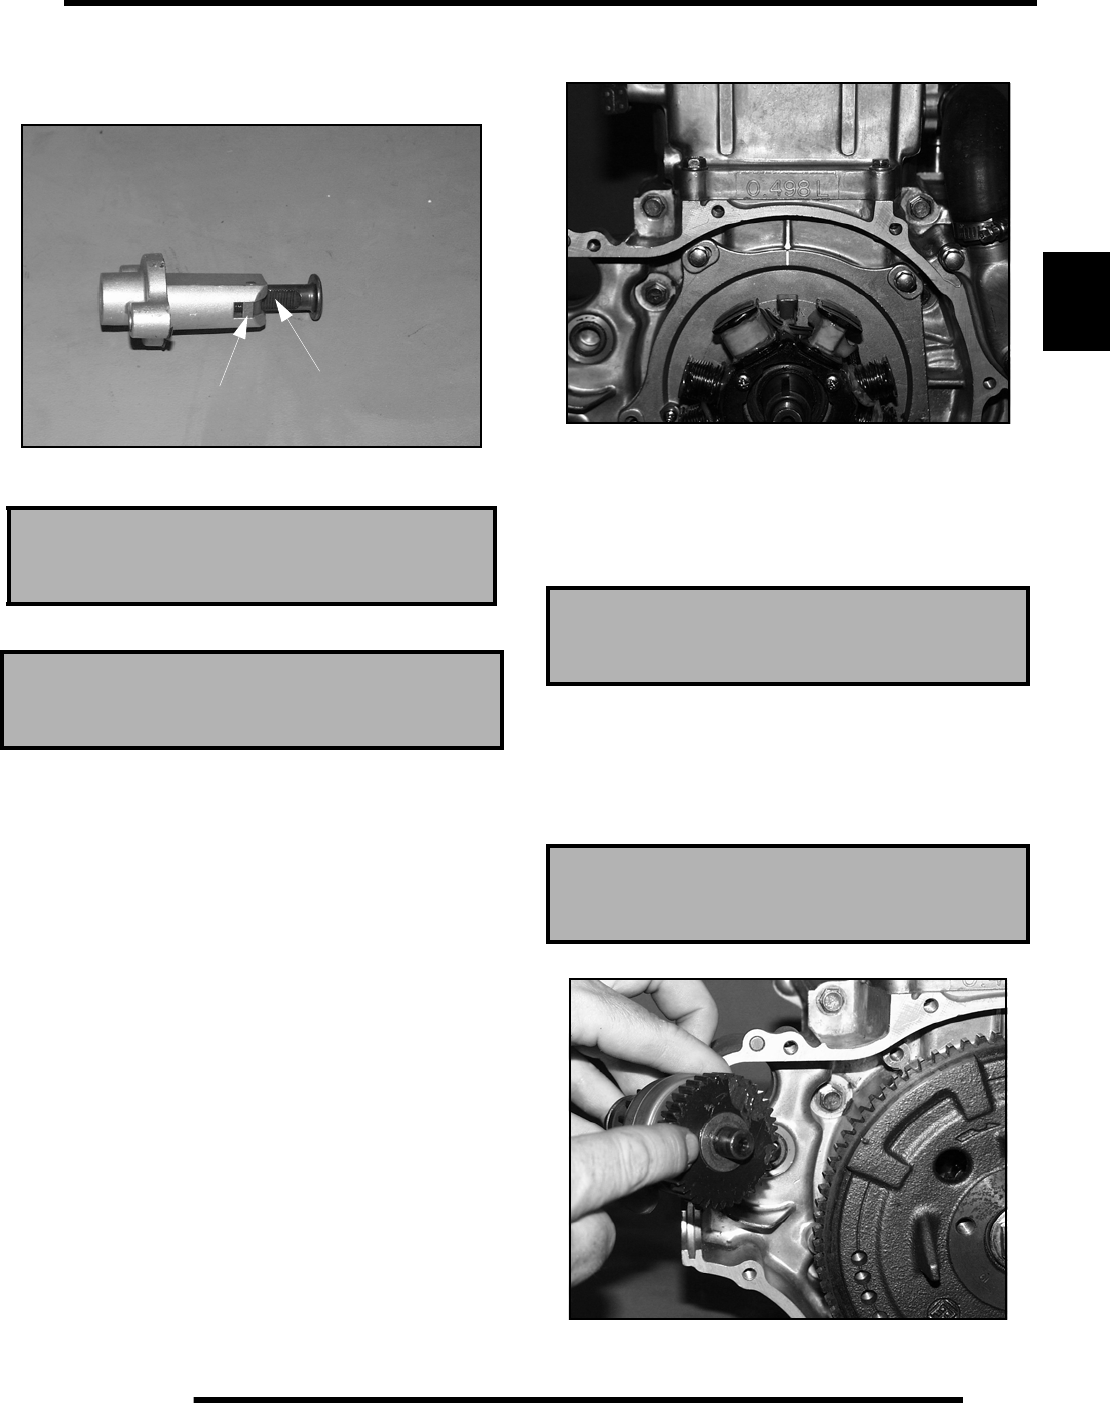
1. Release the ratchet pawl (A) and push the tensioner
plunger (B) all the way into the tensioner body.
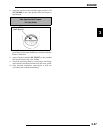
2. Install the tensioner body with a new gasket and tighten the
bolts.
3. Install the spring, new sealing washer, and tensioner plug.
4. Slowly rotate engine two to three revolutions and re-check
cam timing.
Stator, Flywheel and Starter Drive
Installation
NOTE: The stator, flywheel, starter drive, and recoil can
be assembled with the engine in the frame.
Stator
1. Apply a light film of grease to the crankshaft seal. Apply
molybdenum disulfide grease or assembly lubricant to the
crankshaft bushing.
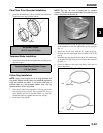
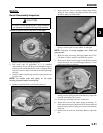
2. Install a new O-Ring in the oil passage recess in the
crankcase.
3. Apply 3 Bond 1215 (PN 2871557) or an equivalent sealer
to the stator plate outer surface and install a new O-Ring.
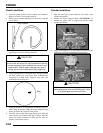
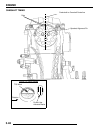
4. Install the stator plate being careful not to damage the seal.
Align timing reference marks on the plate and crankcase.
Be sure the plate is fully seated.
NOTE: This is a static timing mark. Strobe timing should
be performed after start up.
5. Torque bolts evenly to specification.
6. Seal stator wire grommet with Crankcase Sealant (PN
2871557) or equivalent sealer.
Flywheel
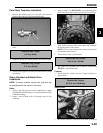
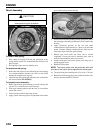
1. Install flywheel, washer, and nut. Torque flywheel to
specification.
Starter Drive
1. Be sure the washer is positioned on the back of the drive
Tensioner Bolt Torque:
6 ft. lbs. (8 Nm)
Tensioner Plug Torque:
17 ft. lbs. (23 Nm)
A
B
Stator Plate Bolt Torque:
5-6.5 ft. lbs. (7-9 Nm)
Flywheel Nut Torque:
58-72 ft. lbs. (78-98 Nm)


