


42
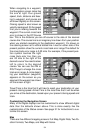
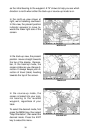
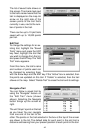
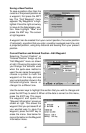
The list of saved trails shows on
this screen. The check mark next
to the trail’s name means that this
trail is displayed on the map. An
arrow on the right side of the
screen points to the trail that’s
currently in use, next to the num-
ber of points in the trail.
There can be up to 10 plot trails
saved with up to 10,000 points
per trail.
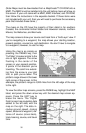
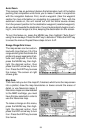
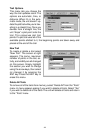
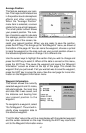
Edit Trail
To change the settings for an ex-
isting trail, highlight the “Saved
Trails” menu and press the ENT
key. Next, highlight the trail that
you wish to change from the list,
and press the ENT key. The “Edit
Trail” menu appears.
From this menu, the trail’s name
and number of points used can
be changed by selecting them
with the arrow keys and the ENT key. If the “Active” box is selected, then
the points are updated on this trail. If “Visible” is selected, then the trail
shows on the map. Select “Delete Trail” to erase the trail and its settings.
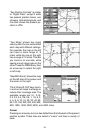
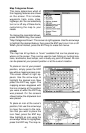
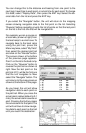
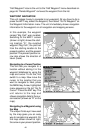
Navigate a Trail
You can follow a saved trail by
using the “Navigate” feature on
the “Edit Trail” menu (shown
above). Selecting the Navigate
button brings up the screen at
right.
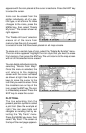
The unit “drops” a point on the trail
as you travel. You can navigate
from one end of the trail to the
other. The points on the trail selected in the box at the top of the screen
are shown in the list. The default data for each point in the plot trail is
distance and bearing from your present position to each point on the trail.