


76 ST4000+ Wheel & Tiller Autopilots: Owner’s Handbook
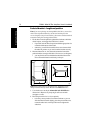
5 Installing the ST4000+
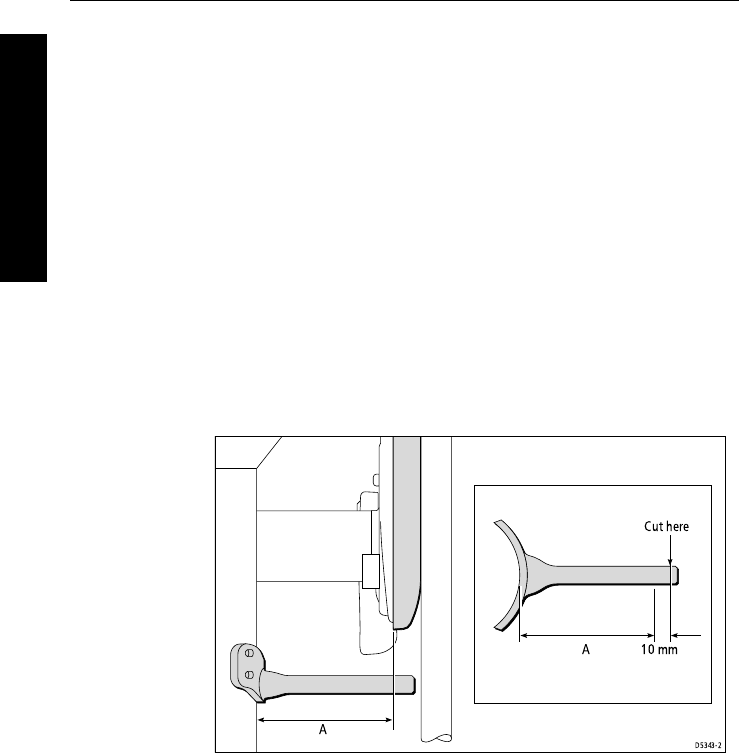
Pedestal bracket – length and position
Note: If you are replacing an existing 4000 wheel drive, you need to:
remove the old pedestal bracket, cut the new bracket pin to the
correct length (see steps 2 and 3 below), then secure it in the standard
orientation using the existing pedestal holes.
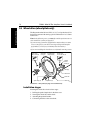
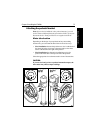
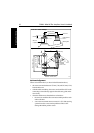
1. Fit the wheel onto the pedestal, tighten the wheel nut to hold the
wheel in place, and engage the wheel drive’s clutch:
• if possible, lock the wheel in position with the appropriate slot
centered at the bottom of the wheel
• otherwise, you will find it useful to have an assistant to hold
the wheel in position so you can locate the bracket correctly
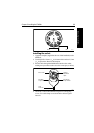
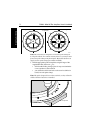
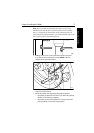
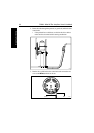
2. Measure dimension A – the distance between the front of the
pedestal and the rear edge of the drive’s front cover (see diagram):
• you may find it easiest to hold the bracket below the wheel
drive and mark dimension A directly on the pin
Note: If the wheel is bent or not running true, dimension A will
change with the wheel position. Measure the smallest distance.
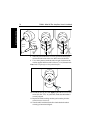
3. Use a hacksaw to cut the pin 10 mm (0.4 in) LONGER than
dimension A. Remove any sharp edges at the cut end with
sandpaper or a file.
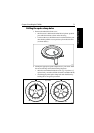
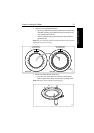
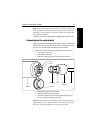
4. Place the pin end in slot 1 or 2 (as required):
• to do this you may need to loosen the wheel nut so you can
slide the wheel forward slightly, place the pin end in the slot,
return the wheel to its normal position and re-tighten the
wheel nut