


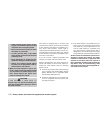
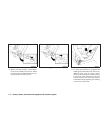

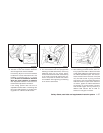
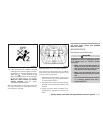
6. After attaching the child restraint, test it be-
foreyouplacethechild init.Pushitfrom side
to side while holding the child restraint near
the seat belt path. The child restraint should
not move more than 1 inch (25 mm), from
side to side. Try to tug it forward and check
to see if the belt holds the restraint in place.
If the restraint is not secure, tighten the seat
belt as necessary, or put the restraint in
another seat andtest it again.You mayneed
to try a different child restraint. Not all child
restraints fit in all types of vehicles.
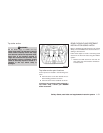
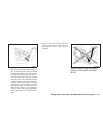
7. Checkto makesure thatthe childrestraint is
properly secured prior to each use. If the
seat belt is not locked, repeat steps 1
through 6.
After the child restraint is removed and the seat
belt fully retracted, the ALR mode (child restraint
mode) is canceled.
FORWARD-FACING CHILD
RESTRAINT INSTALLATION USING
LATCH
Refer to all Warnings and Cautions in the “Child
Safety” and “Child Restraint”sections before in-
stalling a child restraint.
Follow these steps to install a forward-facing
child restraint in the 2nd row seats using the
LATCH system:
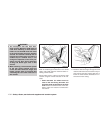
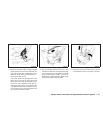
1. Position the child restraint on the seat. Al-
ways follow the child restraint manufactur-
er’s instructions.
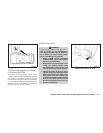
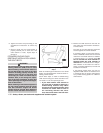
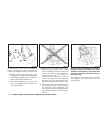
2. Secure the child restraint anchor attach-
ments to the LATCH lower anchors. Check
tomakesure theLATCHattachmentisprop-
erly attached to the lower anchors.
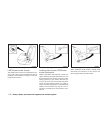
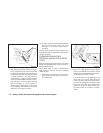
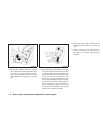
If the child restraint is equipped with a top
tether strap, route the top tether strap and
secure the tether strap to the tether anchor
point. See “Installing top tether strap”in this
section. Do not install child restraints that
require the use of a top tether strap in seat-
ing positions that do not have a top tether
anchor.
Rear-facing – step 6
WRS0763
Forward-facing web-mounted – step 2
WRS0799
1-36 Safety—Seats, seat belts and supplemental restraint system