12
MAINTENANCE ITEMS
You can set up to four different maintenance interval items. To display the setting of the main-
tenance interval, select one of the four “Reminder” keys using the multi-function controller
01
and press the ENTER button. To set the maintenance interval, select the “Interval” key using the
multi-function controller and press the ENTER button. Use the multi-function controller to change
the interval and press the BACK button to accept the changes. To reset the maintenance interval,
select the “Reset Distance” key using the multi-function controller and press the ENTER button.
DISPLAY SCREEN SETTINGS
The SETTINGS screen will appear when the SETTING button is pressed. Select the “Display”
key using the multi-function controller and press the ENTER button to choose from various
display screen options. The “Display” key will allow you to adjust the appearance of the display
screen, such as brightness or contrast.
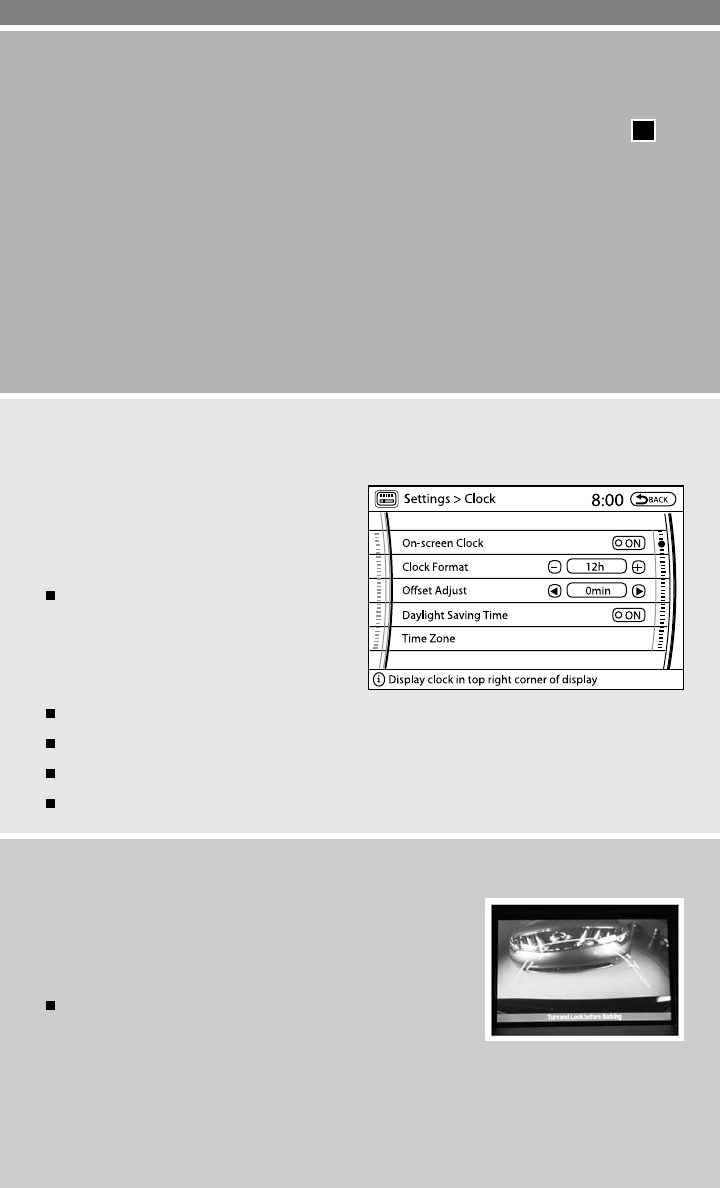
CLOCK SET/ADJUSTMENT
NAVIGATION SYSTEM ONLY (if so equipped)
Press the SETTING button, then select the
“Clock” key using the multi-function controller
and press the ENTER button to access the
following clock settings:
On-screen Clock – When this item is
turned to ON, a clock is always displayed
in the upper right corner of the screen.
The clock is automatically adjusted by the
GPS system.
Clock Format – Choose either the 12-hour clock display or the 24-hour clock display.
Offset Adjust – Adjust the time by increasing or decreasing per minute.
Daylight Saving Time – Turn this item to ON for daylight saving time application.
Time Zone – Choose the time zone.
REARVIEW MONITOR (if so equipped)
When the shift lever is moved to the R (REVERSE) position,
the monitor display will automatically change to show the area
directly behind the vehicle. The colored lines on the display
screen indicate approximate distances to objects.
Red 1.5 ft (0.5 m); Yellow 3 ft (1 m); Green 7 ft (2 m) and
10 ft (3 m).


