8
OPERATION
Turning Power On
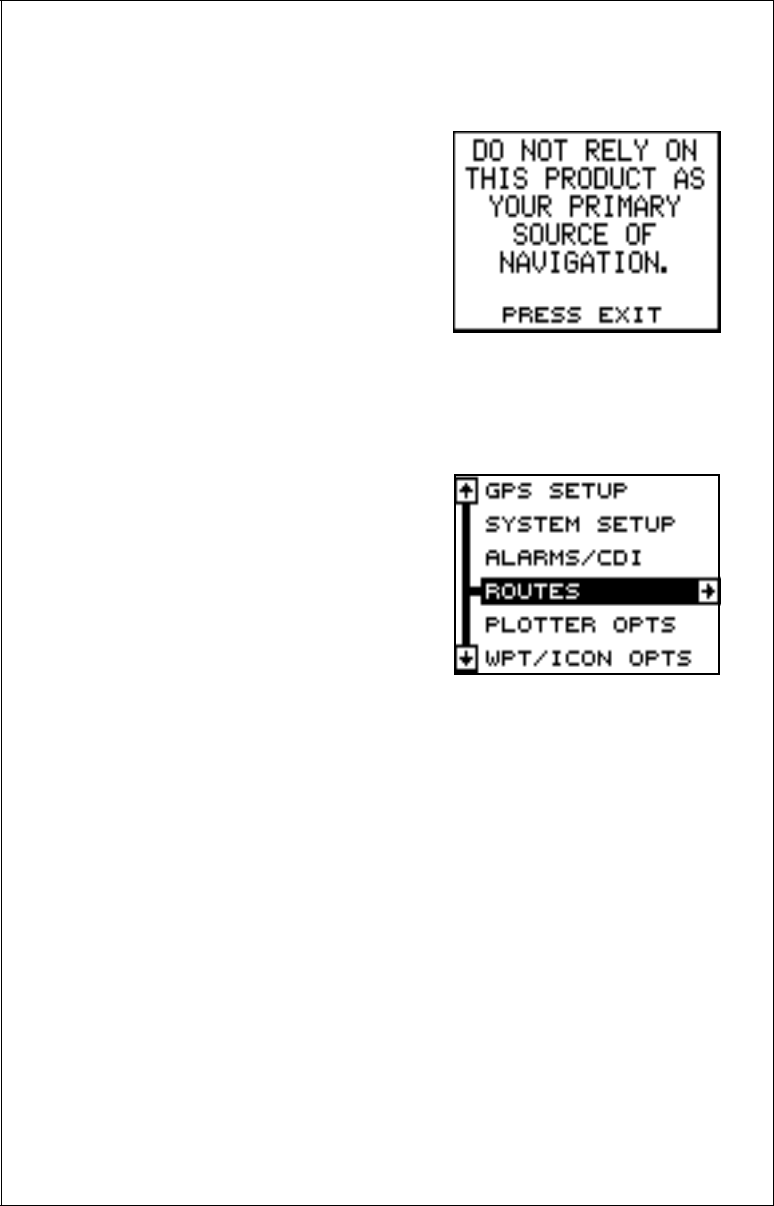
To turn the Eagle View on, simply press
the PWR key. A screen similar to the one
at right appears. Read the message on
the screen, then press the EXIT key to
erase it. The Eagle View is now ready for
use.
MENUS
Most of the Eagle View’s adjustments and features are found on “menus”.
Pressing the MENU key lets you view the menus. Different menus items
are added to the basic list, depending
on which mode (plotter, navigation, or
windows) the unit is in. This gives you
the features that are specific to the mode
you are in, but also has items that are
used on all modes.
Using the arrow keys moves the black
box to highlight different menus on the
list. Pressing the right arrow key selects
the menu.
To erase a menu, press the EXIT key.
Finding Your Position
Cold Start
When the Eagle View is turned on for the very first time, it doesn’t know
where it is, nor what the local time or date is. If you tell it your position,
time, and date, the unit will take much less time to lock-on to the satellites
and give you a fix or position.
However, if you don’t want to push buttons at this time, that’s fine. The
Eagle View will lock onto the satellites and give you a position without any
input from you. This is called a “cold-start”. It simply means that the unit is
searching without help for the satellites that are in orbit. A cold-start can
take up to 2 minutes to acquire enough satellite data to determine your
position, although it typically takes less time than that.
