User Presets
There are 16 user presets per input to save picture control settings only.
To save a user preset:
1. From the User Presets list, select the desired preset.
2. Click the Save Preset button. If the selected preset already has stored information
on it, the Presets dialog box opens. Click the Overwrite button to erase the previous
data and save the new settings. Click the Cancel button to return to the Image
Settings page.
To rename a preset:
1. In the User Preset Name column, double-click a User Preset Name.
2. Change the name as desired.
3. Press the <Enter> key to save the new name.
To recall a user preset:
1. From the User Presets list, select the desired preset.
2. Click the Recall Preset button. The Presets dialog box opens.
3. Click the Recall button to recall the preset. Click the Cancel button to return to the
Image Settings page.
To clear a preset:
1. From the User Presets list, select the desired preset.
2. Click the Clear button. The Presets dialog box opens.
3. Click the Clear button to erase saved data. Click the Cancel button to return to the
Image Settings page.
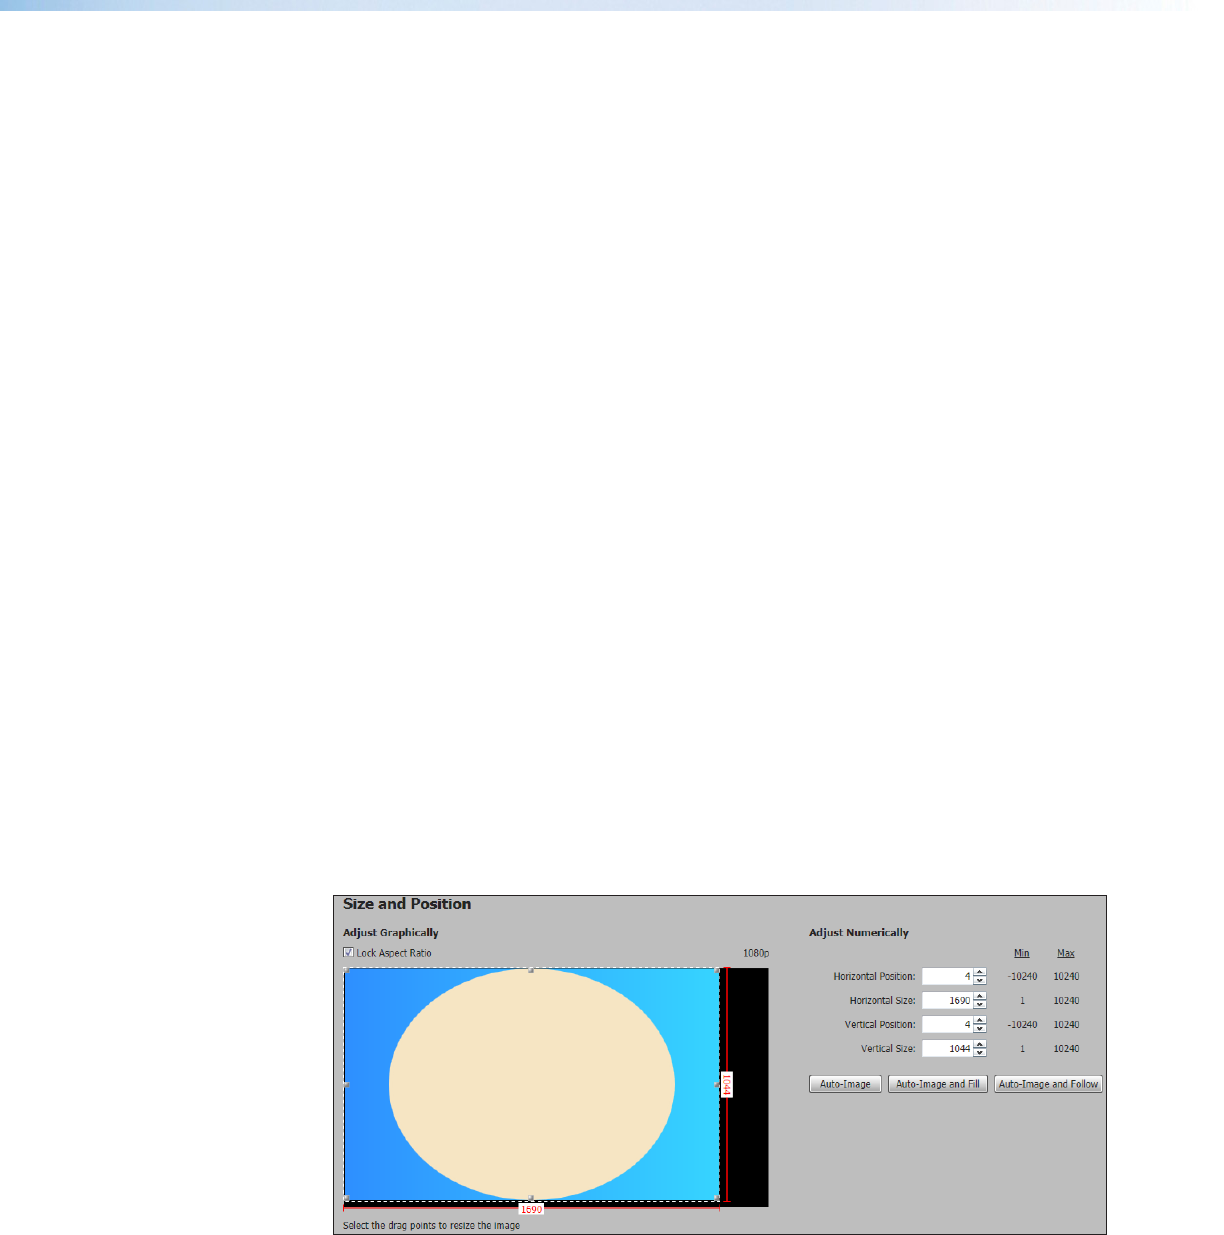
Size and Position Page
The Size and Position page provides three methods of adjusting image output size and
position: graphically, numerically, or automatically with Auto-Image. Click the Size and
Position icon on the global navigation bar to open the Size and Position page.
Figure 48. Size and Position Page
Annotator 300 • Product Configuration Software 84
