To automatically adjust these settings, perform one of the following:
• Click the Auto-Image button to perform a one-time Auto-Image.
• Click the Auto-Image & Fill button to perform a one-time Auto-Image and fill the
entire video output (ignores aspect ratio setting).
• Click the Auto-Image & Follow button to perform a one-time Auto-Image and to
maintain the aspect ratio of the input signal (ignores aspect ratio setting).
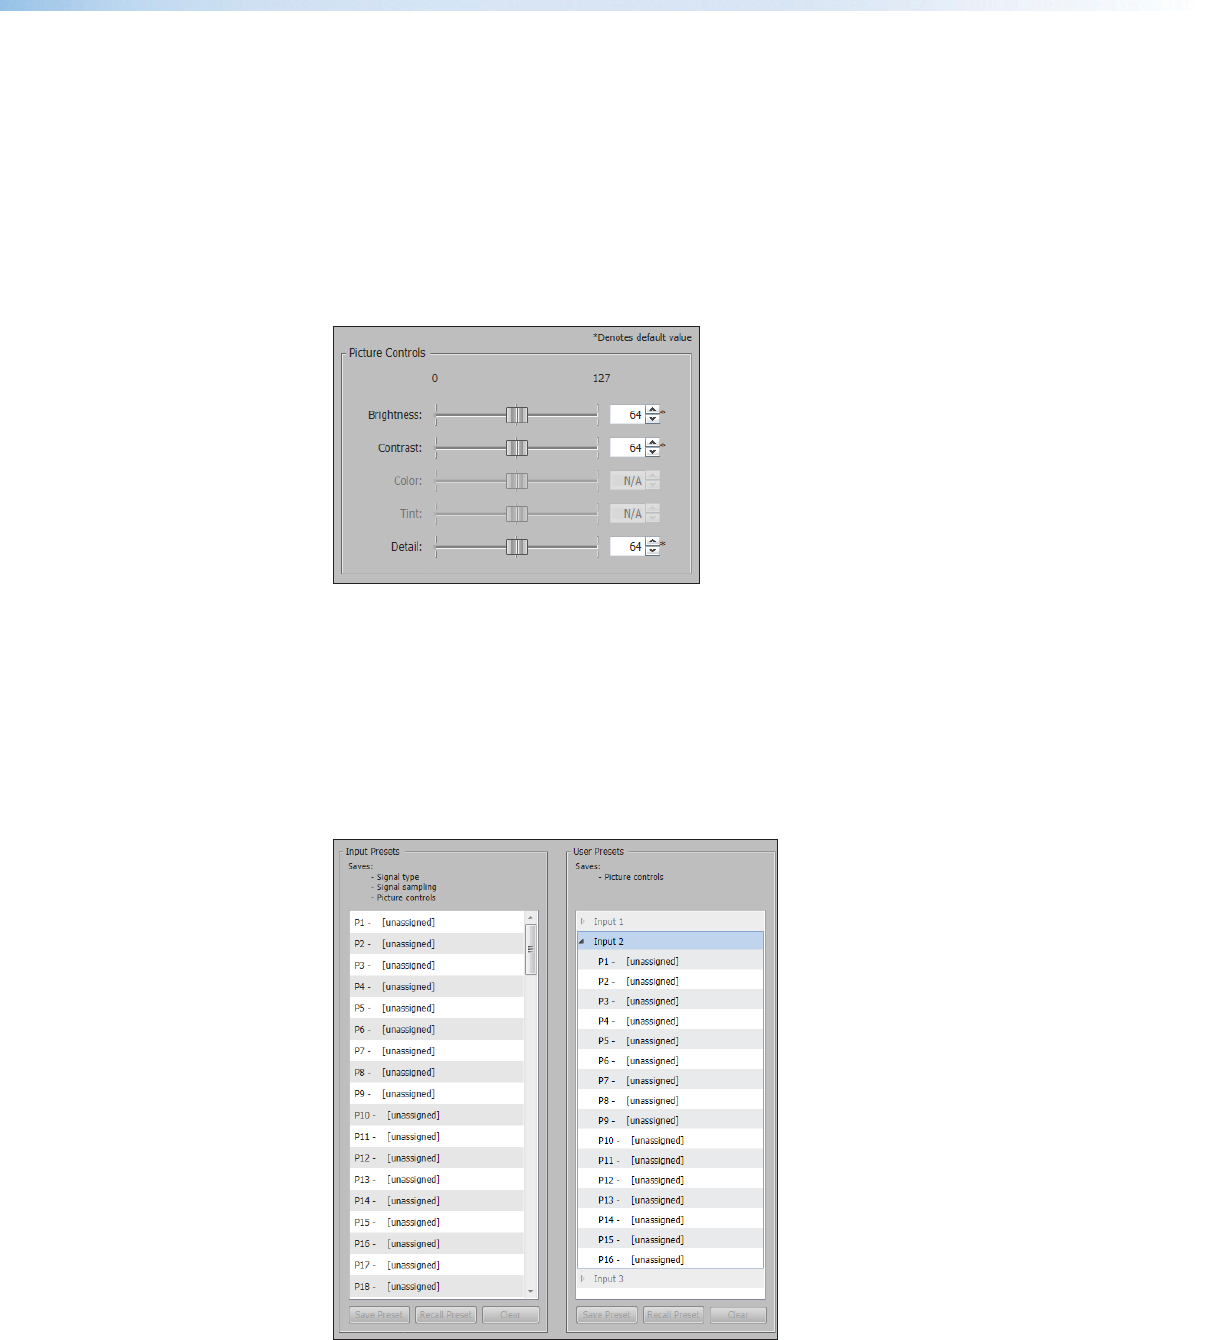
Picture Controls panel
The Picture Controls panel shows adjustable image settings for the selected input.
Figure 46. Picture Controls Panel
To adjust the picture settings, click and drag the associated slider for any image setting
(brightness, contrast, color, tint, or detail) to the desired value.
Alternatively, enter a value within the field associated with the image setting, or click the
Up and Down arrows to change the value in the field.
Presets panel
Presets save output settings to be recalled through RS-232 or Ethernet (see the table on
next page for a comparison of saved settings for input and user presets).
Figure 47. Input and User Presets Panel
Annotator 300 • Product Configuration Software 82
