


5 - 74
ENG
CONNECTING RODS AND PISTONS
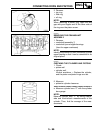
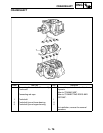
6. Install:
• big end bearings
• connecting rod assembly
(into the cylinder and onto the crankshaft
pin).
• connecting rod cap
(onto the connecting rod)
NOTE:
@
• Align the projections on the big end bearings
with the notches in the connecting rods and
connecting rod caps.
• Be sure to reinstall each big end bearing in
its original place.
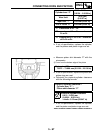
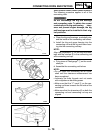
• While compressing the piston rings with one
hand, install the connecting rod assembly
into the cylinder with the other hand.
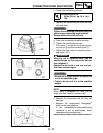
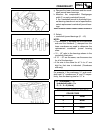
• Make sure that the “Y” marks a on the con-
necting rods face towards the left side of the
crankshaft.
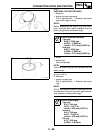
• Make sure that the characters b on both the
connecting rod and connecting rod cap are
aligned.
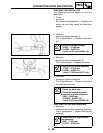
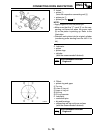
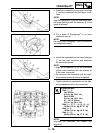
7. Align:
• bolt heads
(with the connecting rod caps)
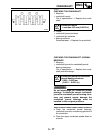
8. Tighten:
• connecting rod nuts
▼▼▼▼ ▼ ▼▼▼▼▼▼▼▼▼ ▼ ▼▼▼▼ ▼ ▼▼▼▼ ▼ ▼▼▼▼ ▼▼▼
a. Replace the connecting rod bolts and nuts
with new ones.
CAUTION:
Tighten the connecting rod bolts using the
plastic-region tightening angle method.
Always install new bolts and nuts.
T
R
.
.
20 Nm (2.0m · kg, 14 ft · lb) + 120°
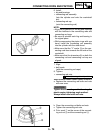
b. Clean the connecting rod bolts and nuts.
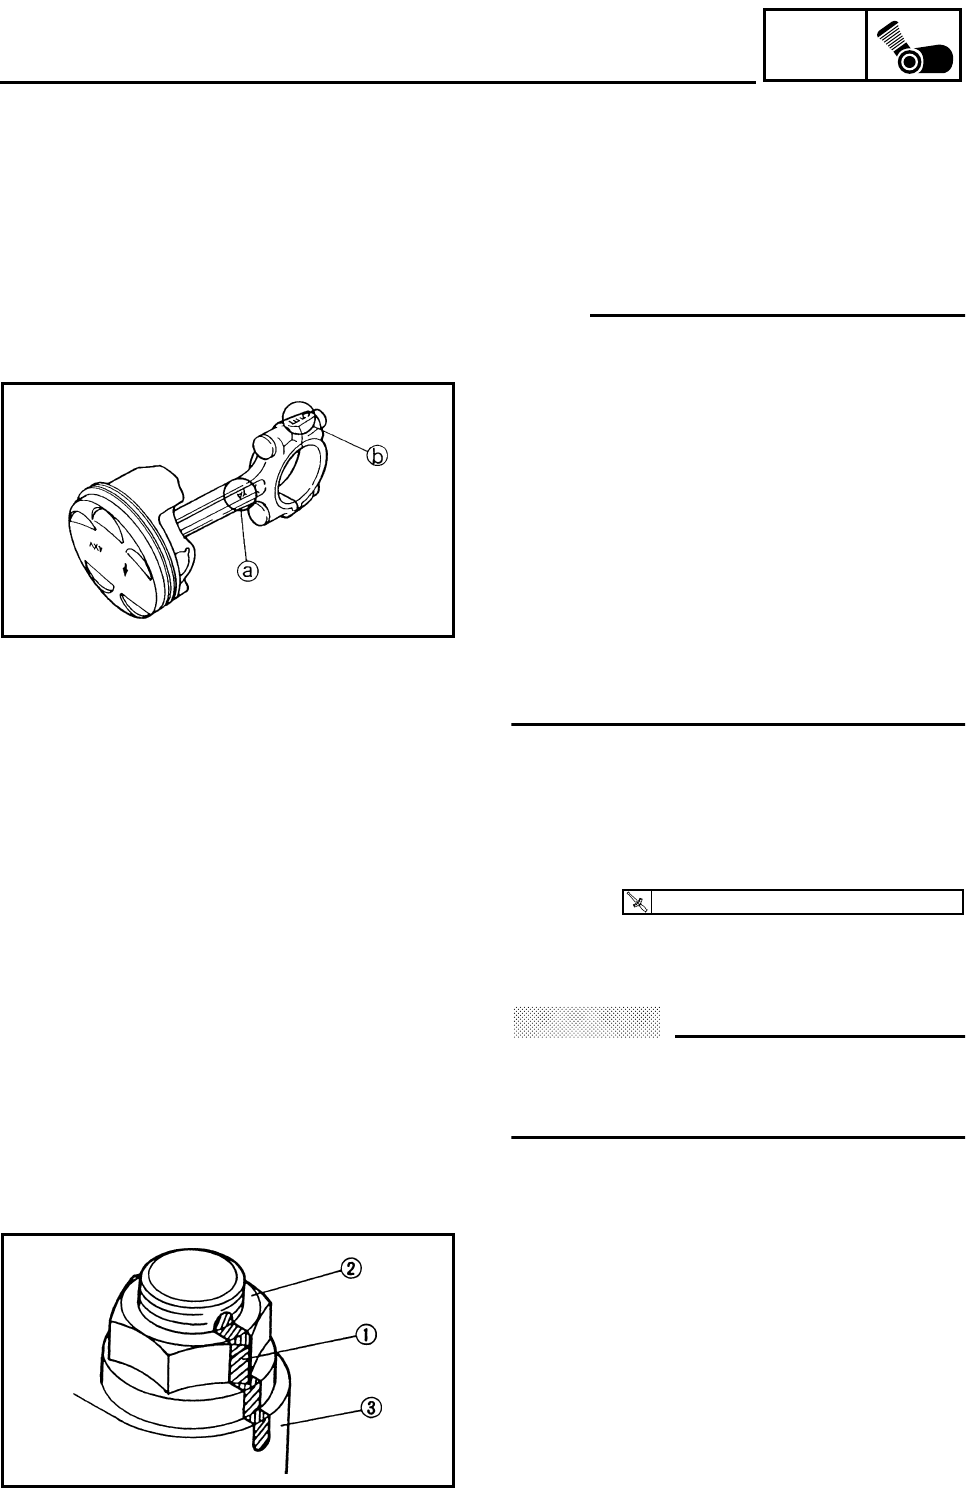
c. Tighten the connecting rod nuts.
d. Put a mark 1 on the corner of the connect-
ing rod nut 2 and the connecting rod 3.