3 - 11
CHK
ADJ
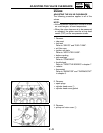
ADJUSTING THE VALVE CLEARANCE
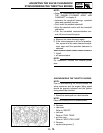
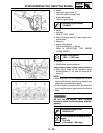
5. Remove:
• camshaft
NOTE:
_
• Refer to “DISASSEMBLING THE
ENGINE—CAMSHAFT AND CYLINDER
HEAD” in chapter 5.
• When removing the timing chain and cam-
shafts, fasten the timing chain with a wire to
retrieve it if it falls into the crankcase.
6. Adjust:
• valve clearance
▼▼▼▼ ▼ ▼▼▼▼▼▼▼▼▼ ▼ ▼▼▼▼ ▼ ▼▼▼▼ ▼ ▼▼▼▼ ▼▼▼
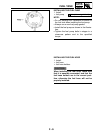
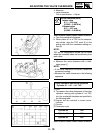
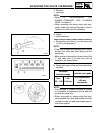
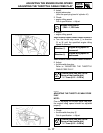
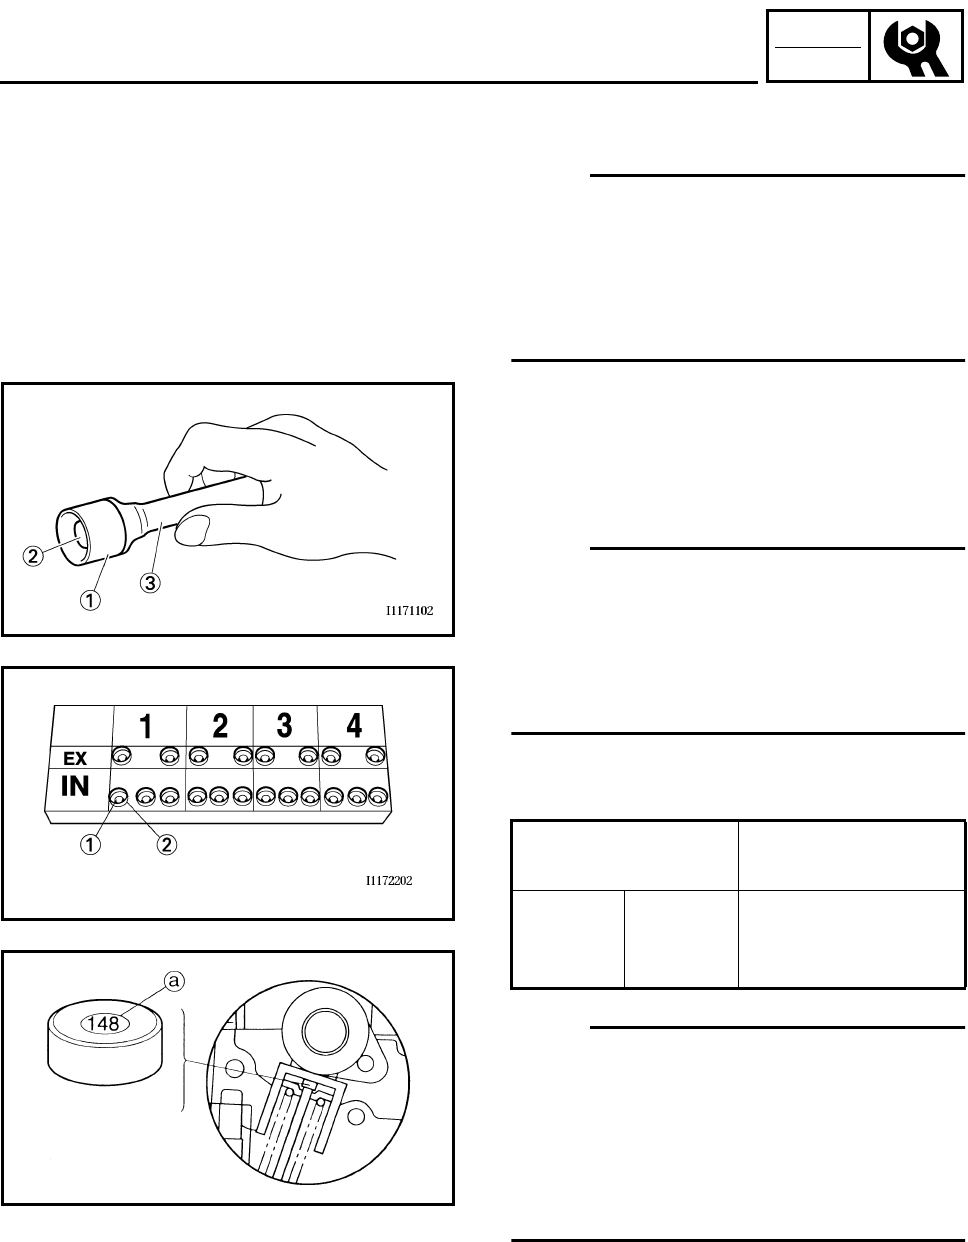
a. Remove the valve lifter 1 and the valve pad
2 with a valve lapper 3.
NOTE:
@
• Cover the timing chain opening with a rag to
prevent the valve pad from falling into the
crankcase.
• Make a note of the position of each valve lifter
1 and valve pad 2 so that they can be
installed in the correct place.
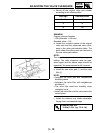
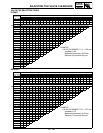
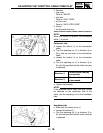
b. Select the proper valve pad from the follow-
ing table.
NOTE:
@
• The thickness a of each valve pad is marked
in hundredths of millimeters on the side that
touches the valve lifter.
• Since valve pads of various sizes are origi-
nally installed, the valve pad number must be
rounded in order to reach the closest equiva-
lent to the original.
Valve pad
thickness range
Available valve pads
Nos.
120 ~ 240
1.20 ~
2.40 mm
25 thicknesses in
0.05 mm
increments


