160
Other Functions
Customize the settings to suit your taste and environment.
■Displaying the SET UP MENU
1Press A.MENU (AUDIO) button in each source display.
2Press
5
or ∞ to select “SETUP”, and press A.MENU (AUDIO) button.
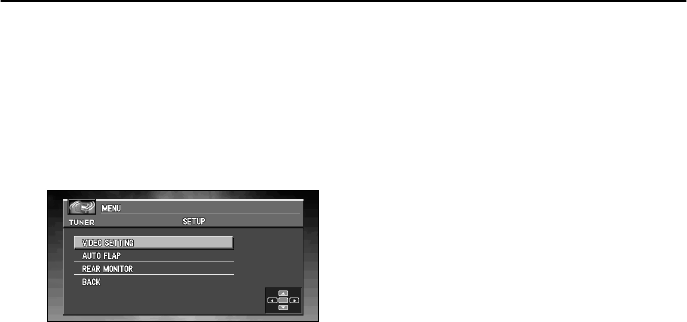
The SETUP MENU is displayed as follows:
VIDEO SETTING, AUTO FLAP, REAR MONITOR
You can operate a desired function. For details, refer to the pages for each of the func-
tions.
➲ Select BACK in the MENU display or press BACK button to return to the previous display.
➲ To return to the playback display, press BAND/ESC button.
■Selecting the video
Set so that only the display video can be selected. The display for this MENU is the same
regardless of which source you operate from.
1Press
5
or ∞ to select “VIDEO SETTING” from the SETUP MENU, and press A.MENU
(AUDIO) button.
2Press 22
22
/ 33
33
to select “VIDEO”.
Press 2 or 3 until the desired video setting appears in the display.
OFF (off) - VIDEO (video) - BACK UP CAMERA (back up camera) - M-DVD (Multi-
DVD)
➲ If the equipment is connected to a RCA video input, choose VIDEO to view video of the
equipment.
➲ When using a DVD player connected with an RCA cable, if you do not select M-DVD,
there will be no picture even if you switch sources.
➲ When using a DVD player connected with an AV-BUS cable, do not select M-DVD. If
you do, there will be no picture.
➲ If BACK UP CAMERA is not connected, do not select BACK UP CAMERA.
➲ If you select “BACK UP CAMERA”, press ∞ to move to BACK UP CAMERA POLARITY,
or use 2 or 3 to select BATTERY and GROUND.


