1 Search for a location or position the
cursor on the desired area by scrolling the
map and displaying the “Map Confirmation
Screen”.
2 Touch [Save as...] on the “Map Confir-
mation Screen”.
3 Touch [Add Pin].
The pin-shaped icon is placed on the map and
the screen returns to the map screen.
p The color of pin-shaped icon is assigned
automatically within predefined colors
when you set it up.
Removing a map pin
When the cursor overlaps a map pin that has
already been set, you can remove the map pin.
1 Locate the cursor at the pin-shaped
icon and display the “Map Confirmation
Screen”.
2 Touch [Save as...] on the “Map Confir-
mation Screen”.
3 Touch [Remove Pins].
The pin-shaped icon is removed and the
screen returns to the map screen.
Registering the location as
a customized POI
If a new business has opened, it may not be
found in the database. Registering the loca-
tion as a new POI allows you to use the item
just like a preinstalled POI.
1 Search for a location or position the
cursor on the desired area by scrolling the
map and displaying the “Map Confirmation
Screen”.
2 Touch [Save as...] on the “Map Confir-
mation Screen”.
3 Touch [Add POI].
The list of POI categories appears.
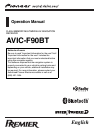
4 Touch the desired category to which
the location is to be assigned.
If there are more detailed categories within the
selected category, repeat this step as many
times as necessary.
5 Touch [Add here] when the desired ca-
tegory list appears to add the item to it.
If there aren’t any more detailed categories,
the blank list appears. In such case, touching
[Add here] allows you to add the item and
register it as an item belonging to the category
that you selected on the previous screen.
p Touching[Add here] without selecting any
category is invalid.
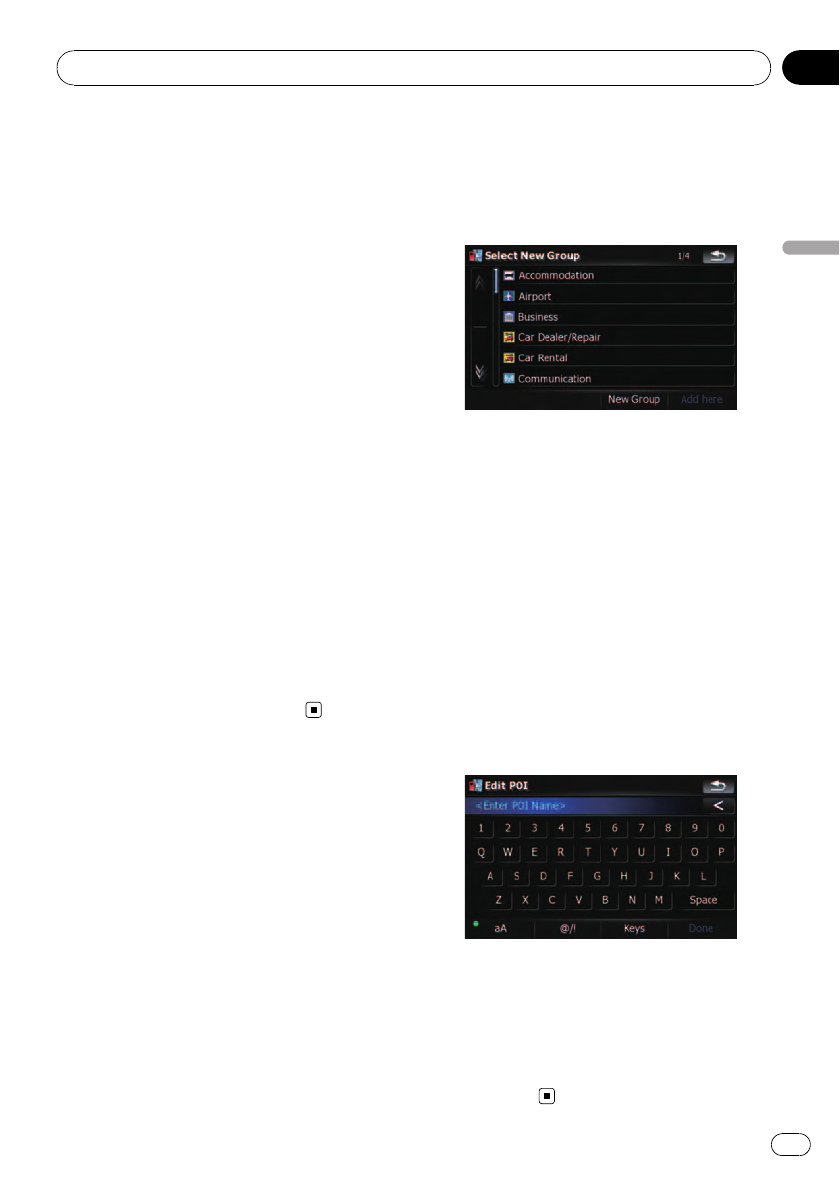
6 Enter the desired name and then touch
[Done] to complete the entry.
The registration is now complete and the item
is available as a customized POI.
p You can edit the stored POI later in “Man-
age POI”.
= For more details concerning the operation,
refer to Editing your customized POI on
page 132.
After the location is decided (Map Confirmation Screen)
En
39
Chapter
04
After the location is decided (Map Confirmation Screen)