


36 C2924M (4/05)
Lens Focusing
After mounting the lens, you must focus your CCC1390H Series camera. You will adjust both the back focus (on the camera) and the fine focus (on
the lens).
NOTE: The back focus has already been adjusted using a standard CS-mount lens. However, you might need to adjust it again to match the
mounted lens.
1. Auto iris only: Cover the auto iris lens with a suitable neutral density (ND) filter. This opens the iris fully. For best results, use an ND3 filter.
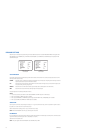
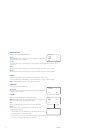
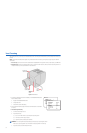
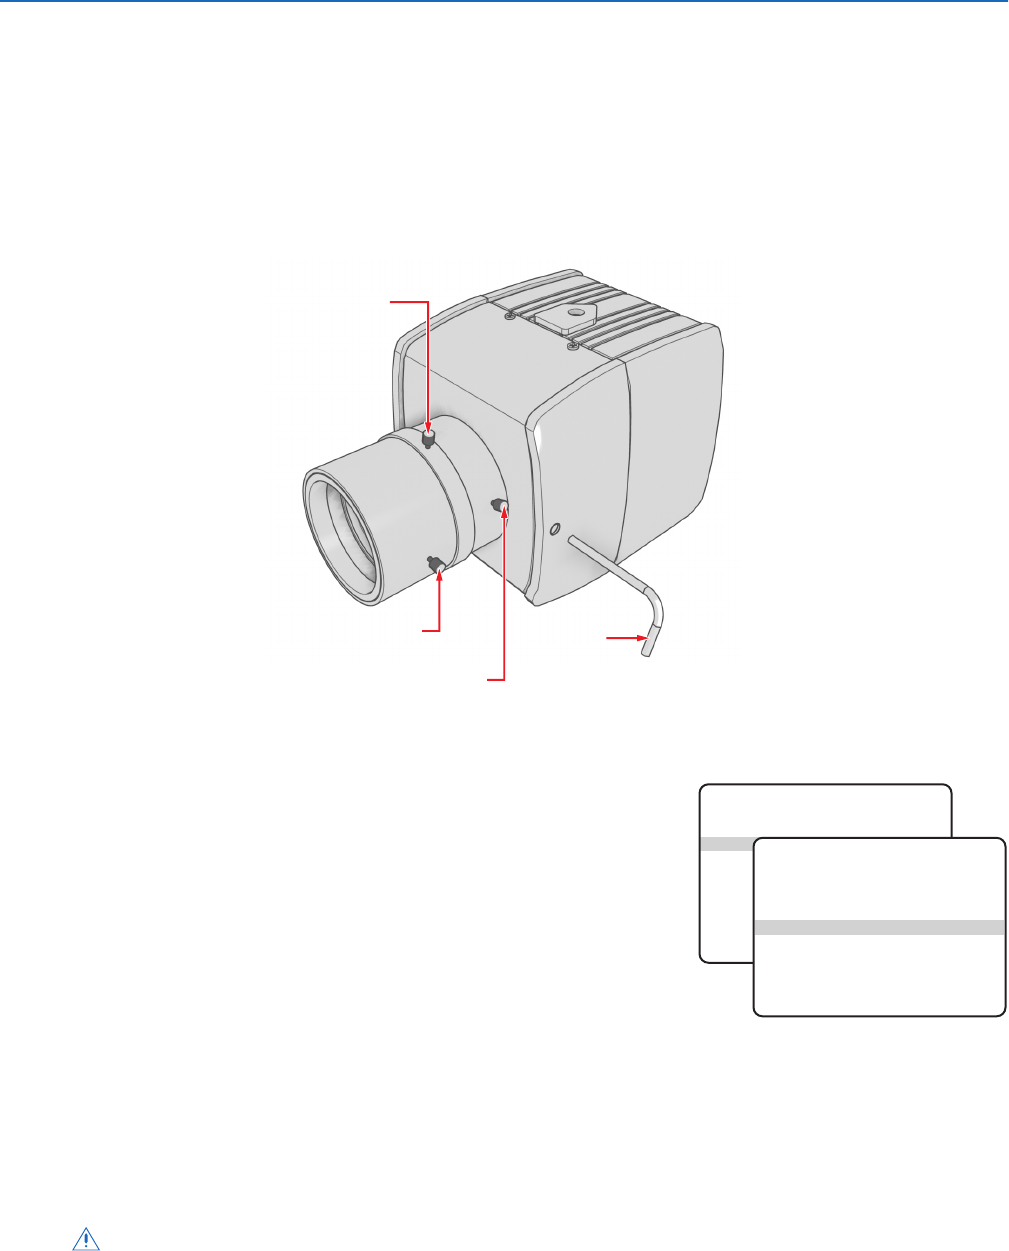
2. Manual iris only: Open the iris completely. Refer to Figure 12, which shows the manual iris, varifocal, and lens focus locking screws for a
sample lens. Refer to your lens documentation for more information.
Figure 12. Lens Focus
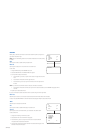
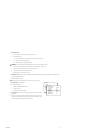
3. If necessary, enable Automatic Gain Control (AGC) on the EXPOSURE SETTINGS menu.
AGC is enabled by default.
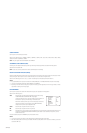
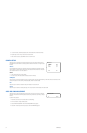
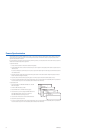
a. Display the EXPOSURE SETTINGS menu.
b. Change AGC to ON.
c. Select EXIT to save the AGC setting.
4. Aim the camera at the farthest object in the field of view. Make sure it is at least 6.5 ft
(2 m) away.
5. Fixed focal length lens only:
a. Set the lens focal length to far (∞).
b. Adjust the back focus:
(1) Use a 1.5-mm Allen wrench to loosen the back focus locking screw.
(2) Turn the lens until the image is focused.
(3) Tighten the back focus locking screw clockwise.
Back focus is a coarse adjustment. You will make the fine focus adjustment in the next step.
c. Adjust the lens focus to achieve the best fine focus.
WARNING: Do not over-tighten the back focus locking screw because you may damage the camera.
1.5 MM
ALLEN
WRENCH
VARIFOCAL
LOCKING
SCREW
LENS FOCUS
LOCKING SCREW
MANUAL IRIS
LOCKING SCREW
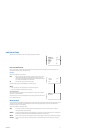
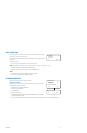
MAIN MENU
PROFILES >
EXPOSURE SETTINGS >
FUNCTION SETTINGS >
CAMERA SETUP >
AI AUTO ADJUSTMENT >
PIXEL CORRECTION >
SYSTEM INFORMATION >
EXIT
EXPOSURE SETTINGS
AUTO EXPOSURE > NORMAL
VIDEO LEVEL > 0
FLICKERLESS > OFF
AGC > ON
DSS(SENS) > 4
DAY & NIGHT > COLOR
D&N DETECTION >
D&N FILTER LIMIT >
BACK EXIT