


Quest
®
2 Owner’s Manual 33
customIzInG your Quest 2> customIzInG the map paGe
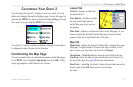
custoMIzInG Your Quest 2
You can adjust the Quest 2’s settings to suit your needs. You can
make most changes through the Settings page. Access this page by
pressing the MENU key once and then selecting Settings. You can
also access it by pressing the MENU key two times.
Your Quest 2’s factory settings (or default settings) do not need to
be changed in order for your unit to function.
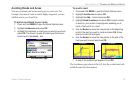
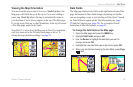
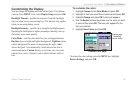
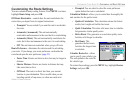
Customizing the Map Page
You can customize the way information appears on the Map page.
Press MENU twice, highlight Map Setup, and press OK. A Map
Setup page appears, which features six sections.
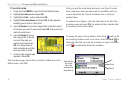
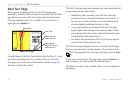
Layout Tab
Navtext—displays or hides the
navigational text.
Turn Pointer—
displays or hides
the turn pointer that appears
on the Map page when you are
navigating.
Data elds—displays or hides data elds on the Map page. If you
choose to hide the data elds on the Map page, the turn pointer
appears in the lower right-hand side of the page.
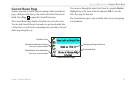
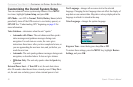
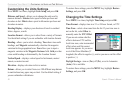
Map Tab
Map Detail—adjusts the amount of detail that is displayed on your
Map page. A higher detail level causes the map to redraw slowly.
For everyday use, keep the view level set to Normal.
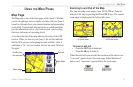
Orientation—North Up displays the map with North at the top.
Track Up rotates the map so your current direction of travel is at
the top of the page. See page 29 for more information.
Road Lock—when On, the Quest 2 places the position icon on the
nearest road. Select Off when you are not traveling
on roads.