


22 Quest
®
2 Owner’s Manual
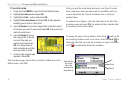
basIc operatIon > plannInG and modIfyInG routes
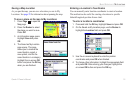
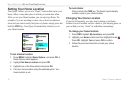
Saving a Route
Your Quest 2 automatically saves a route created with the Route
Planner. You can also save an active route during navigation or
after you have reached the destination.
To save an active route:
1. Press and hold the MENU key.
2. Highlight Save Route and press OK. Press OK again at the
verication window.
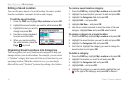
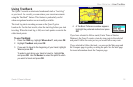
Your Quest 2 can hold up to 50 saved routes. If you save routes
prior to taking a trip, you only need to retrieve the appropriate route
and activate it as you prepare to leave.
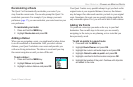
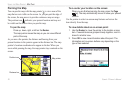
The vehicle icon indicates
the route is active.
To select a saved route:
1. Press and hold the MENU key.
2. Highlight Route Planner and press OK. A list of your saved
routes appears.
3. Highlight the name of the route and press
OK. An
information page for your selected route appears.
4. To activate the route, highlight Navigate and press OK.
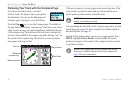
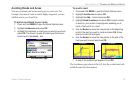
5. If you want to change the route by adding via points, use
the Rocker to highlight the Via Points box and press OK.
See “Adding Via Points” in this section for more information.
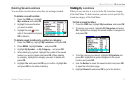
Deleting a Saved Route
You can delete a single route or all of the saved routes in your
Quest 2.
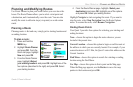
To delete a route:
1. Press and hold the MENU key.
2. Highlight Route Planner and press OK. A list of your saved
routes appears.
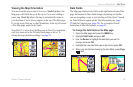
3. To delete one route, highlight the name of the route. Use the
Rocker to highlight the red to the right of the route name
and press OK. Highlight Yes when the verication window
appears and press OK.
To delete all saved routes, press the MENU key. Highlight
Delete All and press OK. Highlight Yes when the
verication window appears and press OK.