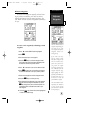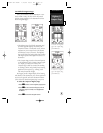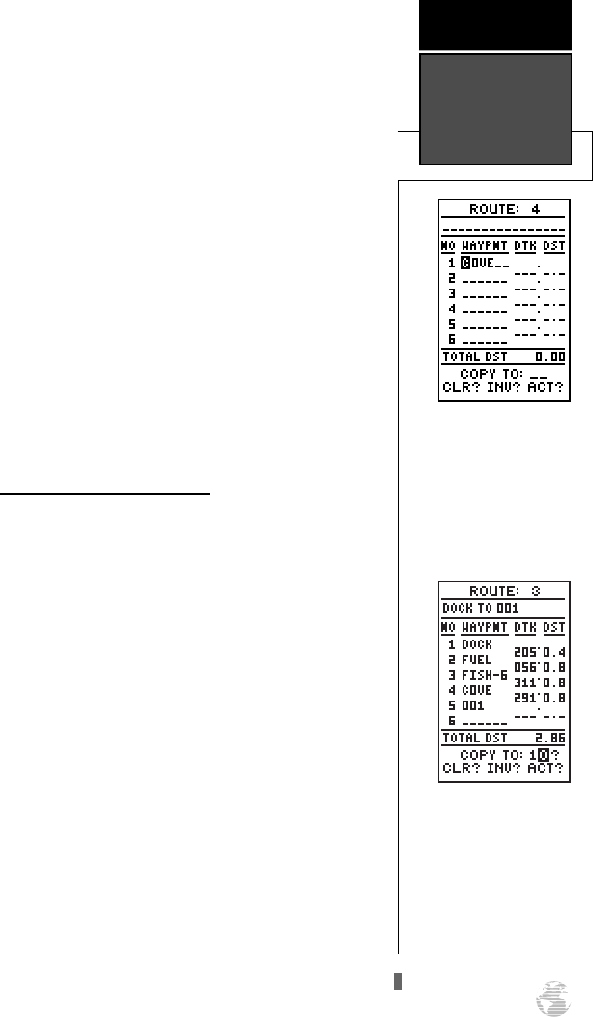
To create a route from the route definition page:
1. Highlight the route number field and press
F
.
2. Enter a route number and press the
F
key to con-
firm.
3. Press
F
to begin entry of a route comment. (Note
that the default [first and last waypoint] comment will
only appear if the comment field is blank.)
4. Enter your comment and press the
F
key.
5. Highlight the No. 1 waypoint field and press
F
.
6. Enter the first waypoint of your route and press
F
.
7. Continue entering the rest of your waypoints in order,
using the
F
key to start and confirm each field
entry. The list will automatically scroll down.
8. After you have entered all your waypoints, press
J
.
Copying and Clearing Routes
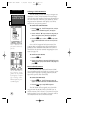
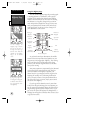
The route definition page is also used to copy a
route to another route number. This feature is useful
when you make changes to the active (or TracBack)
route and want to save the route for future use.
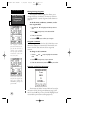
To copy a route:
1. Highlight the route number field and press
F
.
2. Enter the route number to be copied and press
F
.
3. Highlight the ‘COPY TO’ field and press
F
.
4. Scroll through the available routes and select a desti-
nation route number. Only open routes will be avail-
able as choices. Press the
F
key to copy the
route.
5. Press the
J
key to return to the Menu Page.
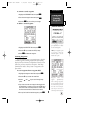
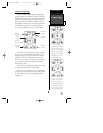
To clear a route from memory:
1. Highlight the route number field and press
F
.
2. Enter the route number and press
F
.
3. Select the ‘CLR?’ prompt and press
F
.
31
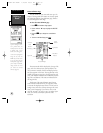
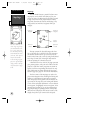
Enter each waypoint in the
order you would like to nav-
igate them. If you enter a
waypoint not stored in
memory, you’ll need to
define the position on the
waypoint definition page.
REFERENCE
Creating,
Copying &
Clearing Routes
To copy a route, select an
open storage roue and press
the ENTER key. If you select
a route that is already used,
you’ll be alerted with a
‘Roue Full’ Message.
120XL Man RevB 7/10/98 10:55 AM Page 31


